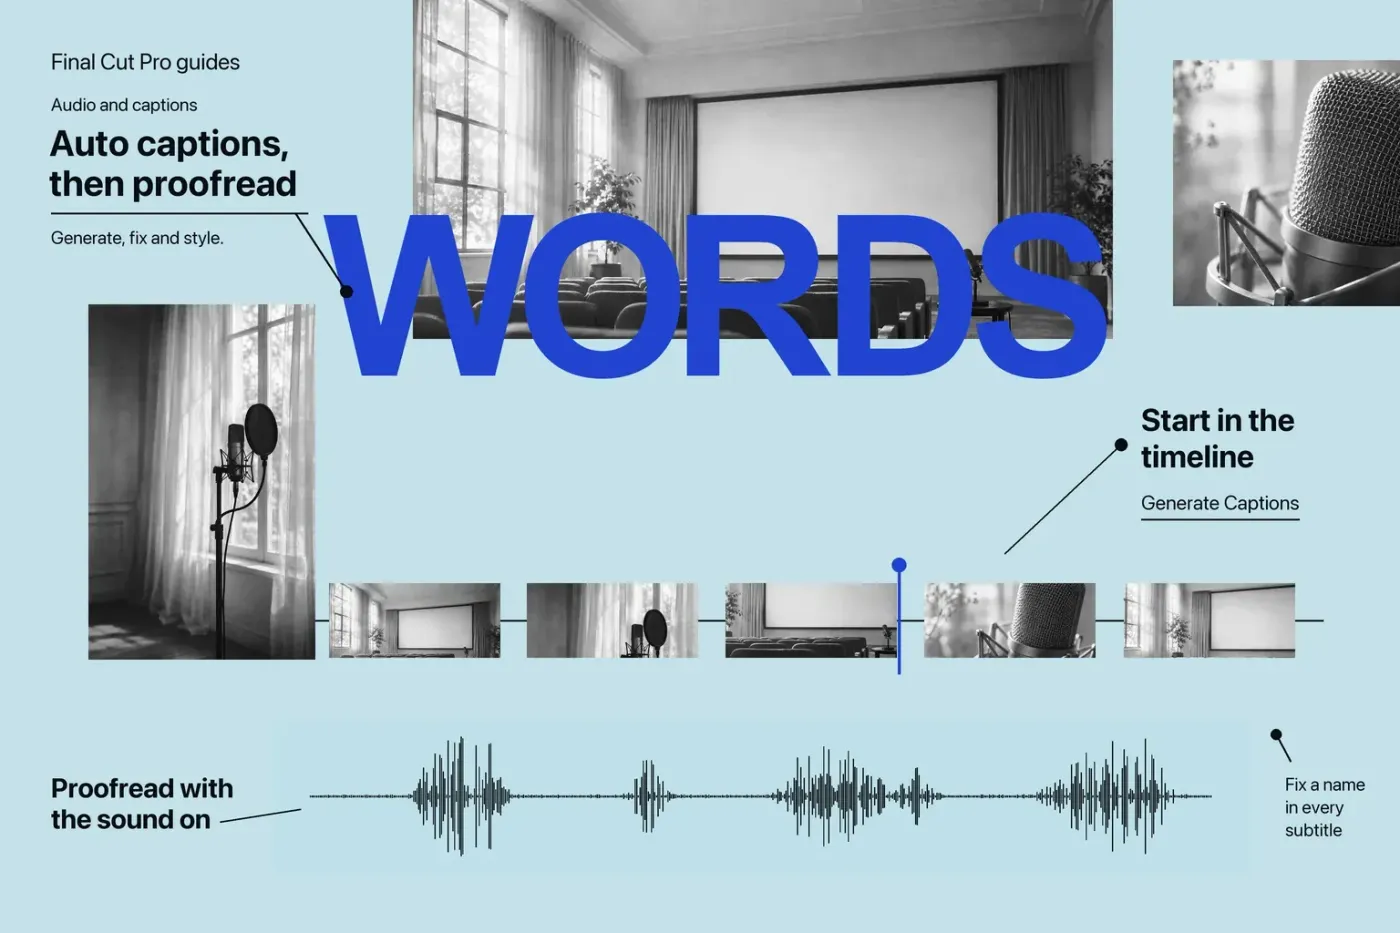
Yes, Final Cut Pro has auto captions built in. Select the clips with dialogue in the timeline and choose Edit > Generate Captions > Subtitles (Shift-Command-S) for styled text in the picture, or Edit > Generate Captions > Closed Captions (Shift-Command-C) for captions viewers can switch off. Both need Final Cut Pro 12.3 or later, a Mac with Apple silicon, and speech in U.S. English. I'd pick Subtitles for TikTok, Reels, and Shorts and closed captions for YouTube and accessibility work, because subtitles are burned into the picture while closed captions travel as a separate track.
Below: what you need, which output to choose, the steps on a Mac and on iPad, how accurate the transcription is in published tests, a fast proofreading routine, styling and animation, converting and exporting, other languages, and what to check when the command is missing.
What you need before you start
| Requirement | Final Cut Pro for Mac | Final Cut Pro for iPad |
|---|---|---|
| App version | 12.3 or later for both Subtitles and Closed Captions; 11.0 to 12.2 offer closed captions only, as Transcribe to Captions | Current Final Cut Pro for iPad |
| Hardware and system | Mac with Apple silicon; current Final Cut Pro needs macOS 15.6 or later | iPadOS 26 or later on a supported iPad |
| Language | U.S. English | U.S. English |
| First run | Internet connection to download the language model once | Not specified |
| Where the clips are | In the timeline, not the browser | In the timeline |
Apple lists the Apple silicon and U.S. English conditions in the Final Cut Pro release notes for 12.3, and the macOS and memory minimums are on the Final Cut Pro technical specifications page. If you aren't sure which chip your Mac has, the guide to Final Cut Pro system requirements shows where to find the exact model.
The clips have to be in a project. Larry Jordan's first look at Transcribe to Captions in Final Cut Pro 11 points out that it doesn't work on clips in the browser, and his later comparison notes that the transcription runs on the Mac itself rather than in the cloud.
Subtitles or closed captions: which to generate
Both commands start the same way but produce very different clips.
| Question | Subtitles | Closed captions |
|---|---|---|
| What appears in the timeline | Title clips connected to your clips, with the Subtitles role | Caption clips in a captions lane at the top of the timeline, in iTT format |
| Who controls visibility | Always on screen, rendered into the picture | The viewer turns them on or off, unless you burn them in |
| Look | Any font, size, color, and word-by-word animation | Limited by the caption format |
| Editing text | Like any title; Find and Replace Title Text works across the project | Caption editor (Control-Shift-C) with format checks |
| Delivery | Part of the exported video | Sidecar file (iTT or SRT) or embedded CEA-608 |
| Best for | Vertical social video that plays muted | YouTube, broadcast, streaming, accessibility |
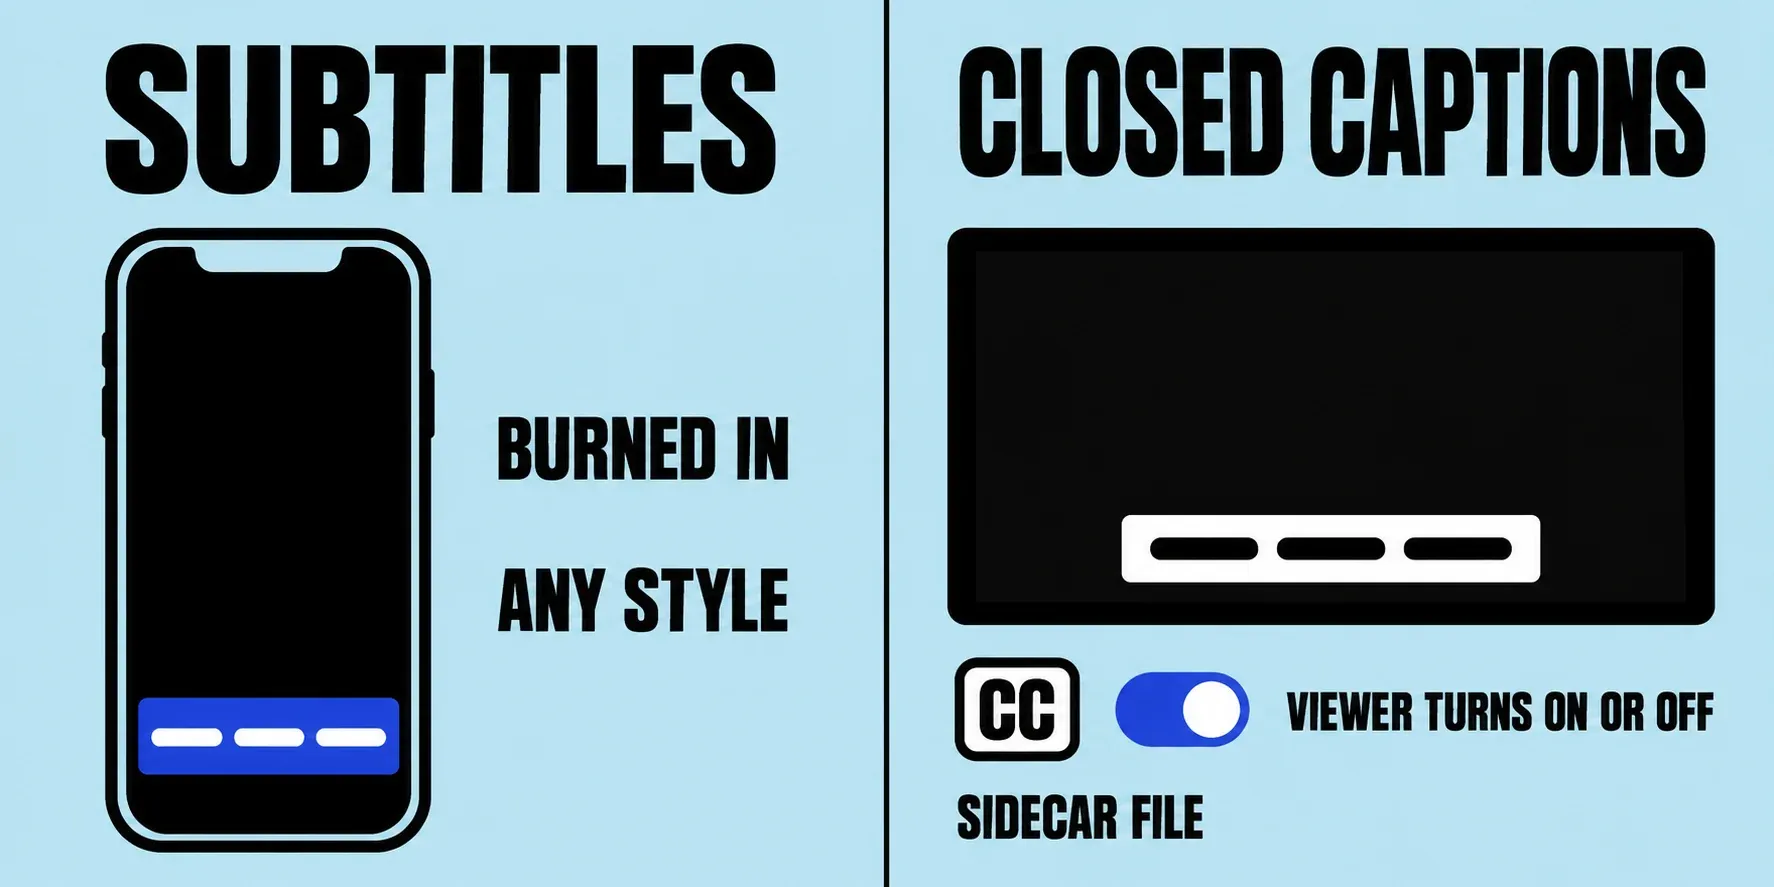
Iain Anderson's review of Final Cut Pro 12.3 makes the accessibility point plainly: closed captions are the better choice for viewers who rely on them, while open subtitles are a design choice. You don't have to commit to one, though. Apple's Duplicate Captions to Subtitles command copies closed captions into subtitle titles and keeps the originals, so one transcription can feed a YouTube upload and a vertical cut. When a client brief or platform spec decides the format for you, the guide to choosing captions or subtitles walks through those delivery requirements.
Generate auto captions on a Mac
- Clean up the dialogue. Apple's page on creating closed captions warns that background noise, music, or overlapping dialogue can reduce accuracy and timing, and suggests the Voice Isolation and Noise Removal tools for enhancing audio. If the good dialogue was recorded on a separate recorder, sync it with the video first.
- Lock the edit. Apple advises finishing dialogue edits before creating captions, because later changes can knock them out of sync.
- Select the clips that contain speech. Click them in the timeline, or Command-click to add more. Leave out music-only clips.
- Run the command. Control-click a selected clip and choose Generate Captions > Subtitles or Generate Captions > Closed Captions. The same choices sit in the Edit menu (Shift-Command-S and Shift-Command-C) and in the Enhancements pop-up menu below the viewer.
- Let the model download. The first time, Final Cut Pro downloads its language model, so the Mac needs an internet connection once.
- Check where the text landed. Apple's guide to generating subtitles automatically says each clip becomes connected title clips that start and end with the words, using the default Subtitle title from the Subtitles category of the Titles and Generators sidebar. Closed captions go into the captions lane at the top of the timeline. With J- and L-cuts, the text connects to whichever neighboring clip overlaps the audio.
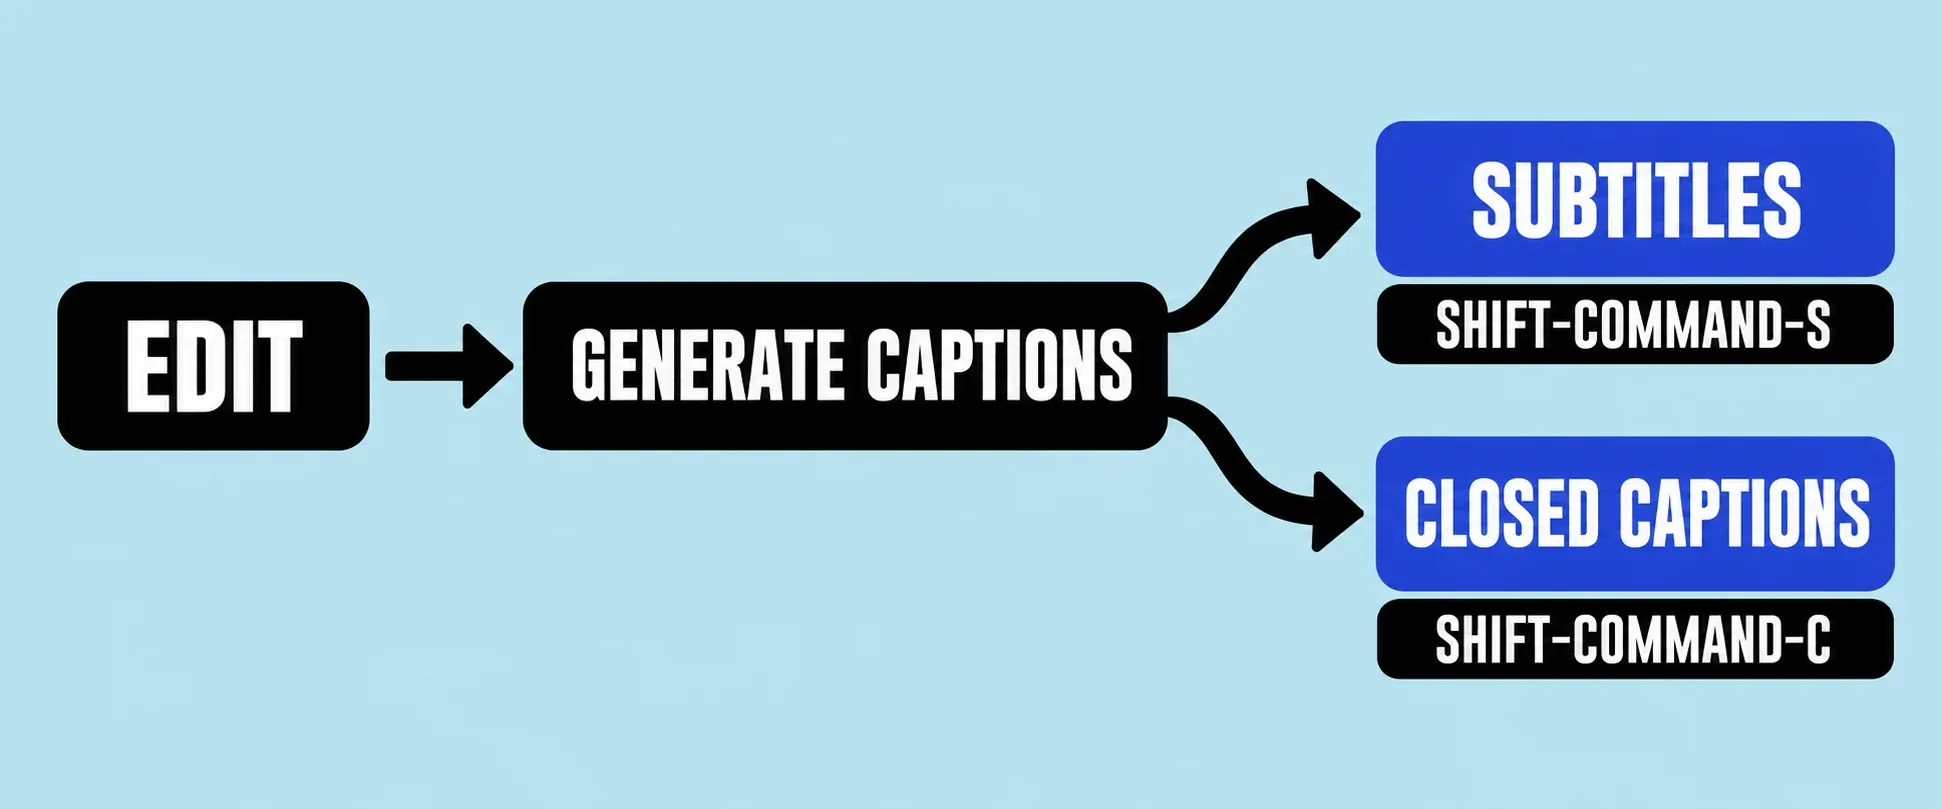
Every caption and subtitle is a connected clip. It moves with the clip it's attached to, and deleting that clip deletes its captions too, so cut anything you don't need before you proofread. The generate commands sit with the other caption keys in the list of Final Cut Pro keyboard shortcuts, including Option-C for adding a caption by hand at the playhead.
Generate captions on iPad
Final Cut Pro for iPad has Generate Captions on iPadOS 26 or later, again for U.S. English only. Apple's iPad captions page lays out the steps:
- Select the clips with speech in the timeline.
- Touch and hold a selected clip and tap Generate Captions, or choose Edit > Generate Captions (Shift-Command-S with a keyboard).
- The new clips connect in sync with the Subtitles role and use the default Subtitle title from the Titles category of the content browser.
- To restyle them all, tap Select at the top right of the timeline and choose Select All Subtitles, then tap Inspect at the lower left. The same Animation Style, Animate By, and Vertical Social Media Safe settings are there.
To give future runs your own look, tap the browser button in the toolbar, tap Titles, touch and hold a title thumbnail, and choose Make Default Caption.
How accurate Final Cut Pro's auto captions are
They're fast and usable as a first draft, but not finished text. Two independent hands-on reviews published detailed results, both on Final Cut Pro 11's Transcribe to Captions. Apple's 12.3 release notes add the subtitle output and styling tools without claiming a new recognition model, and neither review gives a word error rate, so the results below describe the kinds of mistakes rather than a percentage.
| Test | Material | Speed | Accuracy | Timing and editing |
|---|---|---|---|---|
| Larry Jordan, August 2025: Final Cut Pro 11, Premiere Pro 2025, DaVinci Resolve 20 | Three narrated programs of 24, 30, and 44 minutes, clean narration with no music or effects | Fastest of the three; Premiere Pro took 2.6 times as long and Resolve 5.2 times as long to build a transcript and captions | Least accurate of the three, for example "power of" for "PowerUp"; Premiere Pro and Resolve were the most accurate | No view of all caption text in one place, no caption search and replace, no plain transcript export |
| D. Griffin Jones, November 2024: Final Cut Pro 11 | His own recordings, made in ideal conditions | Not measured | Misheard and invented words, weak punctuation, missing capitals after periods and on product names | About one edit in five reverted; captions often ended a few frames early and dropped out at short pauses |
Both sources describe the same shape: speed is the strength, and accuracy needs a person. Larry Jordan's captioning comparison across three editors sums it up as "If you need captions, it's fine. If you need ACCURATE captions, it isn't." D. Griffin Jones's first impressions of Transcribe to Captions found capitalization of names almost absent, with "iPhone 16 pro" among the misspellings. One item on Larry's list now has a workaround: generated subtitles are ordinary titles, so Find and Replace Title Text can search all of them, and 12.3 can turn closed captions into subtitles for exactly that.
My verdict: generate captions on every project with dialogue, then plan a full proofreading pass before anything goes public. I'd spend most of that pass on names, brand terms, and numbers, because those are exactly where both reviews found the errors. If caption accuracy is the deciding factor for your editor, the Final Cut Pro vs Premiere Pro and Final Cut Pro vs DaVinci Resolve comparisons cover the rest of the trade-offs.
Fix mistakes fast
Proofread in one pass from start to finish with the sound on. These tools make it quicker:
- Fix a repeated name everywhere at once. For subtitles, choose Edit > Find and Replace Title Text, set Search in to All Titles In Project, and turn on Whole words or Match case as needed. Replace All fixes a misheard name in every subtitle. Apple's page on finding and replacing title text also covers undo: click the viewer, then press Command-Z.
- Step through closed captions. Double-click a caption, or select it and press Control-Shift-C, to open the caption editor. Command-Right Arrow and Command-Left Arrow move to the next or previous caption, and single-key shortcuts need the Control key while the editor is open, as Apple's page on editing closed caption text explains. Iain Anderson notes the same Command-arrow keys jump between subtitles.
- Close short gaps. Captions and subtitles trim like any clip, so drag an edge across a brief pause to stop the text flashing off and on. For closed captions, Apple's page on adjusting and arranging captions adds Split Captions (Control-Option-Command-C) for multi-line captions, Join Captions to merge neighbors, and Resolve Overlaps.
- Watch for red clips. A closed caption that breaks its format's rules turns red, with a warning in the inspector. CEA-608 allows four lines of 32 characters and iTT allows two lines.
Style and animate subtitles
- Select one subtitle and press Command-A to select every subtitle. Press Command-A again and you'll select everything in the timeline.
- Open the inspector with Command-4 and click the Title button.
- Choose an Animation Style: None, Fade, Scale, Highlight (each word lights up in color in turn), or Fill (words fill with color until the whole line is colored). Then set Animate By to Character, Word, Line, or All.
- For 9:16 video, select Vertical Social Media Safe to keep the text in the safe area for vertical platforms.
- Change the font, size, and color in the Text inspector, or apply a saved text style.
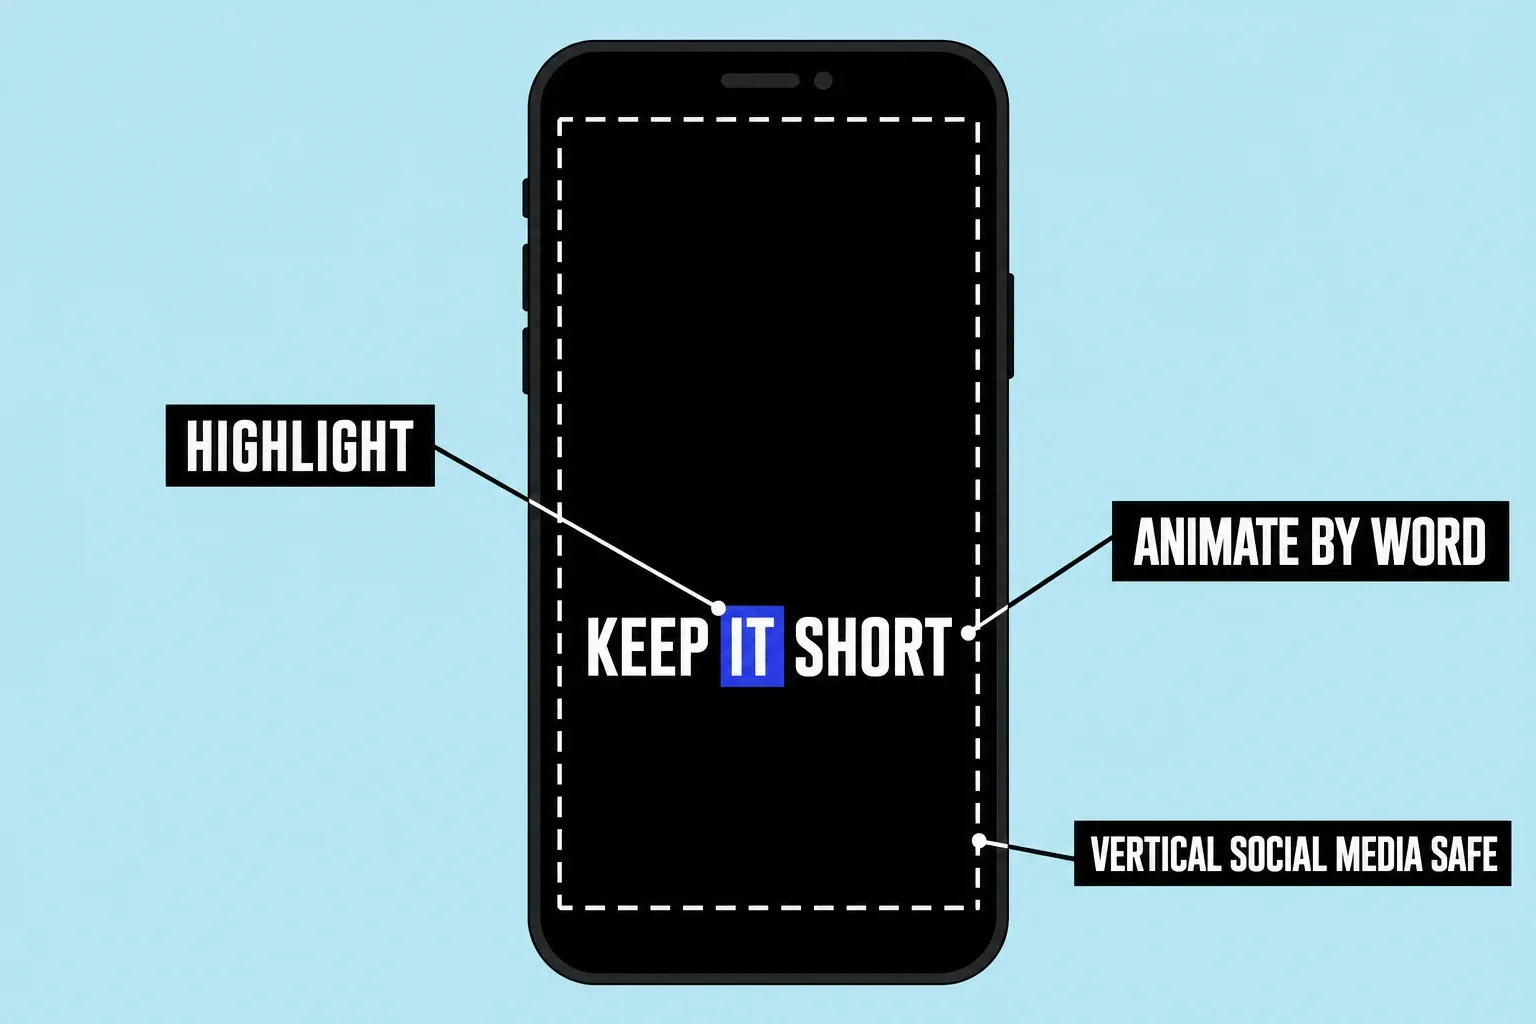
Since 12.3, position, rotation, scale, alignment, and other settings change for every selected subtitle at once. For a completely different design, Iain Anderson's tip is to select all subtitles, find a title with a single text element in the Titles and Generators sidebar, and double-click it to swap the look. FCP Academy's review of the 12.3 AI features also shows a Make Default Subtitle command in a title's shortcut menu, so the next run starts with your style, though not every title works with it.
I'd use Highlight by Word on short vertical clips and None or Fade on long talking-head videos, because word-by-word motion holds attention in a feed but gets tiring over ten minutes. Line breaks need a look either way: Larry Jordan found that none of the three editors he compared breaks lines well, especially for vertical video, so blade an overlong subtitle in two and trim the text in each half. Generated subtitles are standard title clips, so everything in the guide to text and titles in Final Cut Pro applies, and the guide to editing vertical video covers the 9:16 project around them.
Convert captions and subtitles
- Closed captions to subtitles. Select the captions (Command-A selects every caption in that language), Control-click, and choose Duplicate Captions to Subtitles, or use Edit > Closed Captions > Duplicate Captions to Subtitles. The originals stay; turn off their caption role or delete them if you don't need them.
- iTT to SRT or CEA-608. Apple's page on converting captions to another format recommends Duplicate Captions to New Format, which keeps the original, because conversion can lose text or formatting. Assign Caption Roles converts permanently, so back up the project first.
The conversion runs from closed captions to subtitles, so I'd generate closed captions first whenever a project needs both, because one proofread caption track then becomes the caption file and the styled version. Importing an SRT made elsewhere, or delivering one, is covered in the guide to SRT closed captions in Final Cut Pro.
Export or burn in
Subtitles are part of the picture, so every export includes them. For a clean master without text, turn off the Subtitles role in the timeline index (Shift-Command-2, then Roles) before sharing; Apple's page on turning roles on or off confirms that turned-off roles are left out when you share.
Closed captions leave as a separate file or ride inside the video. Choose File > Export Closed Captions, pick the language subroles, and set Start Time to Relative to Timeline or Absolute. For SRT, Apple's page on exporting closed captions recommends deselecting Include Formatting in most cases, since players handle SRT styling unevenly. The Apple Devices, mastering file, Share on the web, MXF, and Compressor destinations include caption options, and many destinations can burn closed captions in so they're always visible.
For YouTube, upload the caption file with the video so viewers can turn it off; the YouTube export settings guide covers the video file itself, and the full guide to exporting from Final Cut Pro explains every share destination.
Other languages and plug-ins
Generate Captions only recognizes U.S. English. For other languages, or for ready-made animated caption looks, these are the common routes:
- mCaptionsAI. MotionVFX's AI caption plug-in for Final Cut Pro lists more than 90 languages and 86 styles, lets you restyle without analyzing the audio again, and imports SRT files.
- Whisper Auto Captions. An app built on OpenAI's Whisper model, with its code on GitHub as Whisper Auto Captions for Final Cut Pro. It lists over 90 languages, sends an FCPXML file straight to Final Cut Pro, saves SRT files, and has builds for Apple silicon and Intel Macs.
- Final Cut Pro Auto Subtitler. A web tool at finalcutsubtitle.com that returns subtitles as an FCPXML file of titles, free with an optional donation, plus a $7.99 plug-in version.
I'd reach for Whisper Auto Captions on an Intel Mac or a foreign-language interview, because it covers both gaps and hands Final Cut Pro either titles or an SRT. If most of your work is non-English short-form video, the Final Cut Pro vs CapCut comparison explains where CapCut's captions have the edge.
Generate Captions missing or greyed out
- Older version. Before 12.3 there's no Subtitles option; versions 11.0 to 12.2 have Transcribe to Captions for closed captions only, and earlier versions have no automatic captions.
- Intel Mac. The feature needs Apple silicon.
- Clips selected in the browser. Select them in the timeline instead.
- No internet on the first run. The language model has to download once.
- Non-English speech. The command only transcribes U.S. English.
If none of these explain it, the guide to Generate Captions not working takes you through version, Mac, language, and menu checks in order.
What I'd do
For a vertical clip, I'd generate Subtitles, fix names with Find and Replace, apply Highlight by Word with Vertical Social Media Safe on, and export, because the text is part of the design and nobody will switch it off. For a YouTube video or anything that needs accessibility, I'd generate closed captions, proofread them in the caption editor, duplicate them to subtitles only if a vertical cut needs them, and export an SRT, because one proofread transcription then serves every version.