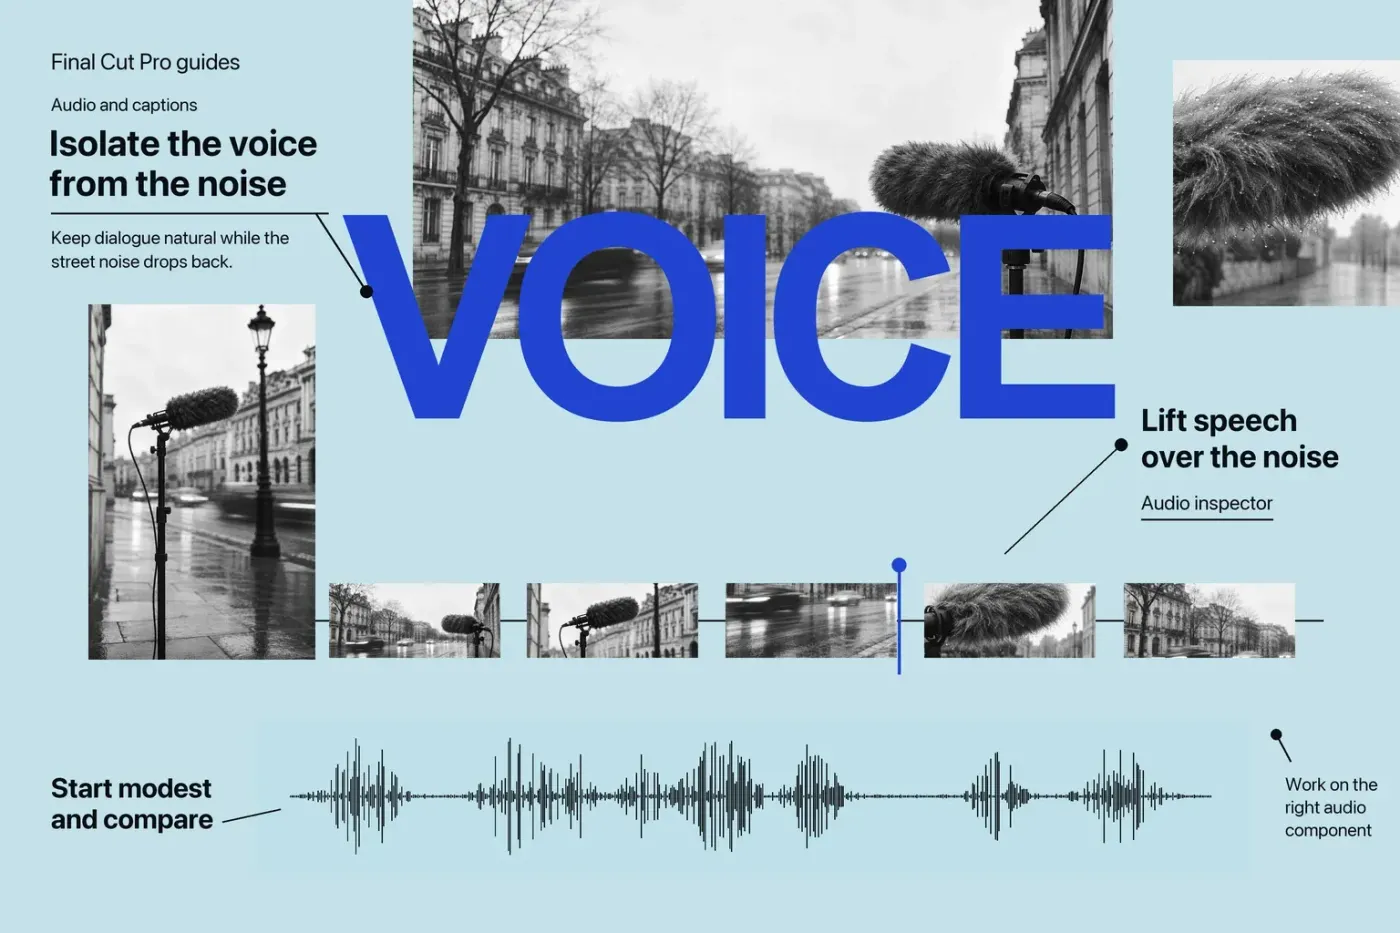
In Final Cut Pro for Mac, Voice Isolation prioritizes detectable human voices over other audio. Select the voice component in the timeline, open the Audio inspector, enable Voice Isolation in Audio Enhancements, and adjust its Amount slider, as Apple's Enhance audio guide shows. I'd start with a modest Amount and listen to the result in context before keeping it, since stronger isolation isn't automatically clearer speech.
Work on the right audio component
Select an audio clip or a video clip containing audio in the timeline. If the clip contains more than one audio component, such as dual mono, Apple says audio enhancement works at the component level. To expose the components in the timeline, keep the clip selected and choose Clip > Expand Audio Components (Control-Option-S). Select the individual component you intend to treat before changing its settings. If the inspector is hidden, choose Window > Show in Workspace > Inspector (Command-4), then click the Audio button at the top of the inspector. Processing the wrong channel can leave the problem in place while altering audio you wanted to keep.
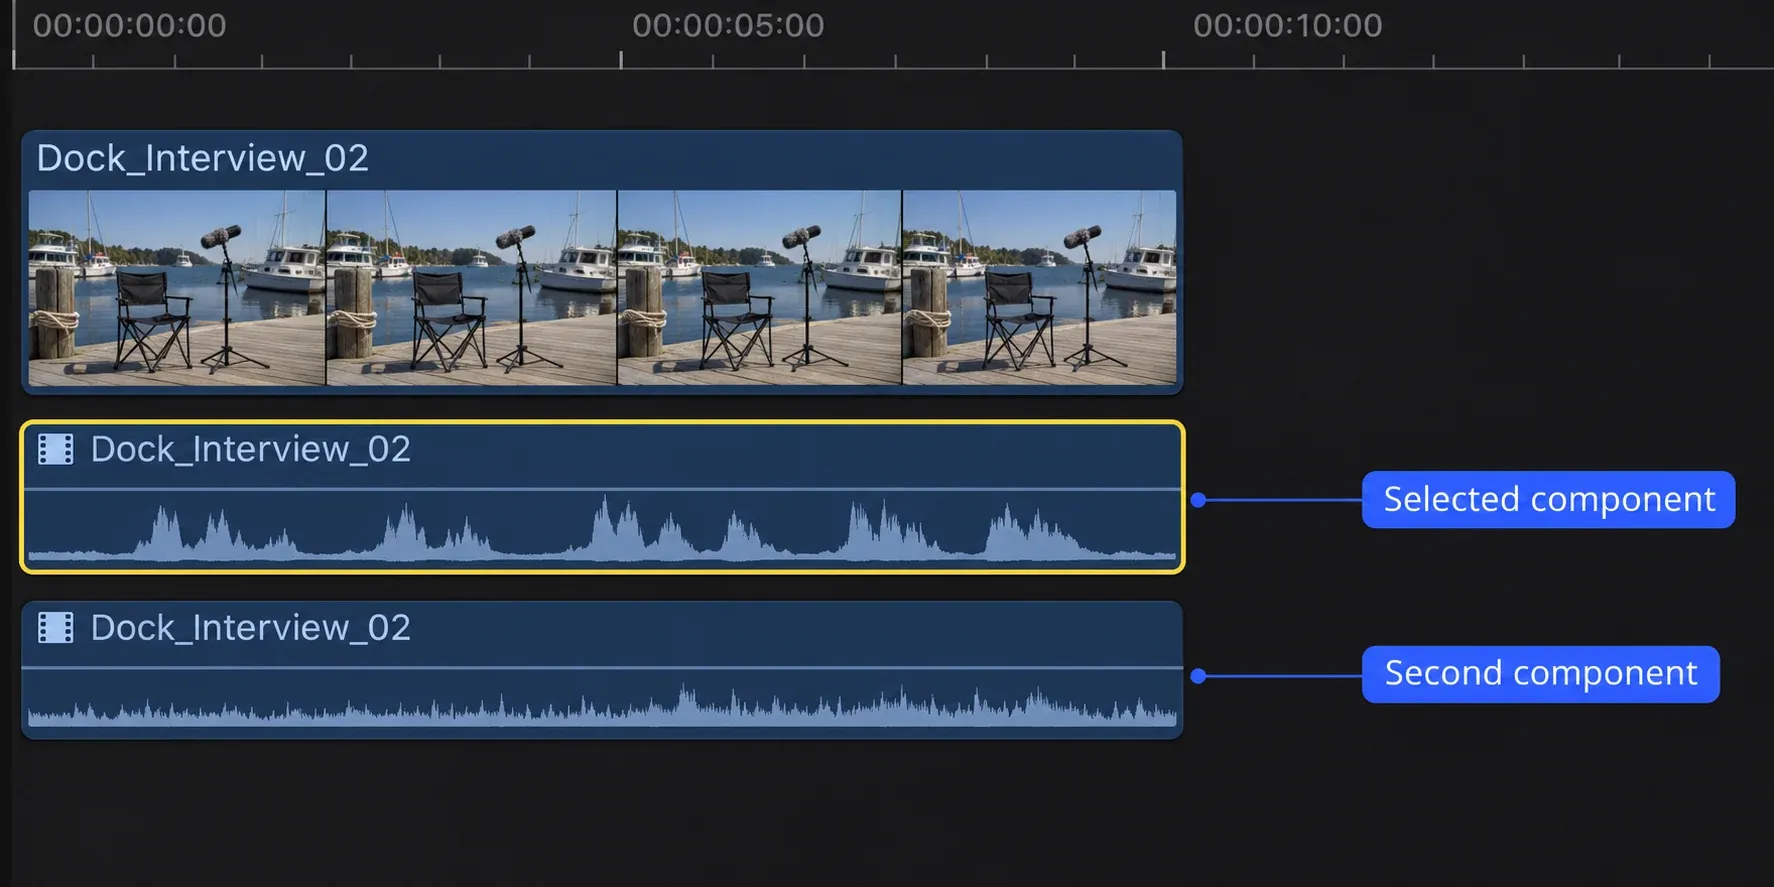
If the dialogue was captured separately from the camera video, first confirm that the intended recording is the one used by the edit. The external-audio synchronization guide covers that different task. Voice Isolation changes the audible signal; it does not move a recording into sync.
Start with a modest setting and compare
With the intended component still selected, open the Audio inspector and locate Audio Enhancements. Select the Voice Isolation checkbox, then move its Amount slider. Keep expectations narrow: this control prioritizes any detectable human voices over other parts of the signal. Don't expect it to remove every background sound or repair an unusable microphone recording. The same inspector also includes Loudness, Background Noise Removal, Hum Removal, and Equalization; keep track of which ones are already enabled before attributing a change to Voice Isolation alone. If a control is hidden, move the pointer to the right side of its enhancement bar and click Show.
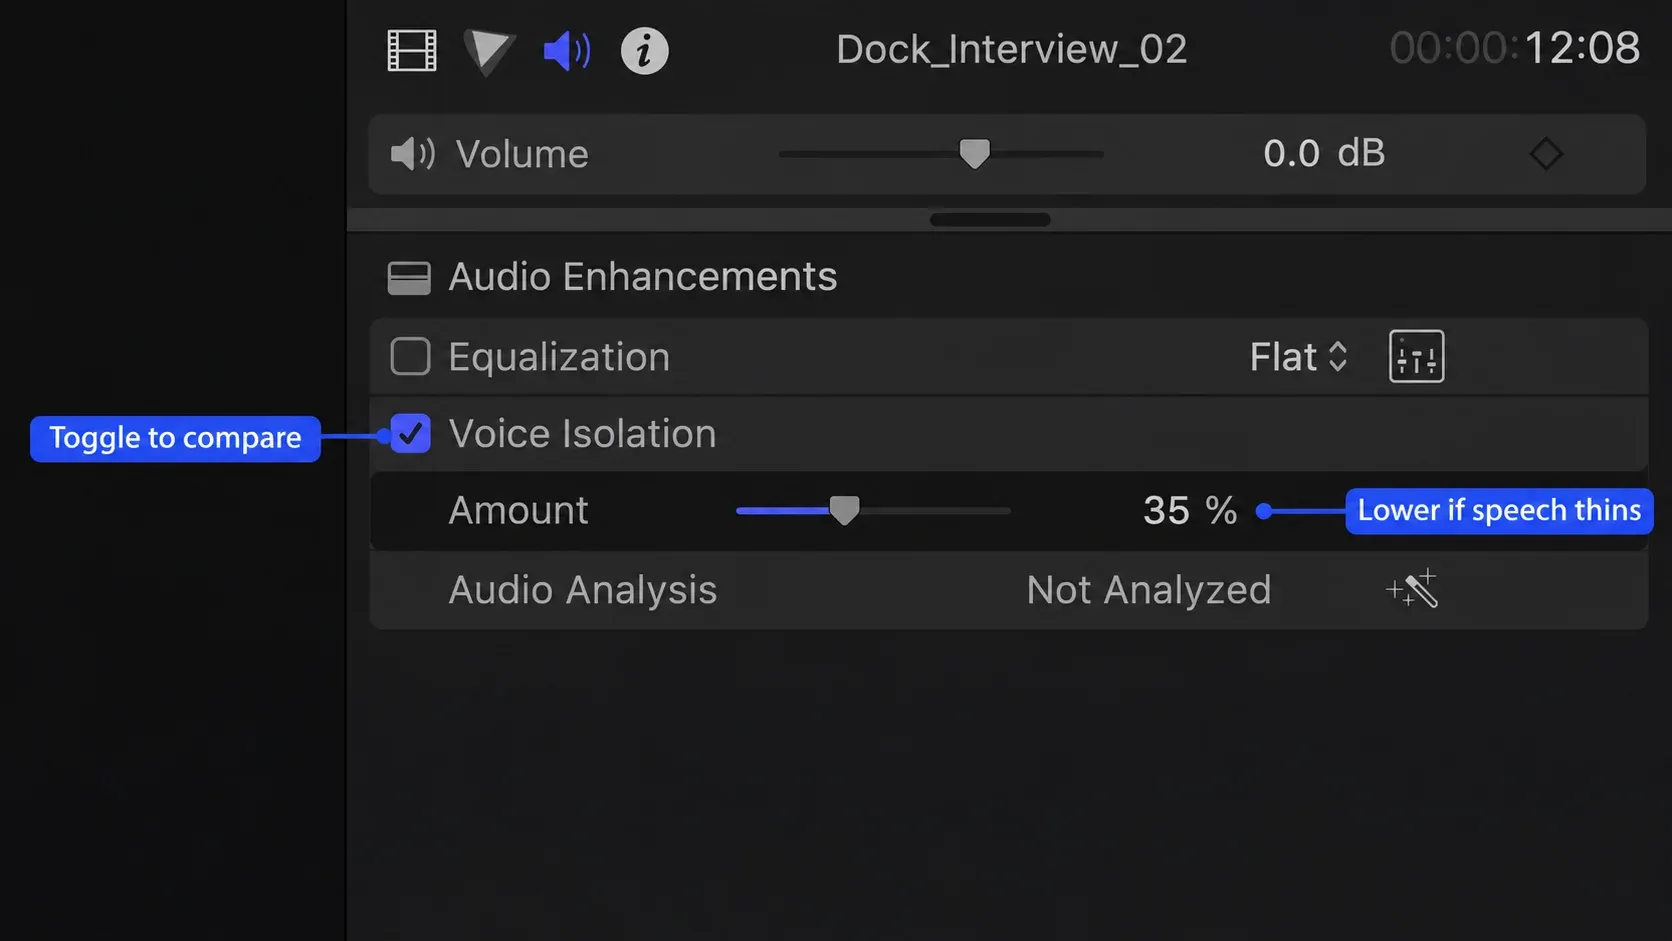
Compare the same short passage with the checkbox on and off at a similar listening level. Include a quiet phrase, a loud phrase, and a place where the unwanted sound is present. Listen for consonants, breaths, reverberation, and the continuity of the background between words. If the speech becomes thin or broken, reduce Amount or turn the enhancement off for that component.
Avoid processing several voices blindly
Apple warns that turning on Voice Isolation for several audio components playing at the same time may result in garbled audio. If that happens, its guidance is to turn the feature off on one or more components. In a conversation edit with overlapping microphones, I'd listen component by component and decide which microphone carries each speaker at a given moment. Don't assume that applying the same Amount to every track makes the mix consistent.
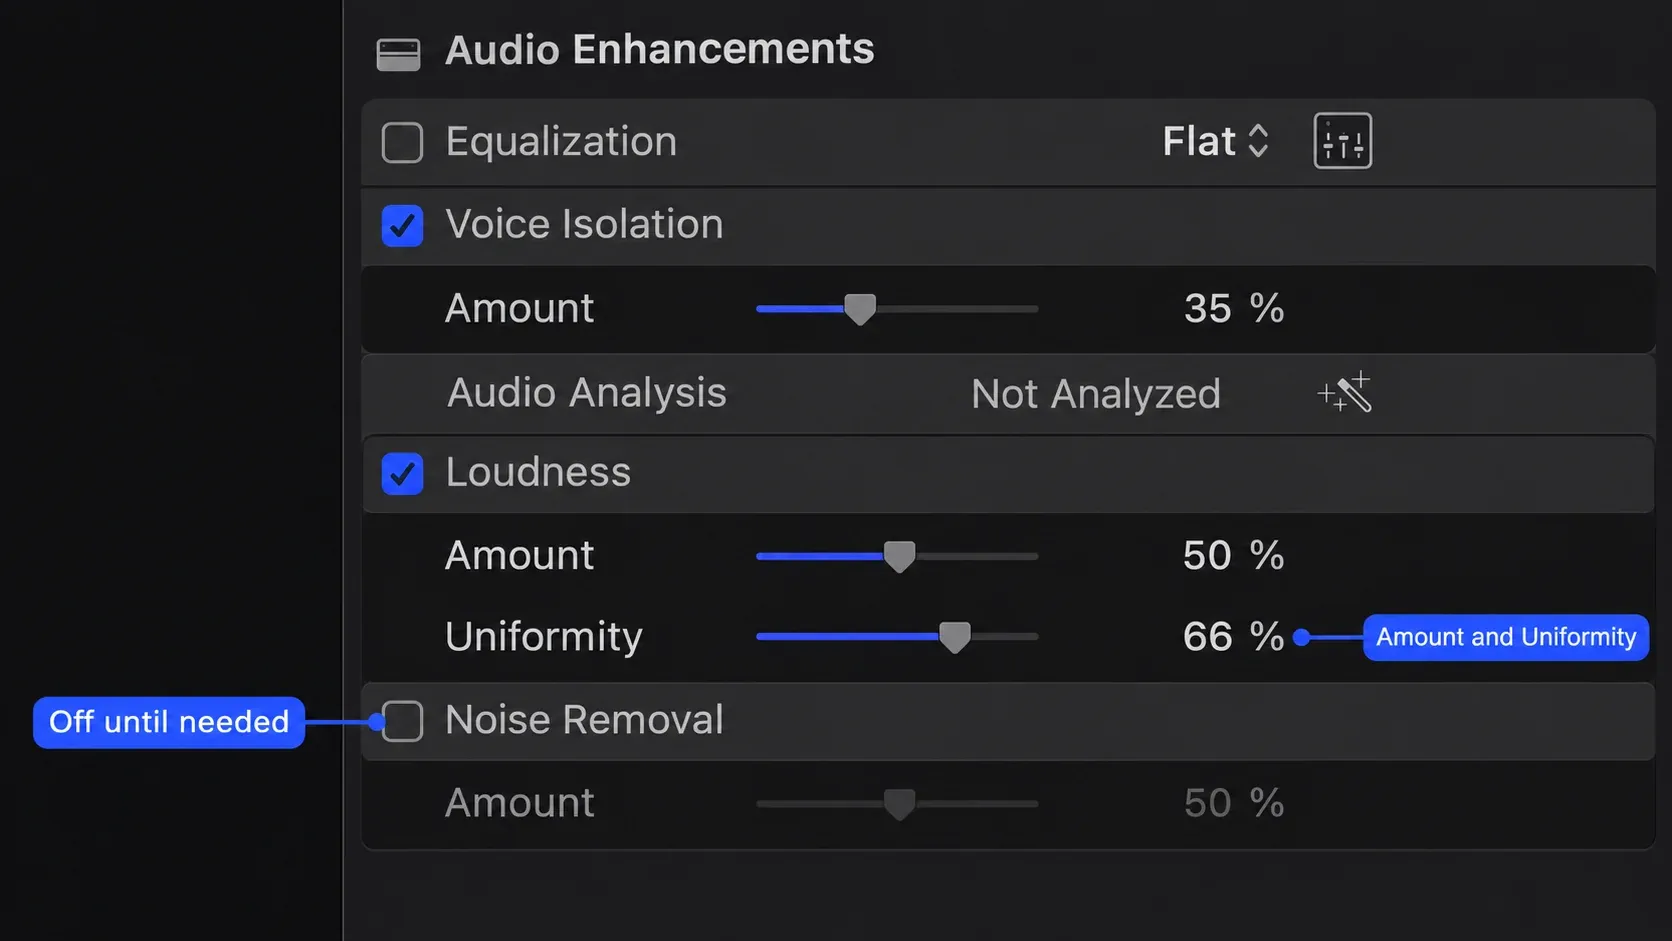
Voice Isolation, Background Noise Removal, and Loudness have different controls: Noise Removal has its own Amount slider, while Loudness uses Amount and Uniformity. Change one control at a time so you can hear which setting improves or worsens the sound. To disable an enhancement, deselect its checkbox; that doesn't delete the source recording.
Check the finished audio, not just the inspector
Listen to the voice against music and effects in the actual sequence. A voice that sounds isolated when soloed may still be difficult to understand in a full mix. I'd check a rendered export as a separate delivery step, because the inspector view alone doesn't show how the output sounds. Once the mix is finished, the YouTube export settings guide covers a separate delivery decision.