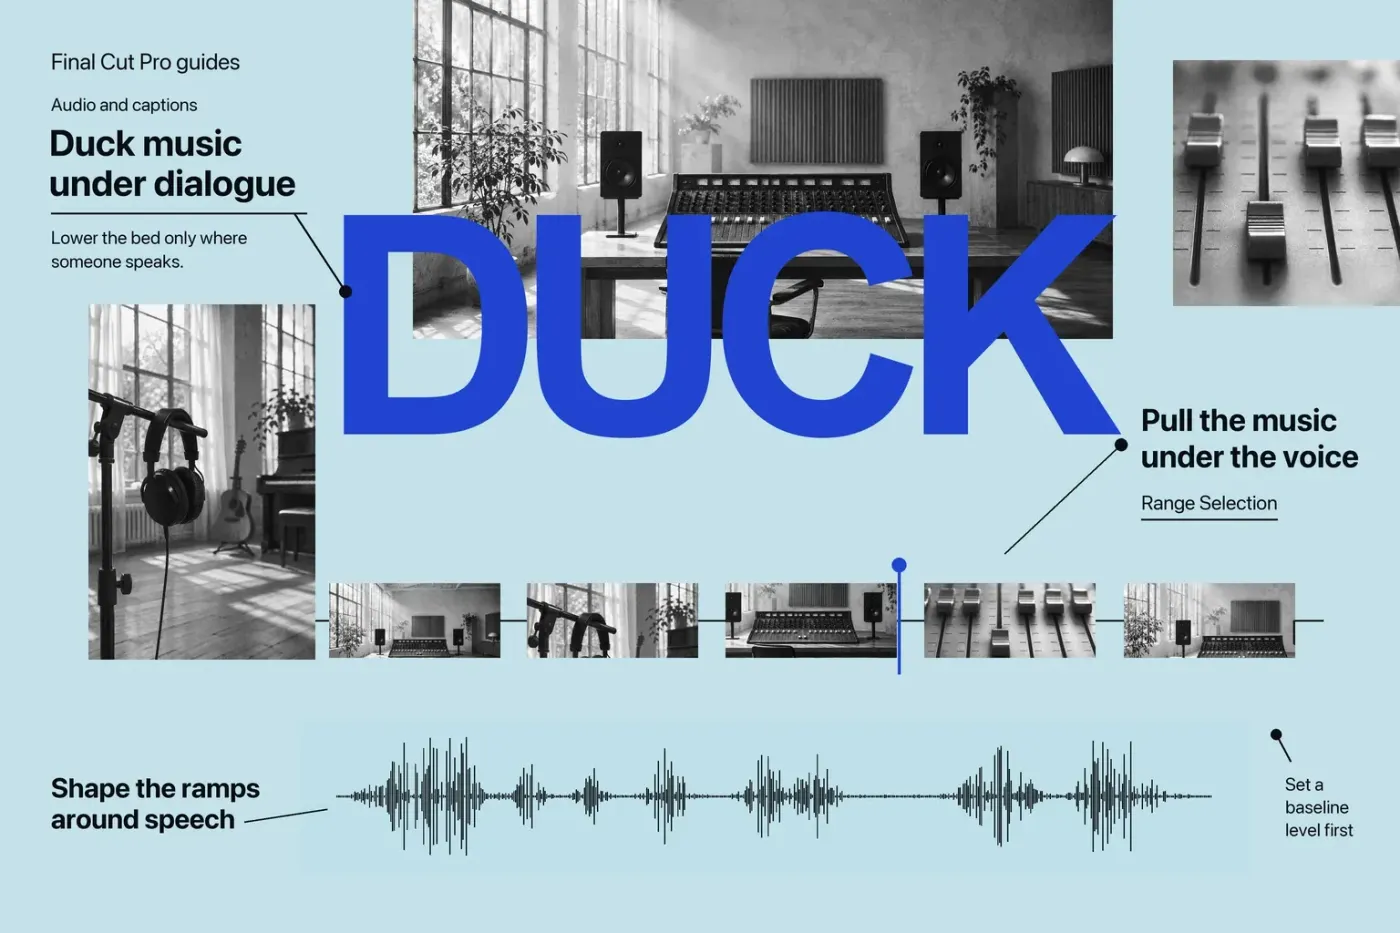
Final Cut Pro has no automatic ducking switch, so you duck music by hand: press R for Range Selection, drag across the music under the spoken line, and drag the volume line down inside that range. Final Cut adds the keyframes at the edges of the range for you. Apple's volume guide calls this ducking and documents it as a manual range adjustment. When a long interview needs a dip under every answer, a third-party tool such as PowerDuck or FCP AutoDuck NX can do the dipping for you, and the comparison below shows which one fits your edit.
This page covers one job: getting music and effects out of the way of speech. Making several dialogue clips sound equally loud, or hitting a loudness target for a platform, is a different task, and the leveling guide for dialogue clips handles it.
Does Final Cut Pro have auto ducking?
No. The Audio Enhancements in Final Cut Pro are Equalization, Voice Isolation, Loudness, Background Noise Removal, and Hum Removal, and none of them lowers one clip when another plays. If a page sends you to a ducking control in the Audio inspector, it describes a feature Final Cut doesn't have.
The confusion often comes from iMovie. In iMovie for Mac you select a clip, turn on Lower volume of other clips, and set how far the rest of the sound drops. Final Cut has no equivalent checkbox, so every dip has to be built from volume changes on the music itself.
That leaves three routes:
- Range Selection by hand: free, built in, and exact. It suits a video with a handful of spoken passages.
- PowerDuck: an Audio Unit plug-in that rides the music level while you play and then bakes the result into ordinary volume keyframes.
- FCP AutoDuck NX: a separate Mac app that analyzes exported role files and sends back a ducked timeline as FCPXML.
Set a baseline clip level
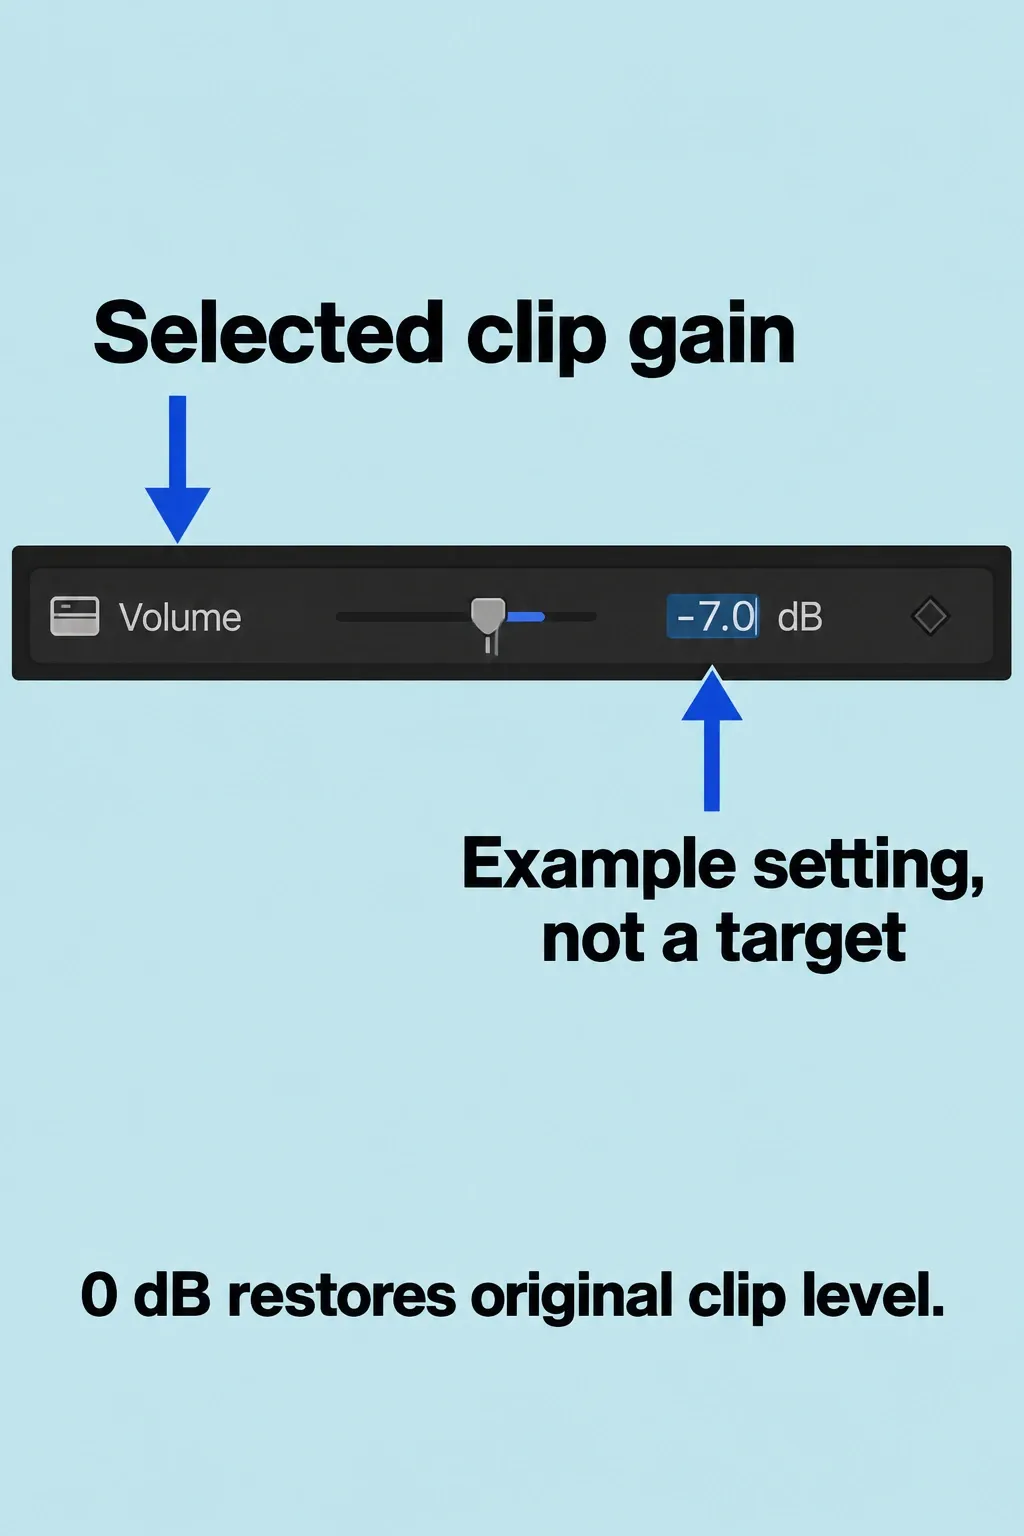
Before you duck anything, set the music for the moments when nobody speaks. Play a passage that contains talk and gaps, then drag the music clip's volume line up or down in the timeline, or select the clip, press Command-4, click the Audio button, and set the Volume slider or field in the inspector. I'd set this level in the gaps first, because that's where the music is heard on its own; the duck only has to handle the lines.
It helps to see the music under the dialogue instead of hunting for it between connected clips. Open the Index with Shift-Command-2, click Roles, and click Show Audio Lanes: audio lanes stack Dialogue, Music, and Effects in separate rows without changing playback. Every spoken passage now sits directly above the music you need to lower.
Duck music only where speech needs space
Lower only the part of the music that sits under speech. The steps are the same for a music clip, an effects clip, or a video clip with audio:
- Select the music clip in the timeline.
- Choose Range Selection from the Tools pop-up menu above the timeline, or press R.
- Drag across the music from just before the first word to just after the last word of the passage.
- Drag the volume line inside the range down. The dB value appears as you drag. To mute the range instead, choose Modify > Adjust Volume > Silence (–∞).
- Play from a few seconds before the range to a few seconds after it.
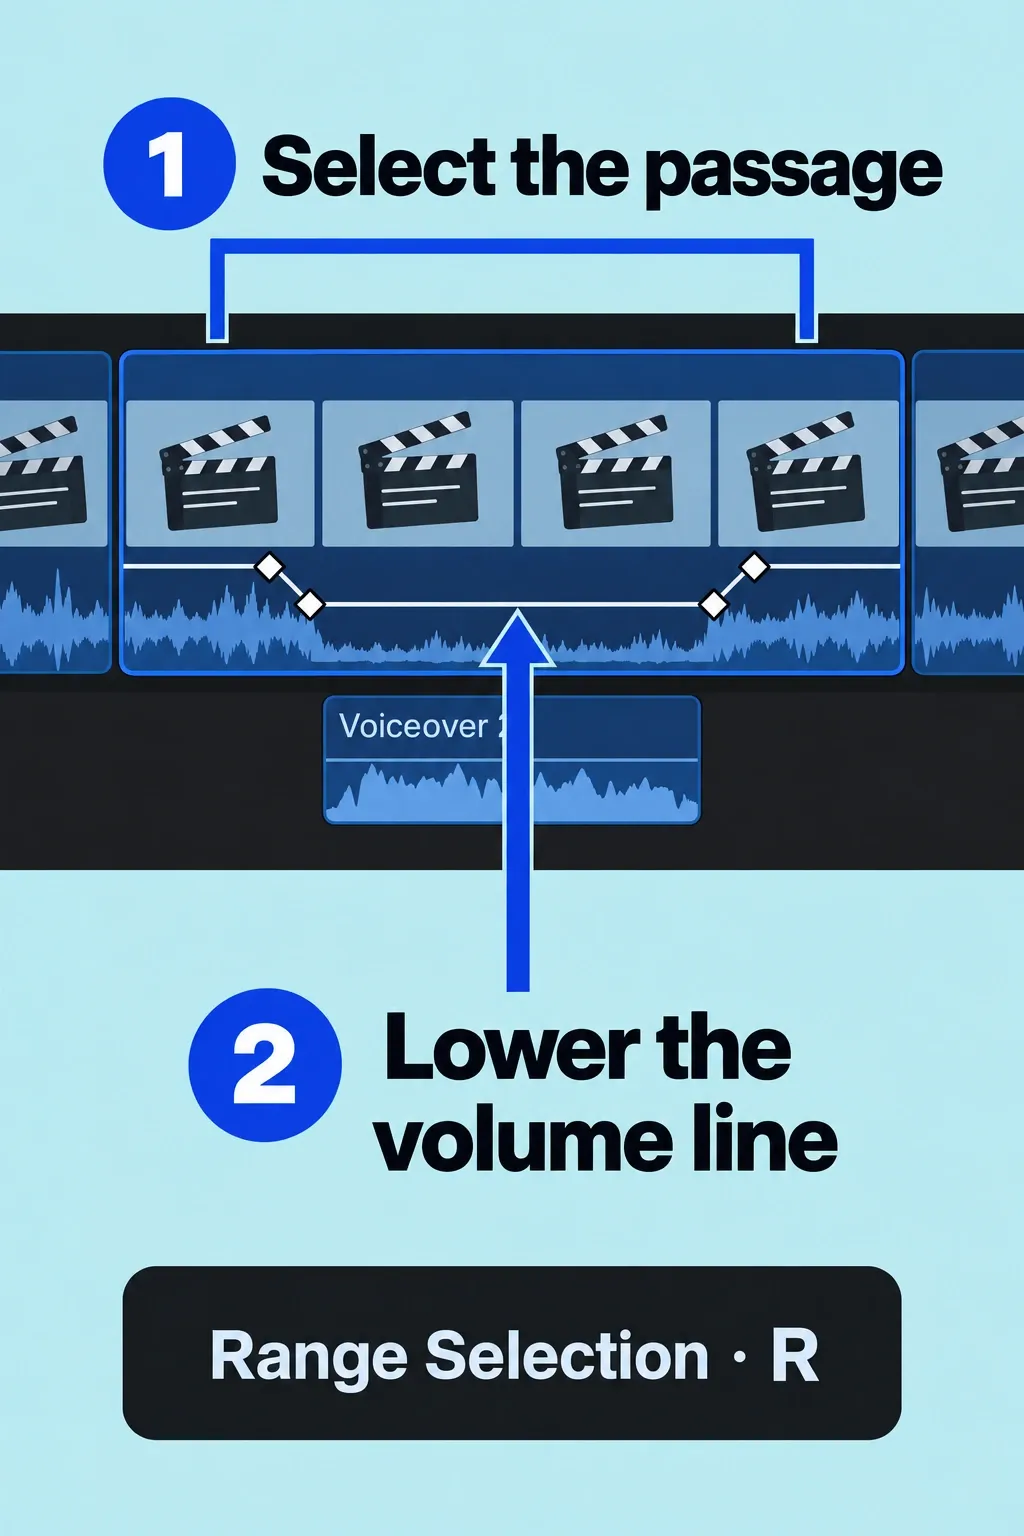
There's no correct dB number for the dip. A sparse piano bed may need very little, while a busy track with vocals can still cover the quietest words at a much lower level. Listen for the softest syllables in the passage: if they're clear with the music playing, the duck is deep enough. Lower it further only where a specific word still gets lost.
My default is one range per spoken passage, not one per sentence. A bed that dips and rises between every line draws more attention than one that stays down through a short exchange, and fewer ranges mean fewer keyframes to fix when the cut changes.
Shape the ramps so the duck doesn't jump
A dip that starts on the first syllable sounds like a mistake. The ramps sit between the keyframes at each edge of the range, and you can move them. Select the music clip, press Control-A to open the Audio Animation editor, select a keyframe, and drag it left or right; Apple's keyframe guide notes that the timecode value appears as you drag. Drag the keyframes at the start of the dip earlier so the music is already down when the voice starts, and give the release after the last word a little more time.
To add a point by hand, Option-click the volume line on the clip, then drag the new keyframe up or down. Volume keyframes appear as white diamonds. To remove one, select it in the Audio Animation editor and press Option-Shift-Delete. The keyframes guide covers the same controls for other audio effects.
If the music should stop rather than dip, skip the duck and fade it out with the fade handles at the end of the clip; the audio fade guide covers fade shapes and crossfades.
Change the whole bed later without losing the ducks
Once a clip has ducks, choose carefully how you change its overall level. Modify > Adjust Volume > Relative (Control-L) changes the volume by the same amount throughout the selection and keeps fades and other keyframe adjustments. Absolute (Control-Option-L) sets the whole selection to one level and deletes keyframe adjustments, which wipes out every duck in it. Once a music duck exists, my default is Relative, because one careless Absolute command removes it. In the Audio Animation editor, Command-Option-drag a keyframe or the volume control up or down for the same result: every keyframe moves by the same amount and the shape stays.
Duck a music bed made of several clips
Apple's Mac steps describe a range inside one clip. When a spoken passage crosses an edit in the music, I'd combine the pieces first, so one range covers the whole line instead of a dip on each piece. Select the music clips and choose File > New > Compound Clip (Option-G): the compound clip behaves as one clip in the timeline. To change a music edit later, double-click the compound to open it; the duck on the compound stays in place.
On a locked cut, role components give you a mix bus instead. Wrap the edit in a compound clip, select it, and choose Clip > Expand Audio Components (Control-Option-S). The Music component then holds every music clip. As Apple's multichannel editing example shows, you drag inside a component to select a range, then lower its volume line or use the Modify menu or keyboard; Final Cut creates the keyframes within the range. The compound clips guide explains how role components work like an audio bus. I'd keep this for the final mix, because from then on the whole edit sits inside one compound clip.
Duck audio in Final Cut Pro for iPad
Final Cut Pro for iPad uses the same idea with touch controls. Open the project, tap Volume in the lower-left corner, then tap Range at the top of the timeline. Drag across the part of the music under the speech, then drag the volume fader on the left side of the timeline down. Apple's iPad volume guide says keyframes are added at the beginning and end of the range, and you can adjust each one afterward.
One difference helps on iPad: a range can span several consecutive clips, so a music bed cut from multiple pieces doesn't need a compound clip first. Keep in mind that the Volume Offset dial in the inspector and the timeline fader are additive. If you lower the dial for the whole clip after ducking, the dip goes down by the same amount.
Automatic ducking with PowerDuck or FCP AutoDuck NX
The two tools work in very different ways. PowerDuck is an Audio Unit and VST3 plug-in: one copy goes on the dialogue, one on the music, and the music level follows the voice while you play. For the voice copy, the developer recommends a compound clip of the dialogue in the final mix, though pasting it onto many clips also works. When the mix sounds right, one click bakes the result into ordinary volume keyframes, and the audio files themselves aren't changed.
FCP AutoDuck NX runs outside Final Cut. You export the Dialogue, Music, and Effects roles as separate audio files, drag them into the app, adjust the threshold in its visual editor, and click Duck. The app writes a new timeline into a library you choose; you copy the ducked music and effects from it, paste them into your edit, and disable the original clips. The audio stems guide shows how to export separate role files for that first step.
| PowerDuck | FCP AutoDuck NX | |
|---|---|---|
| What it is | Audio Unit and VST3 plug-in inside Final Cut Pro | Separate Mac app with an FCPXML round trip |
| How you set it | One copy on the dialogue, one on the music; five duck styles | Threshold, Attack, Pre-roll, and Hysteresis on a visual waveform |
| What you get back | Live ducking, then baked volume keyframes on your own music clips | A new timeline with ducked music and effects that replace the originals |
| Paths | Dialogue copy drives the music copy | Dialogue, Music, Sound Effects, and Filler |
| Other hosts | Logic Pro and other Audio Unit or VST3 hosts | Built for Final Cut Pro; returns a timeline as FCPXML |
| Requirements | macOS 12 or later, Apple silicon or Intel | Not stated on the product page |
| Price | $29.95, one-time purchase | €12.49, no subscription |
| Trial | 7 days, no account needed; 14-day money-back guarantee | 7 days |
The deciding question is how settled your cut is. While the edit still changes, I'd pick PowerDuck, because it works on the clips already in the timeline and only turns into keyframes at the bake. AutoDuck NX fits a locked cut where one round trip is fine and you also want effects ducked under speech; if the picture edit moves afterward, you export and duck again. Download either tool only from its developer's own site.
Check peaks and the delivered file
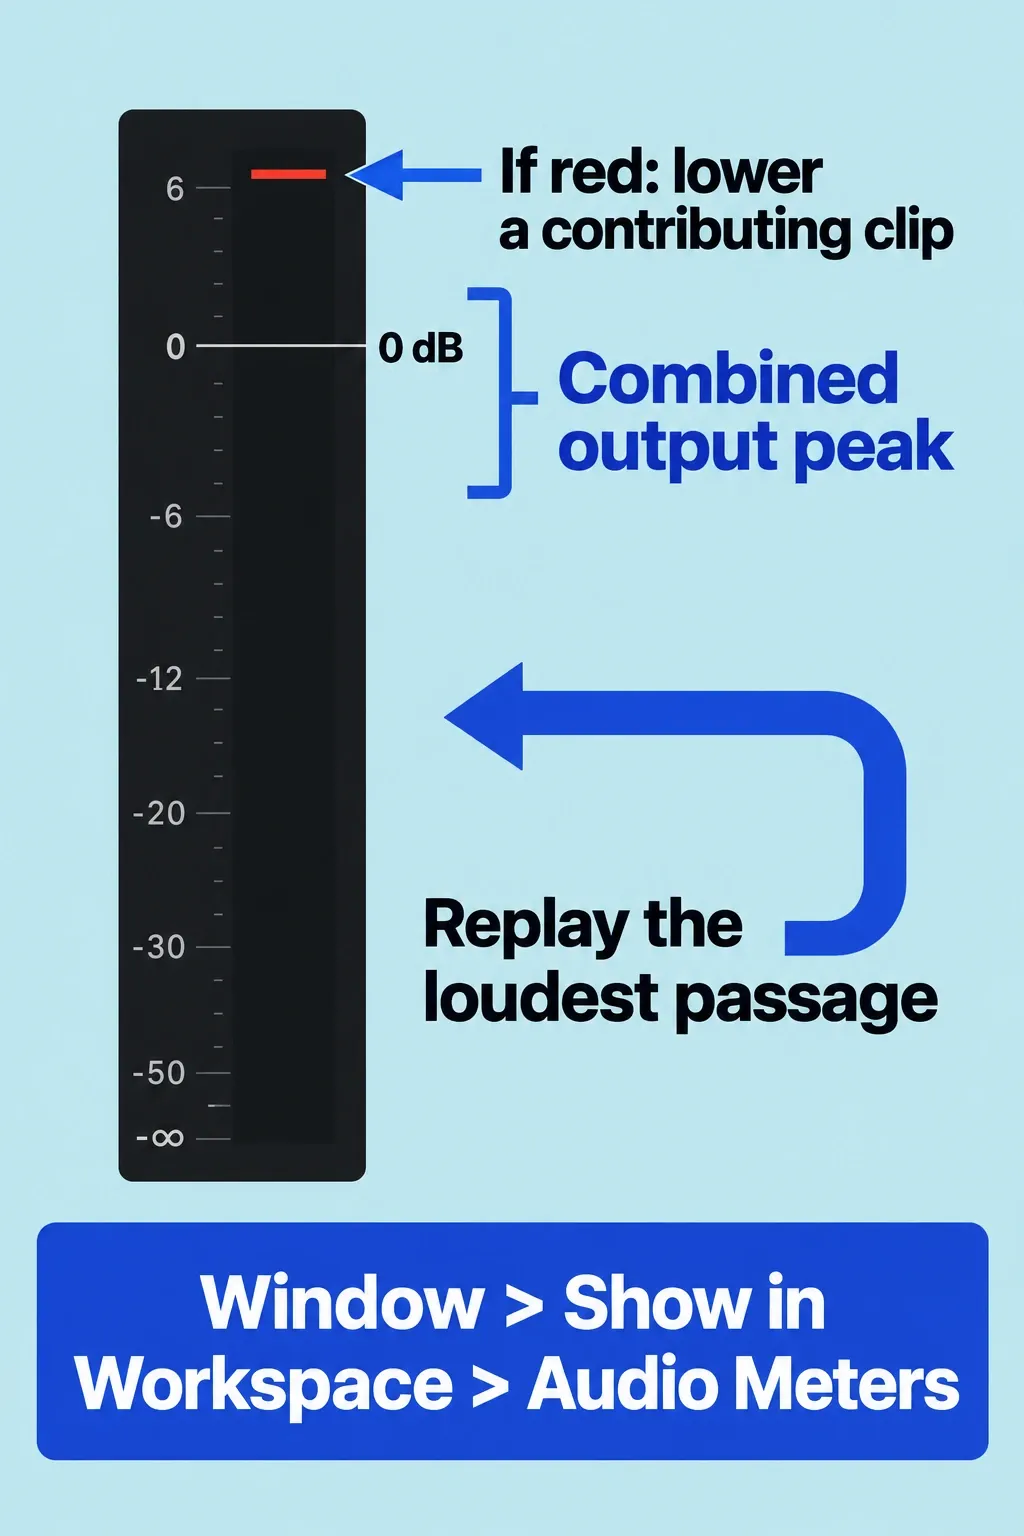
Ducking lowers the music, but the loudest passage can still peak. Show the meters with Window > Show in Workspace > Audio Meters, or click the audio meters icon below the viewer, and play the busiest part of the scene. According to Apple's audio meter guide, the combined audio of all clips playing at the same time shouldn't exceed 0 dB; if the peak indicator turns red, lower a contributing clip and replay the passage. That limit protects against distortion. It isn't a loudness target for YouTube or broadcast.
If the dialogue still sounds buried after a deep duck, the problem may be in the voice recording rather than the music. Room noise and hum compete with speech in the same way, and Voice Isolation is the tool to try on the dialogue before you push the music any lower.
Then export the finished mix and listen to the file on the speakers or headphones your audience will use. A clean timeline preview doesn't prove the file is right. The Final Cut Pro export guide covers formats and destinations, and the YouTube export settings guide covers the upload step.
What I'd do
For a video with a few spoken passages, I'd duck by hand: one Range Selection per passage, ramps moved a little earlier than the first word, and Relative for any later change to the bed. For a long interview or podcast with music under most of it, PowerDuck saves the most time while the cut is still moving, and AutoDuck NX is the cheaper choice once the edit is locked. In every case, judge the duck by the quietest words, not by a dB number.