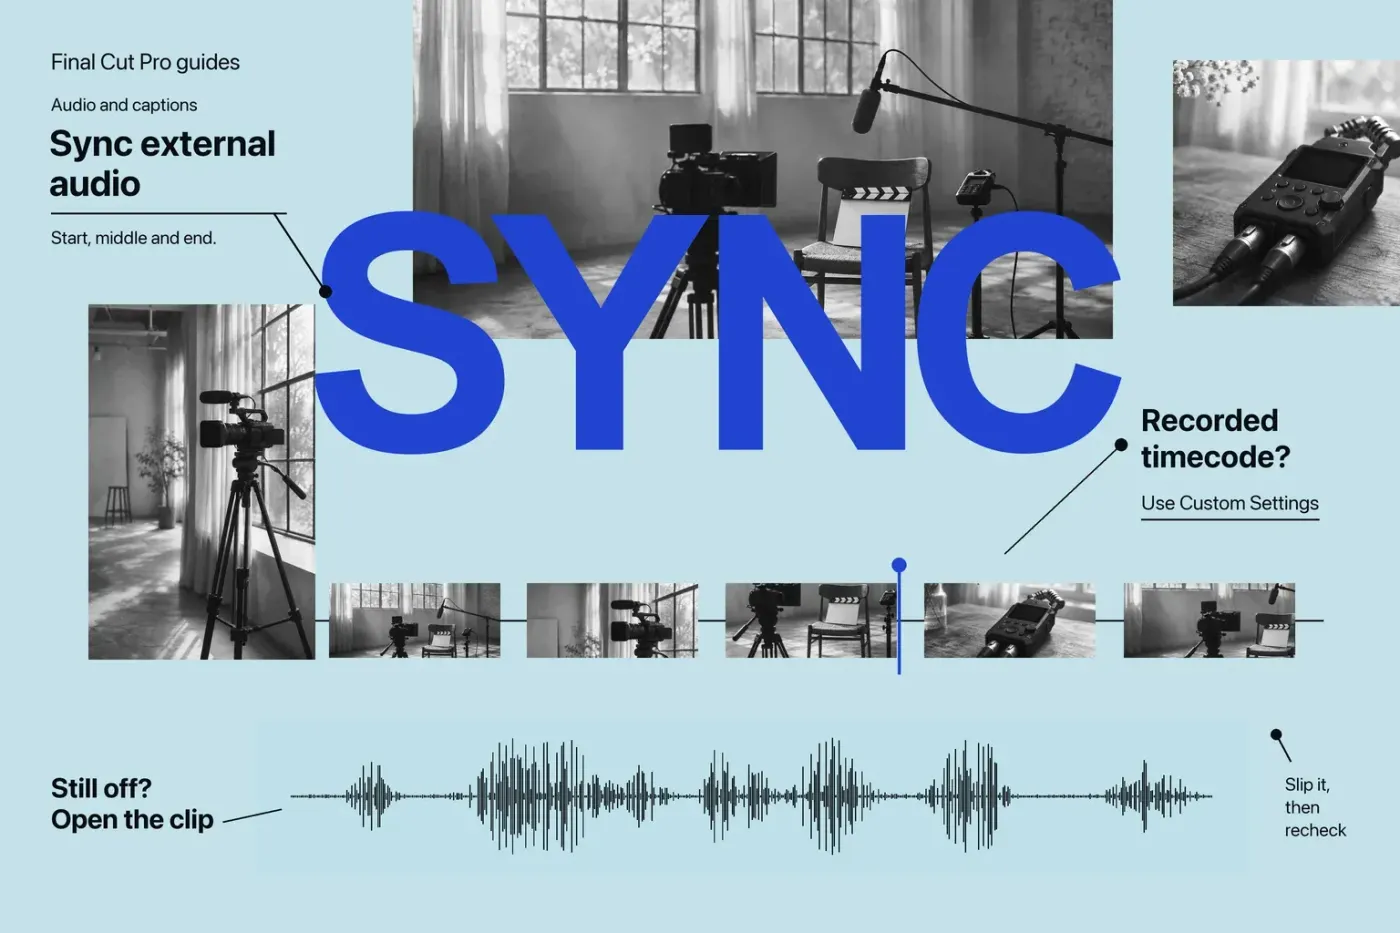
Select the camera clip and separate audio recording in the Final Cut Pro browser, then choose Clip > Synchronize Clips. Final Cut Pro creates a new synchronized clip; Apple's sync guide says the original clips aren't changed. Before using the result in an edit, inspect a recognizable sound and picture event near both the start and end. A match at the first clap doesn't prove that a long recording stays aligned.
Choose the evidence for alignment
When the camera and recorder captured the same take, their files may share accurate timecode, an audible clap, a marker, or enough reference audio for waveform matching. Final Cut Pro looks for sync points in markers, timecode, file creation dates, and audio content. If it finds no sync point, it aligns clips at their respective starts. That fallback can create a synchronized clip without producing the alignment you intended.
Inspect the source material first. If both devices carry matching recorded timecode, I'd use that reference, since it doesn't depend on the camera's audio. If they don't, listen for a common event on the camera's reference track and the external recorder. A silent or unrelated camera track is weak evidence for waveform matching. Keep the original recordings available so that you can compare them after creating the new clip.
Create the synchronized clip
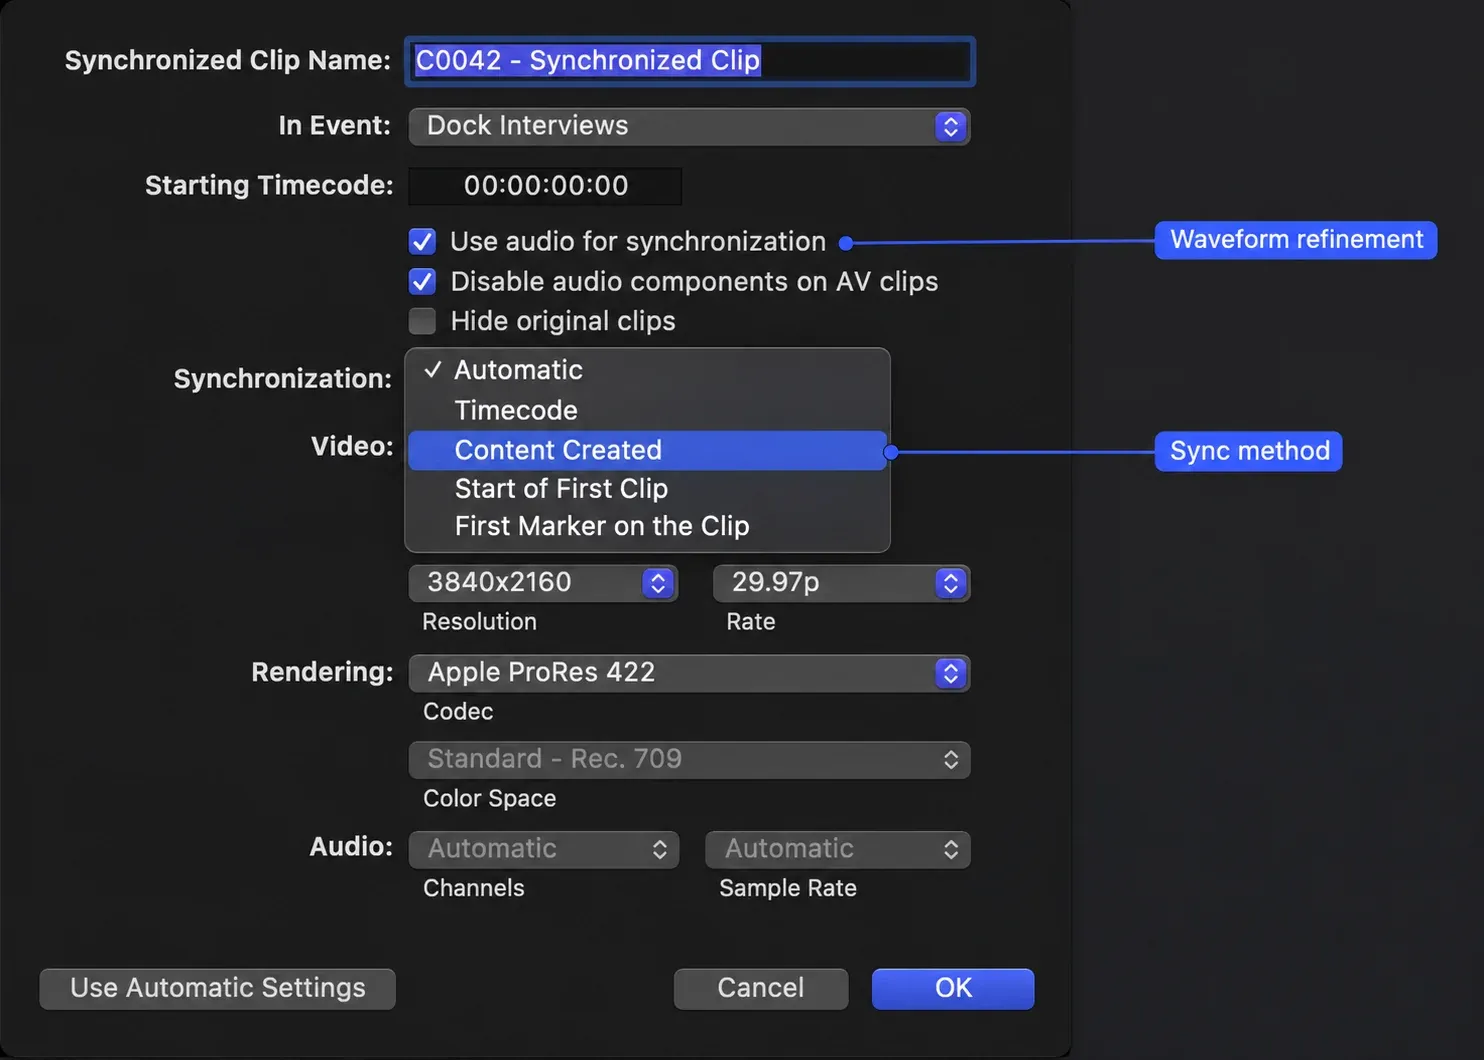
In the browser, select the video and audio clips. Choose Clip > Synchronize Clips or press Option-Command-G. Name the clip, choose its destination event, and inspect the dialog's settings. Apple notes that the dialog can reopen in the custom mode used last time, so do not assume the visible options are automatic defaults.
Select Use audio for synchronization when both recordings contain suitable matching sound. The option makes precision adjustments from audio waveforms, though some recordings aren’t suited to it and processing can take considerable time. If the camera recorded a scratch track, Disable audio components on AV clips can turn off the AV clips’ audio in the synchronized result; it doesn't select a particular microphone for you. By default, the original clips are hidden from the browser after synchronization, so clear Hide original clips if you need them visible for comparison. None of these choices changes the underlying original files. Click OK to create the synchronized clip in the selected event.
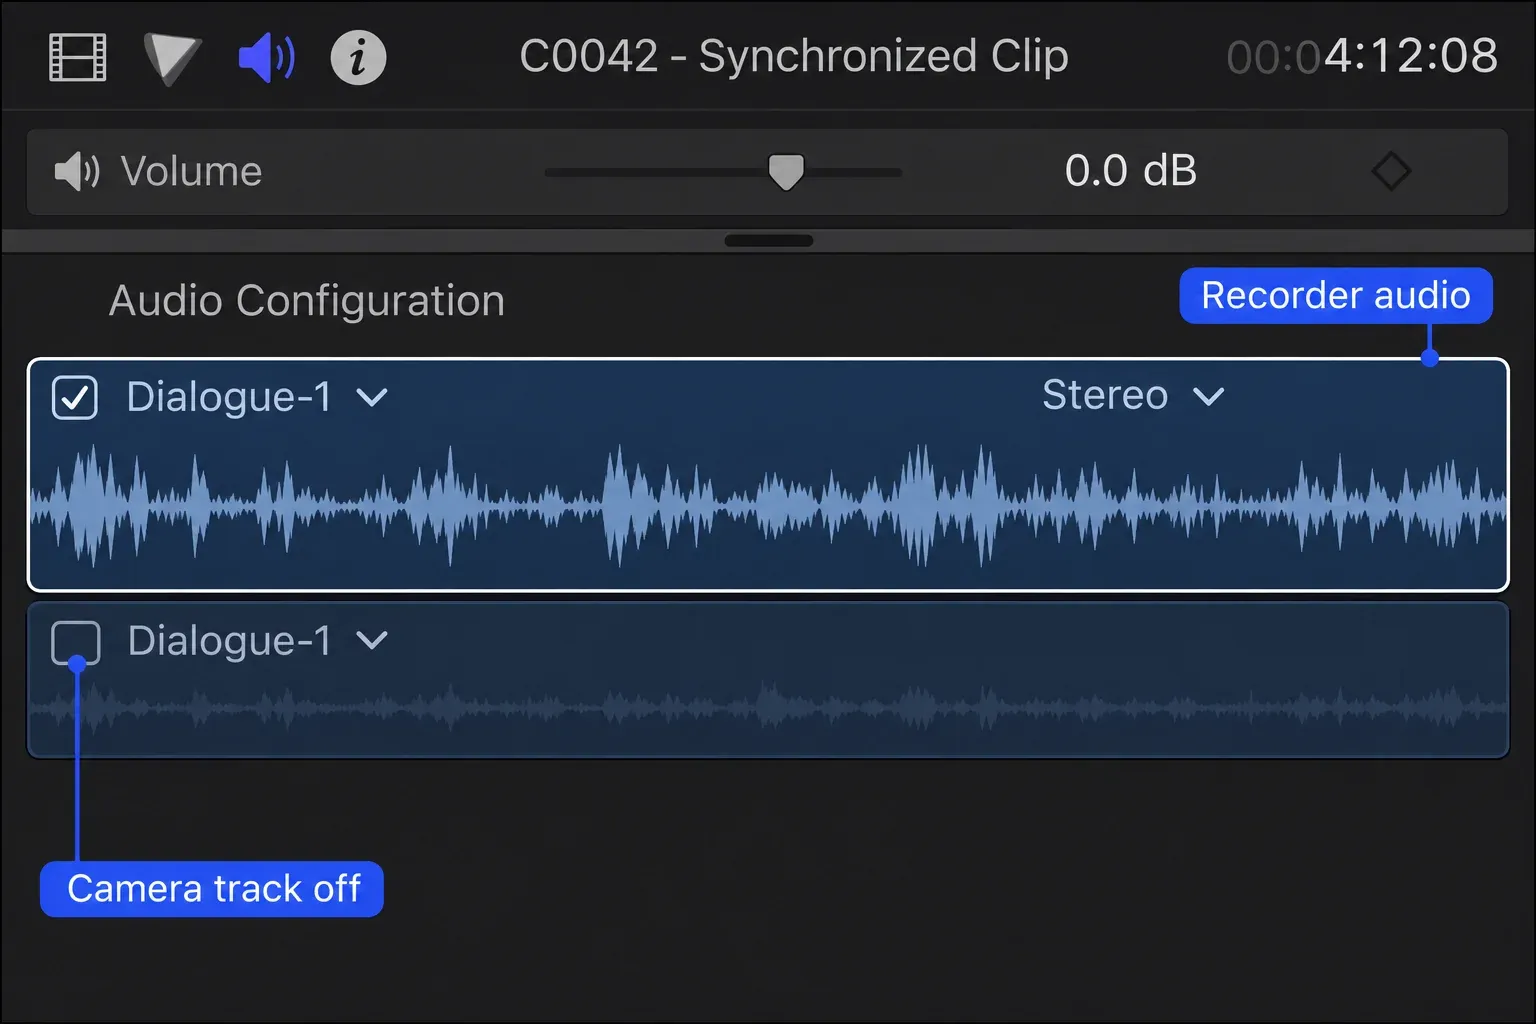
With the synchronized clip selected in the timeline, open Window > Show in Workspace > Inspector (Command-4) if needed, then click the Audio button at the top of the inspector. In Audio Configuration, skim a component or play it with the Space bar to identify the recorder and the camera reference. If a separate unwanted component remains, deselect the checkbox next to that component’s waveform, then play the result again. The intended external recording should remain audible without the camera track doubling it. I'd do this cleanup with that component checkbox, because changing the Channels configuration resets component effects, disabled ranges, keyframes, and role assignments.
Use custom settings when automatic sync is not enough
In Use Custom Settings, the Synchronization menu offers Automatic, Timecode, Content Created, Start of First Clip, and First Marker on the Clip. Timecode is the fastest and most frame-accurate method when recorded timecode is available, but it is unavailable if the selected clips' drop-frame patterns do not match. Content Created may align only within a second because many camera timestamps have that precision; you can refine it with audio or a manual adjustment. First Marker on the Clip can anchor the same event on each recording, with audio refinement if the markers are approximate and suitable matching sound is available.
For that marker method, prepare each source clip before running Synchronize Clips. In the browser, skim to the shared event or play the clip and pause at the cue. Then choose Mark > Markers > Add Marker or press M. Final Cut Pro uses the first marker in each clip, so check for earlier unrelated markers. To remove one, Control-click that marker and choose Delete Marker. Check that the first remaining marker on every source identifies the same event before creating the synchronized clip.
Don't select a method just because it produces a clip without an error. Open the result, listen to a clearly identifiable event, and look at the corresponding frame. Repeat that check in the middle and near the end of a long take. If the same offset persists throughout, the initial alignment may need correction. If the offset grows, the source recordings may have a timing mismatch that a single starting adjustment won't solve.
Correct an offset without losing the sources
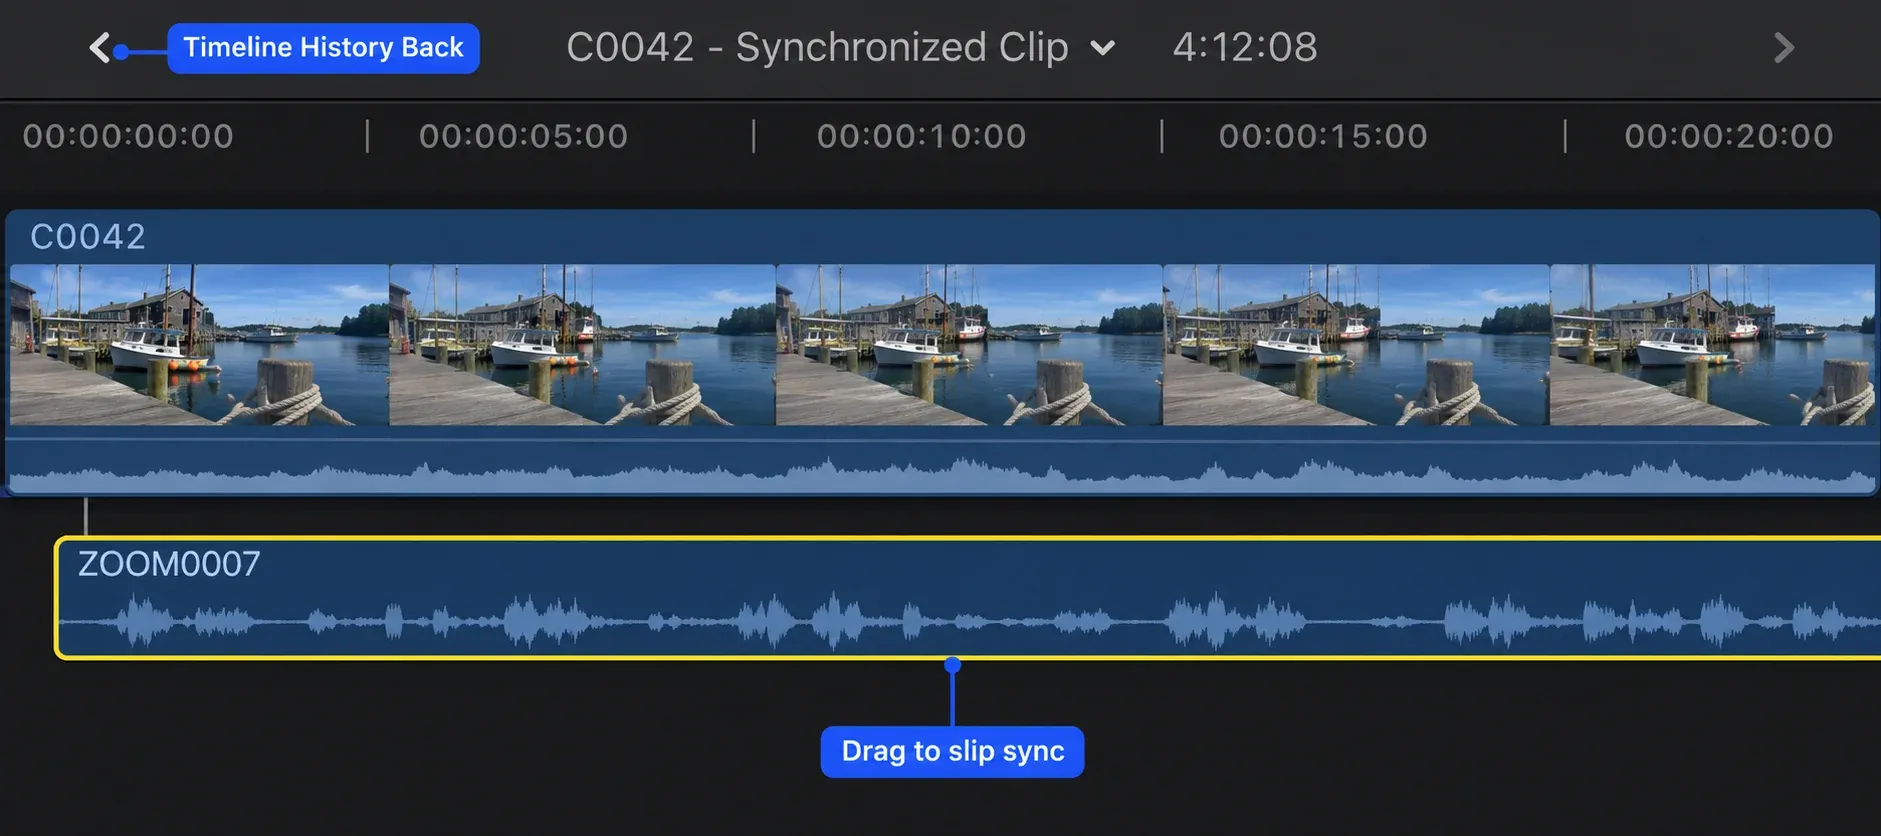
To adjust the offset, start by selecting the synchronized clip and choosing Clip > Open Clip. Its contents appear in the timeline with a primary storyline and connected clips; you can slip the synchronization by moving a connected clip left or right, then return with the timeline's upper-left arrow. Make one reversible adjustment and recheck the same start, middle, and end events.
If alignment changes over time, record the exact source files, durations, and points where the mismatch appears before applying another edit. Do not claim a frame-rate or recorder-clock cause without inspecting the actual recordings. For multiple cameras, use the separate multicam synchronization guide; a synchronized external-audio clip and a multicam angle edit solve related but different tasks.