If your cameras recorded the same scene, build a multicam clip with File > New > Multicam Clip before you switch angles in the timeline. My default sync method is shared timecode when every device recorded a common, accurate clock, since audio analysis can take a long time. Without that clock, line the angles up by the first marker in each angle, recorded audio, or the first frame of each angle. Apple's multicam creation guide lists these methods for Final Cut Pro for Mac, and the steps below follow the Final Cut Pro 12.4 guide.
Check the source material before choosing a method
Import the camera files and any separate audio recording, then play a short passage from each source. Give the cameras distinct names in your working notes. If every device recorded matching, accurate timecode, that’s a useful alignment reference. If they didn’t, look for the same clap, spoken word, or another common event in the recordings. A source with no usable audio can’t be aligned by audio waveforms alone.
Keep your camera originals unchanged while you make this decision. If media is spread across drives, settle the import and storage choice first. A multicam clip will not fix a missing source path later.
Start with how the angles will be grouped: camera names or angle metadata can be used to assemble angles. With the custom Angle Assembly setting, you can also choose Clips to make a separate angle from each selected source. Use Clips when you want each file to be its own angle. If one camera produced several files that should stay together, give those files a shared Camera Angle or Camera Name value and choose that property for Angle Assembly.
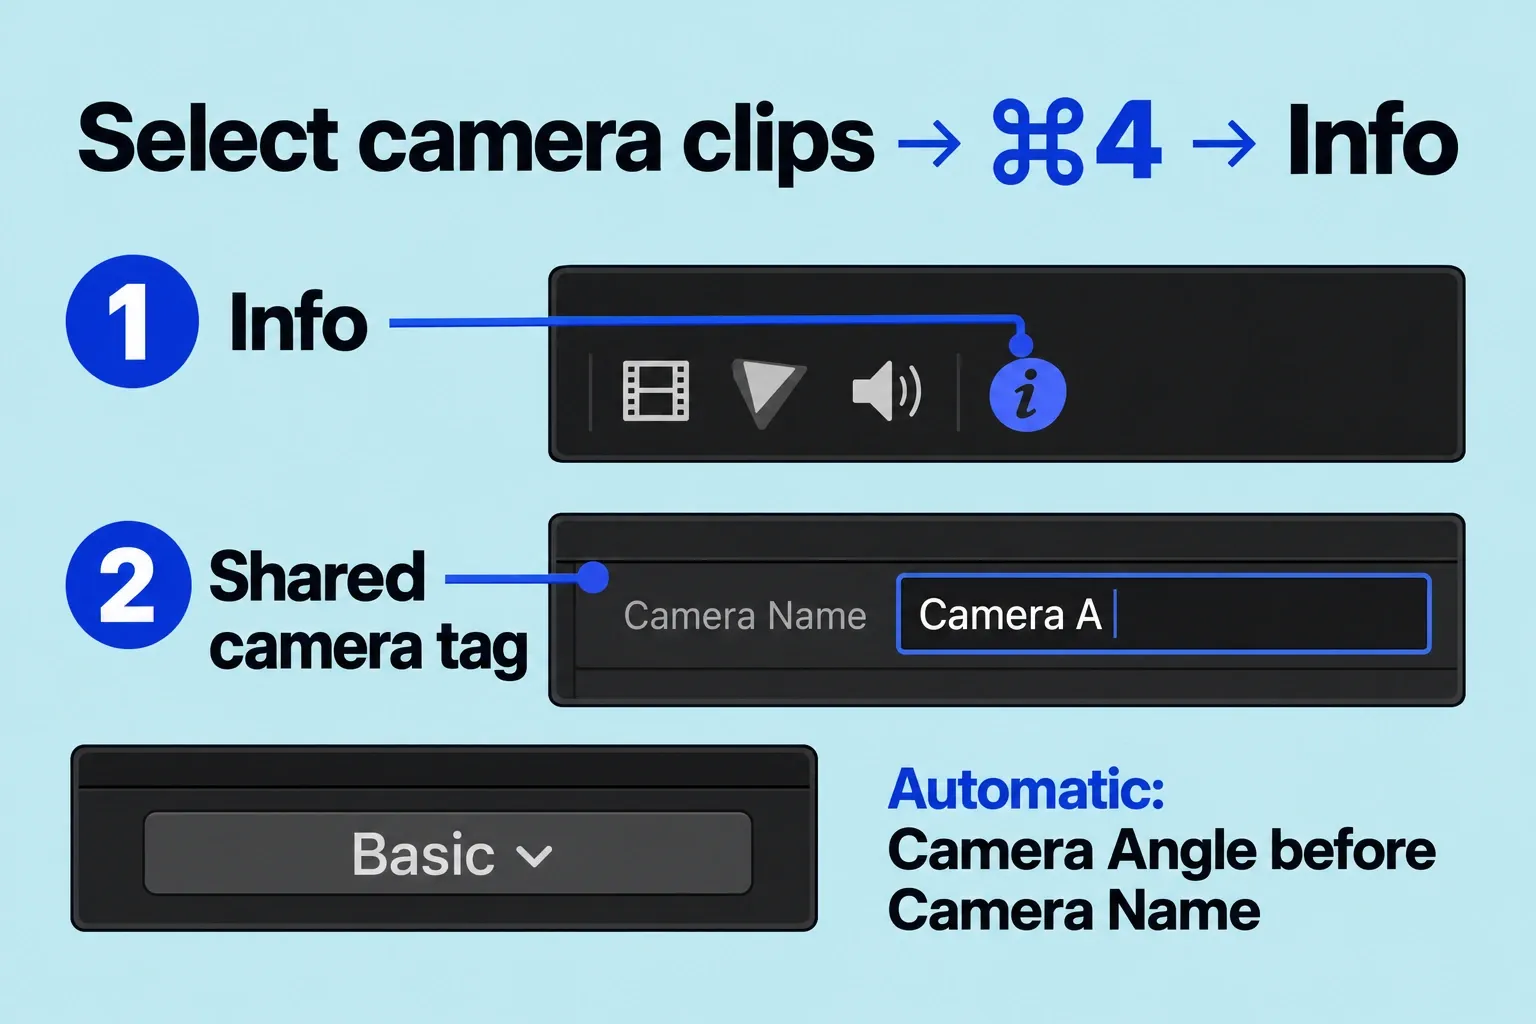
Set those tags before creating the multicam clip. Select one or more files from one camera in the browser. Open Window > Show in Workspace > Inspector (Command-4) if needed, then click the Info button at the top of the inspector. Enter the shared value in Camera Angle or Camera Name; use a distinct value for each camera or intended angle. If the field is hidden, choose a view containing it from Metadata View at the inspector’s bottom-left. Then use the corresponding assembly property when creating the clip.
Create the multicam clip
Select the source clips in the Final Cut Pro browser. Choose File > New > Multicam Clip, or Control-click the selection and choose New Multicam Clip. Name the clip for the scene or interview, select the event where it should live, and check the settings before clicking OK. The dialog can reopen with the custom settings you used last time, so do not assume that what it shows today is the default.
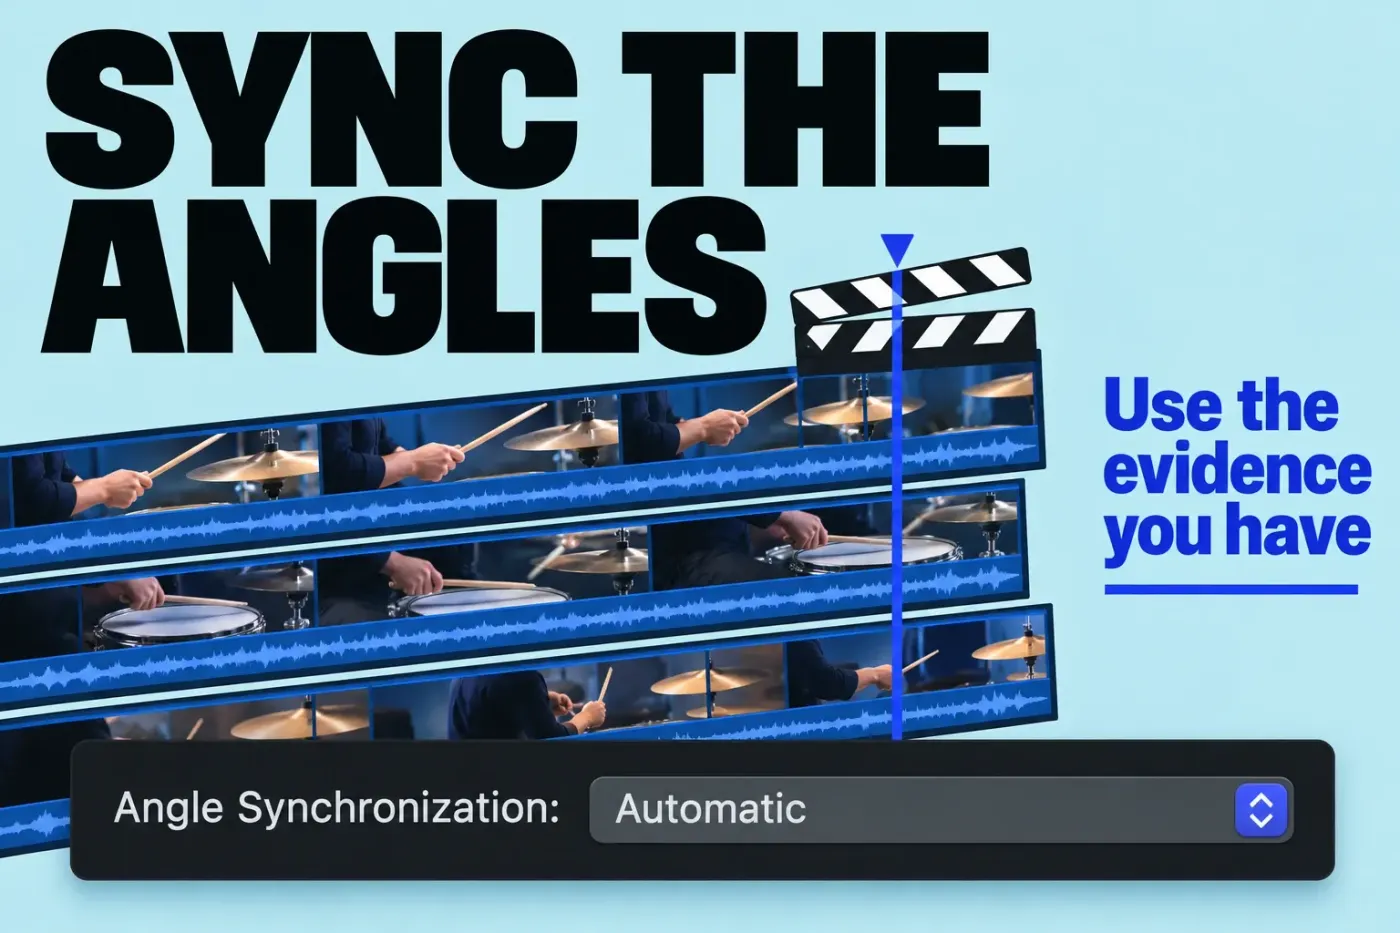
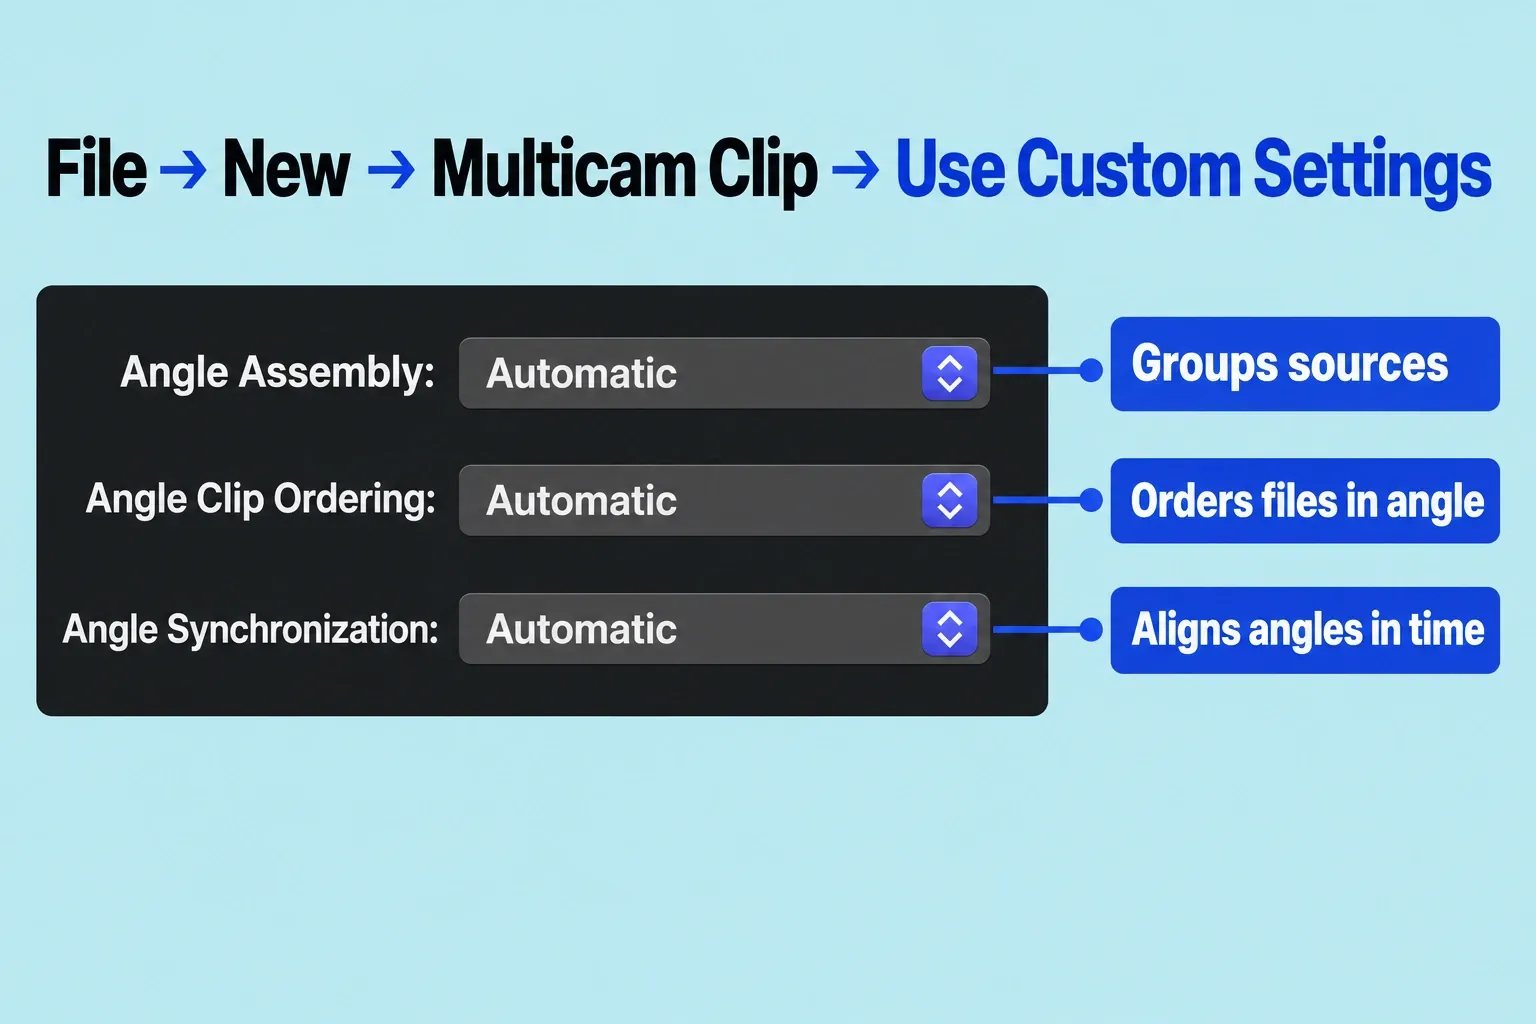
For a simple recording with reliable source metadata, I’d start with automatic settings. To control angle assembly, clip ordering, or synchronization yourself, open Use Custom Settings. This is where the distinction between organizing an angle and synchronizing it matters: Angle Assembly determines which sources belong to each angle; Angle Clip Ordering places those files within each angle; Angle Synchronization determines how the angles line up in time. With Automatic clip ordering, Final Cut Pro inserts gap clips between files within an angle as needed to preserve their timing and spacing. The shared-angle grouping below assumes matching metadata and the corresponding assembly choice.
Pick the alignment evidence you actually have
Timecode is the natural choice when the devices recorded a common, accurate clock. Under Angle Clip Ordering, it’s the fastest and most frame-accurate clip-ordering method when timecode is available. Still, a timecode value on every file doesn’t prove that the clock was accurate. One more catch: timecode synchronization is unavailable when the selected clips' drop-frame patterns don’t match.
Content Created uses recording date and time. Under Angle Clip Ordering, Apple's guide warns that on many cameras this may place clips only within one second, so I’d use it only as a starting point and wouldn’t count on it for frame alignment. If that rough match is useful, refine it with audio synchronization or in the angle editor. Angle Synchronization > Content Created also uses recording date and time to align the angles. This route is fragile when camera clocks disagree.
First Marker on the Angle uses the first marker in each angle as the synchronization point. Even when an angle contains several clips, only its first marker counts. Put those first markers near the same visible or audible event, checking for earlier unrelated markers. When suitable matching audio is available, audio synchronization can then fine-tune a marker that is close but not exact. Start of First Clip simply aligns the first frame of each angle; choose it only when those starts are the intended reference or when you plan a deliberate manual adjustment.
Use audio for synchronization compares waveform data across angles. Some recordings are unsuitable, and processing can keep Final Cut Pro busy for a long time. If accurate timecode already does the job, I’d turn the option off and skip that wait. An automatic result isn’t verified until you listen to and look at the same event across angles.
Inspect the multicam clip before cutting
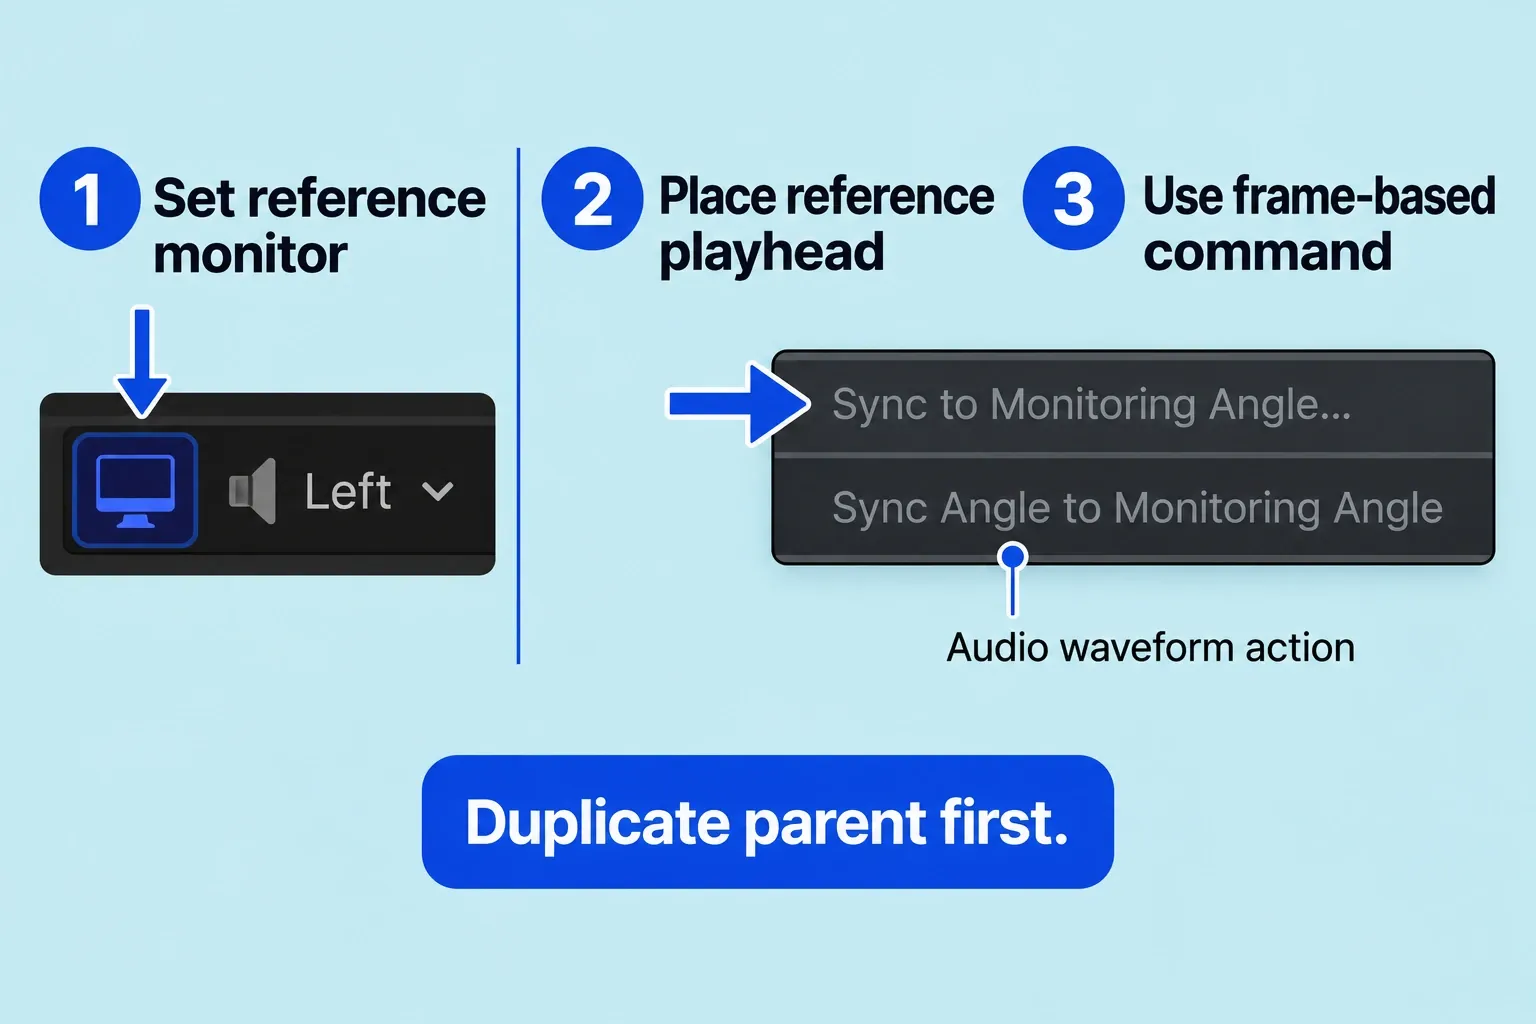
Before making an angle-editor correction, follow Apple’s advice to duplicate the multicam clip in the browser to keep a clean backup copy. The angle editor opens the parent multicam clip; changes propagate to all its child clips in every project.
Double-click the multicam clip in the browser to open the angle editor and check a clear event near the beginning, middle, and end. Watch for a clap that arrives at a different frame between angles or dialogue that drifts against the external audio. If one angle is wrong, diagnose that angle's source, clock, or marker before rebuilding every other part of the edit. Keep the original clips visible if you need to compare them: Apple's creation dialog has a Hide original clips option, selected by default.
For a common fixed offset affecting a whole angle, set the reference first. Click the Video Monitor button at the left of a correctly aligned angle, then place the playhead at the shared cue. In the wrong angle, open the pop-up menu to the right of its name and choose Sync to Monitoring Angle. The two-up viewer shows that angle’s skimmer frame on the left and the monitoring angle’s playhead frame on the right. Skim to the matching cue in the wrong angle, then click that frame. All clips in that angle move together to align the clicked frame with the playhead. Click Done. A single shift is not a repair for growing drift.
Use the Audio Monitor buttons to listen to the relevant angles together, then recheck the beginning, middle, and end. These monitoring controls change playback in the angle editor; they do not change the active angles in your timeline edit. To return to the timeline, choose View > Timeline History Back.
Only after alignment looks and sounds right should you move to cutting and switching camera angles. A synchronized multicam clip is only the starting material for that edit. It doesn’t prove that the final sequence or export is correct.