Media management
Delete Final Cut Pro Render Files Without Removing Original Media
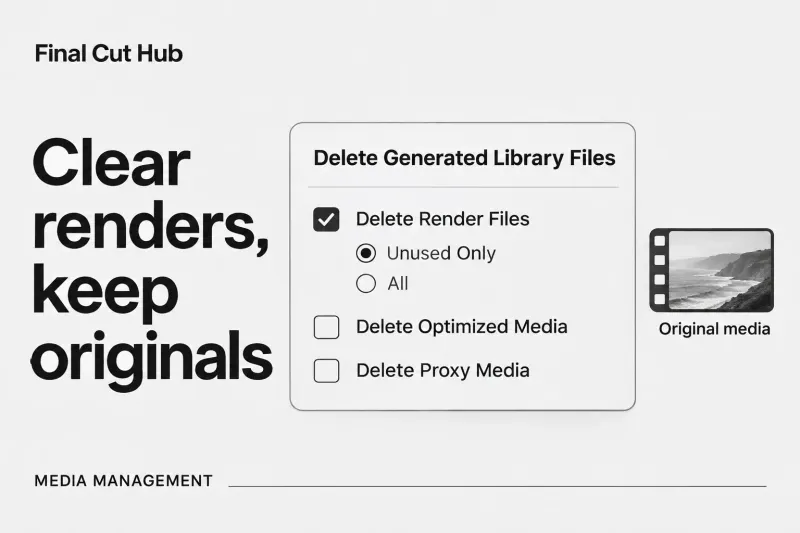
Select the intended library, choose File > Delete Generated Library Files, and select Delete Render Files. Choose Unused Only for routine cleanup, or All
Choose a practical Final Cut Pro guide for the task in front of you, from organizing media to delivering the finished edit.
Select the intended library, choose File > Delete Generated Library Files, and select Delete Render Files. Choose Unused Only for routine cleanup, or All

To export a video from Final Cut Pro, select the project in the browser or open it in the timeline, choose File > Share
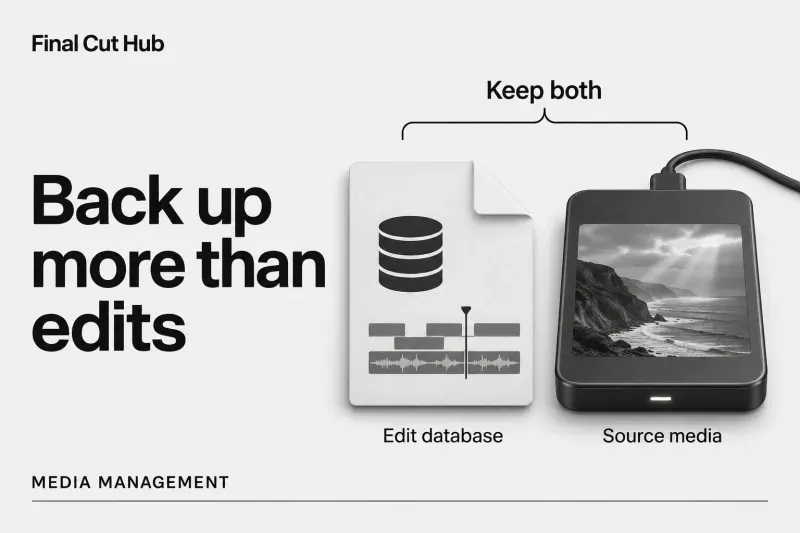
A Final Cut Pro automatic library backup does not include your original media files. It saves the database portion of the library. That can
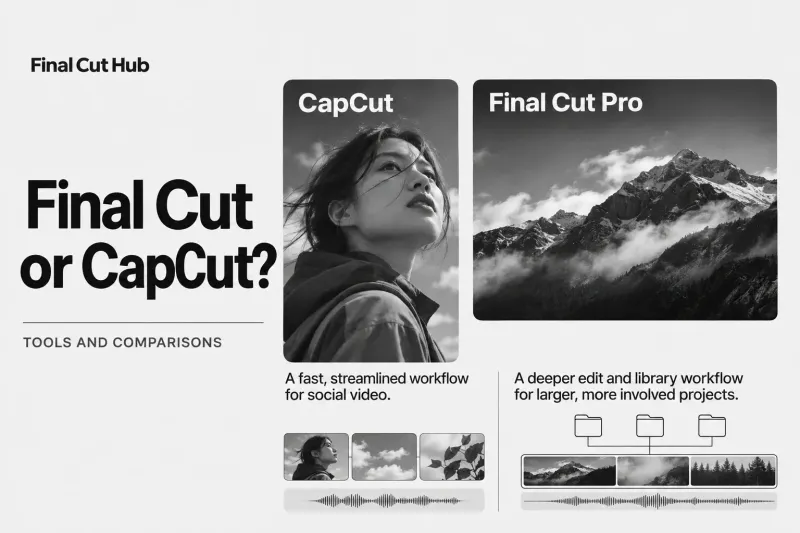
CapCut is the quicker start for short social videos: it's free, runs on Mac, Windows, the web, and phones, and its templates,
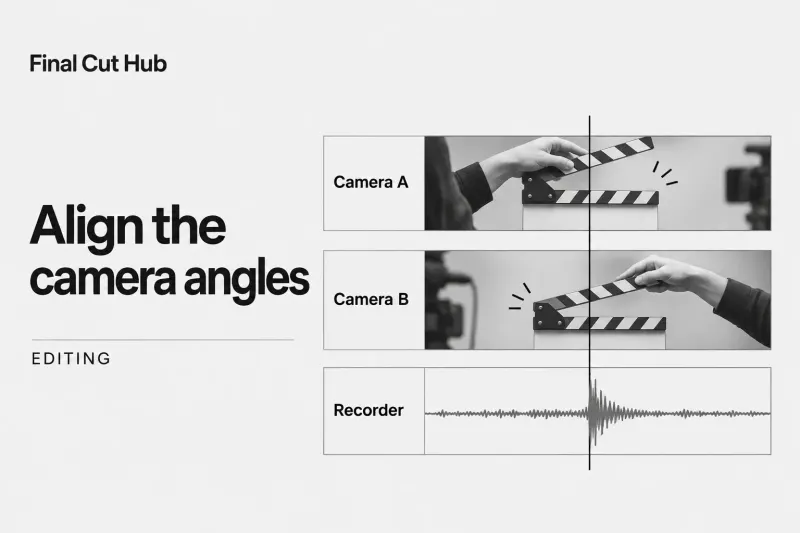
If your cameras recorded the same scene, build a multicam clip with File > New > Multicam Clip before you switch angles in the
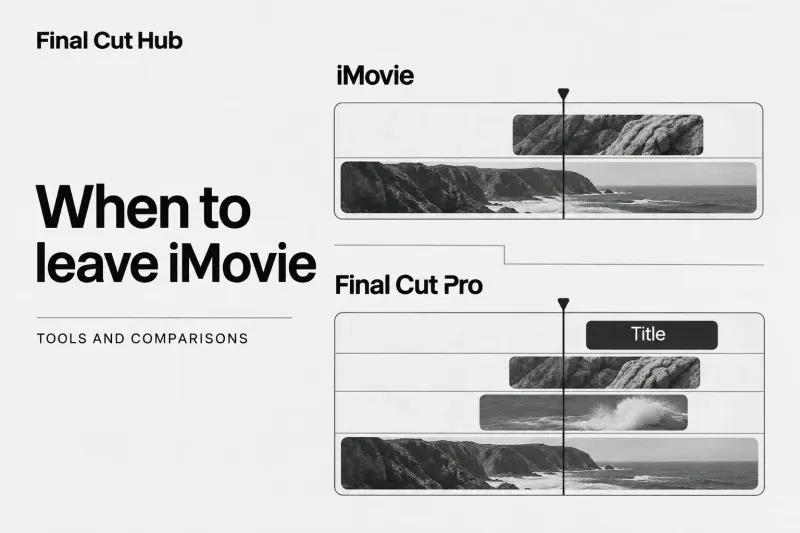
iMovie is enough for home videos, school projects, and simple YouTube uploads built from one row of footage, one overlay at a time, titles,

If you already paid for Final Cut Pro for Mac and it covers your editing needs, I'd keep that license. For a
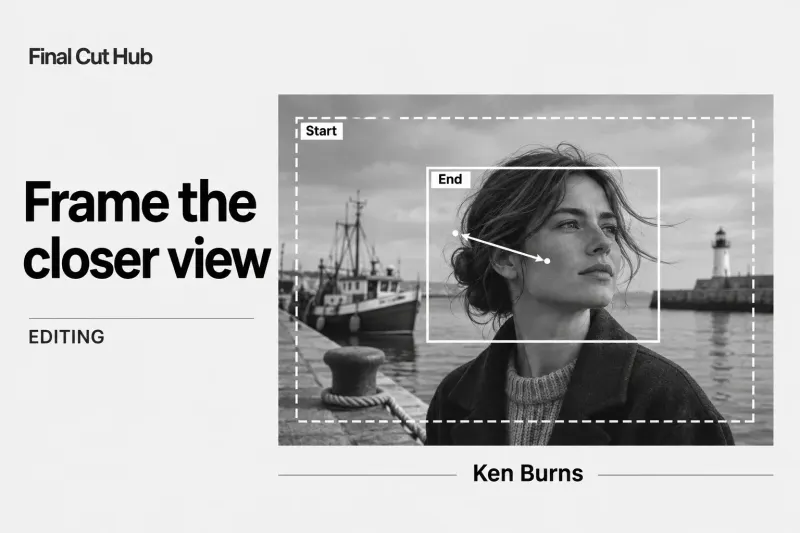
To zoom in on a clip in Final Cut Pro, select it in the timeline, press Shift-T to show the Transform controls in

Use caption clips for selectable timed text, and Subtitle title clips for words that must stay burned into the picture. An SRT can carry
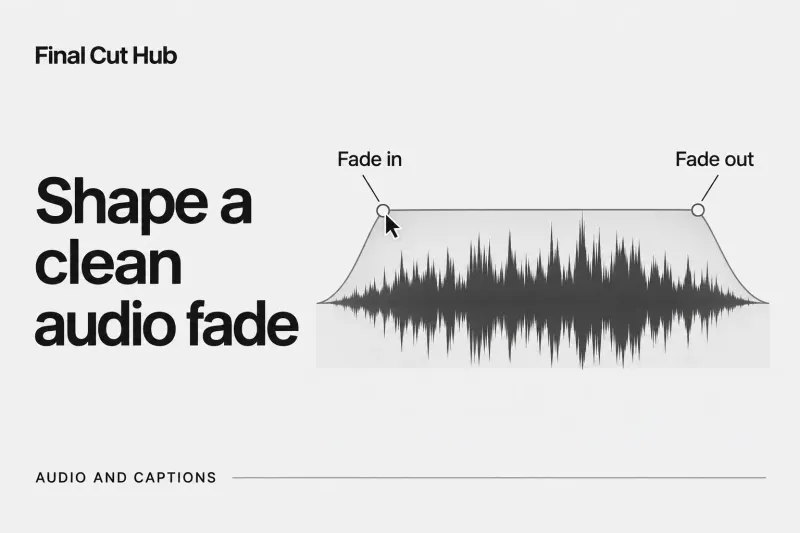
To fade audio in Final Cut Pro for Mac, hover over a clip in the timeline and drag the fade handle in the top-
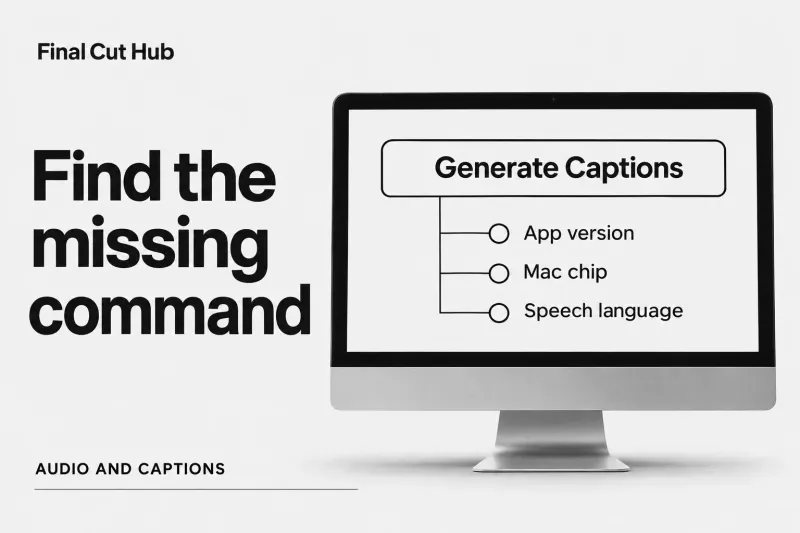
Open Final Cut Pro > About Final Cut Pro first if Generate Captions is missing: the command changed with version 12.3, and automatic
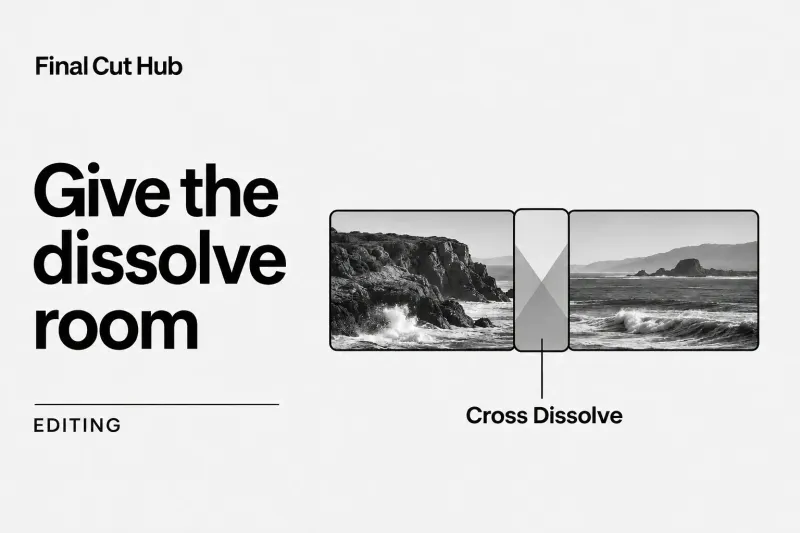
To add a transition in Final Cut Pro, click the edit point between two clips and press Command-T. This applies your current default,