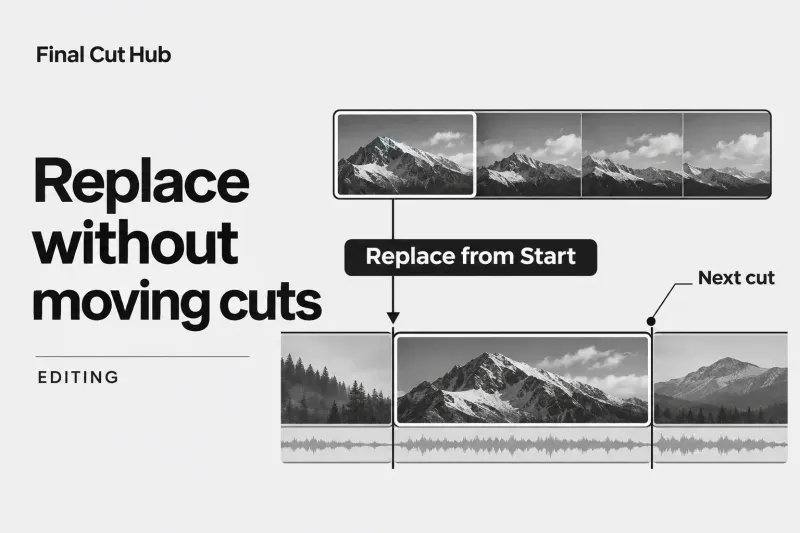
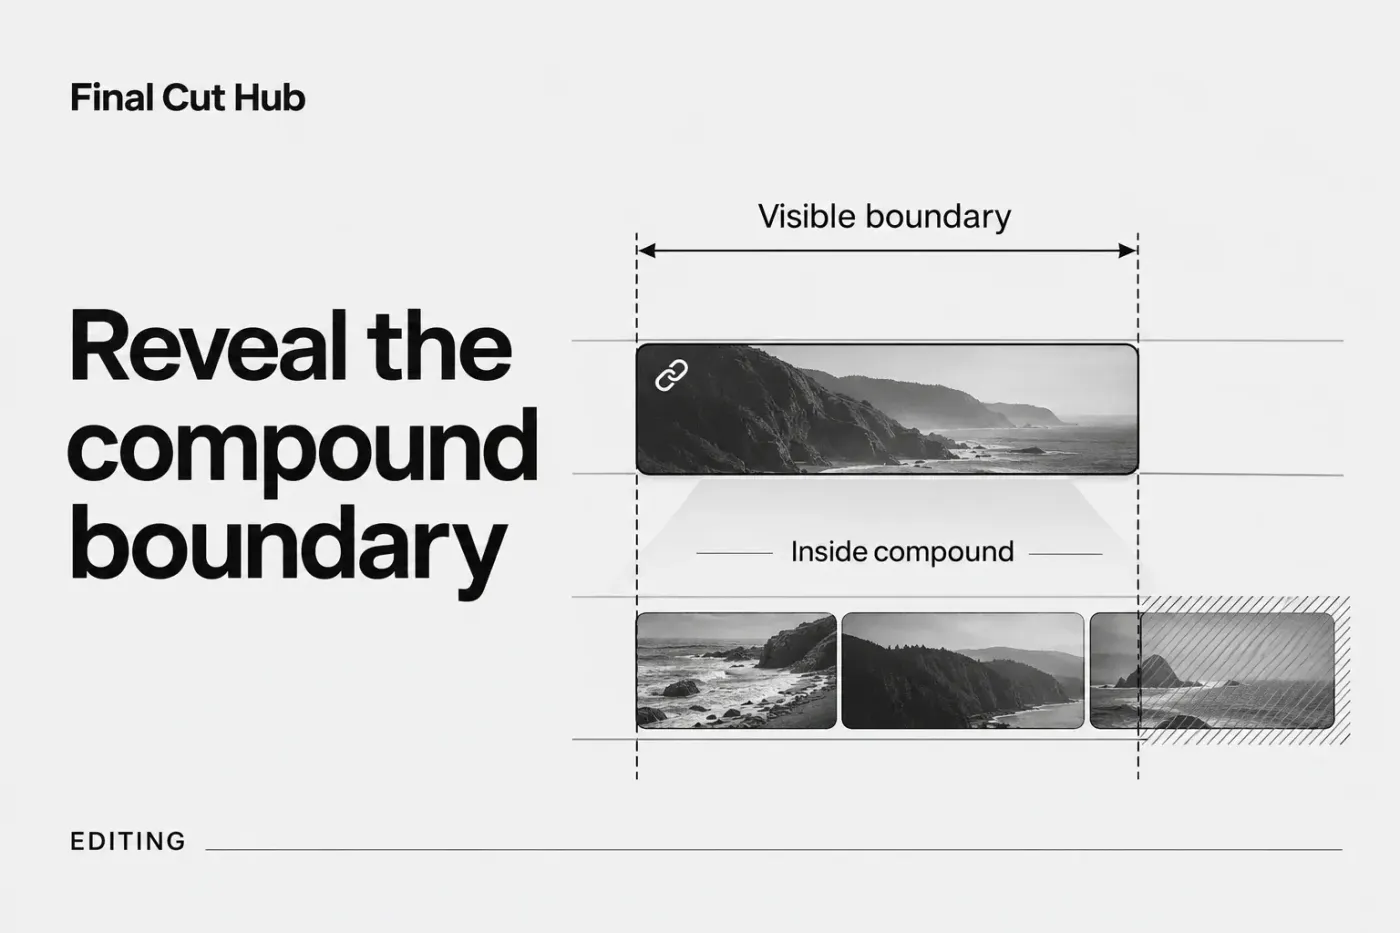
If a change inside a compound clip doesn't show in the parent project, I'd start by separating an invisible change from a change to the wrong compound parent. A compound has an internal timeline and an outer duration in the project; material added beyond that outer boundary may exist inside without appearing in the parent. Apple's editing guide describes that boundary. If the boundary isn't the cause, check whether this instance has its own parent.
Confirm which compound instance you opened
In the parent project, select the instance that appears wrong and open it with Clip > Open Clip or by double-clicking its video portion. Inspect the first and last frames and any visible title so you know this is the version you meant to change. Use View > Timeline History Back to return to the parent, then compare the parent clip's start and end with the edited section inside. Do not assume an identically named compound in another event or project is the one used here.
Inspect the exact changed frame as well as the compound's ends. That catches an interior edit that the first and last frames alone won't show. The timeline history controls also work with Command-[ for Back and Command-] for Forward. Click and hold either arrow above the timeline to choose an available level. If both arrows are dimmed, there's no history to navigate; open the intended project from the browser again. Confirm the project named above the timeline before judging the result.
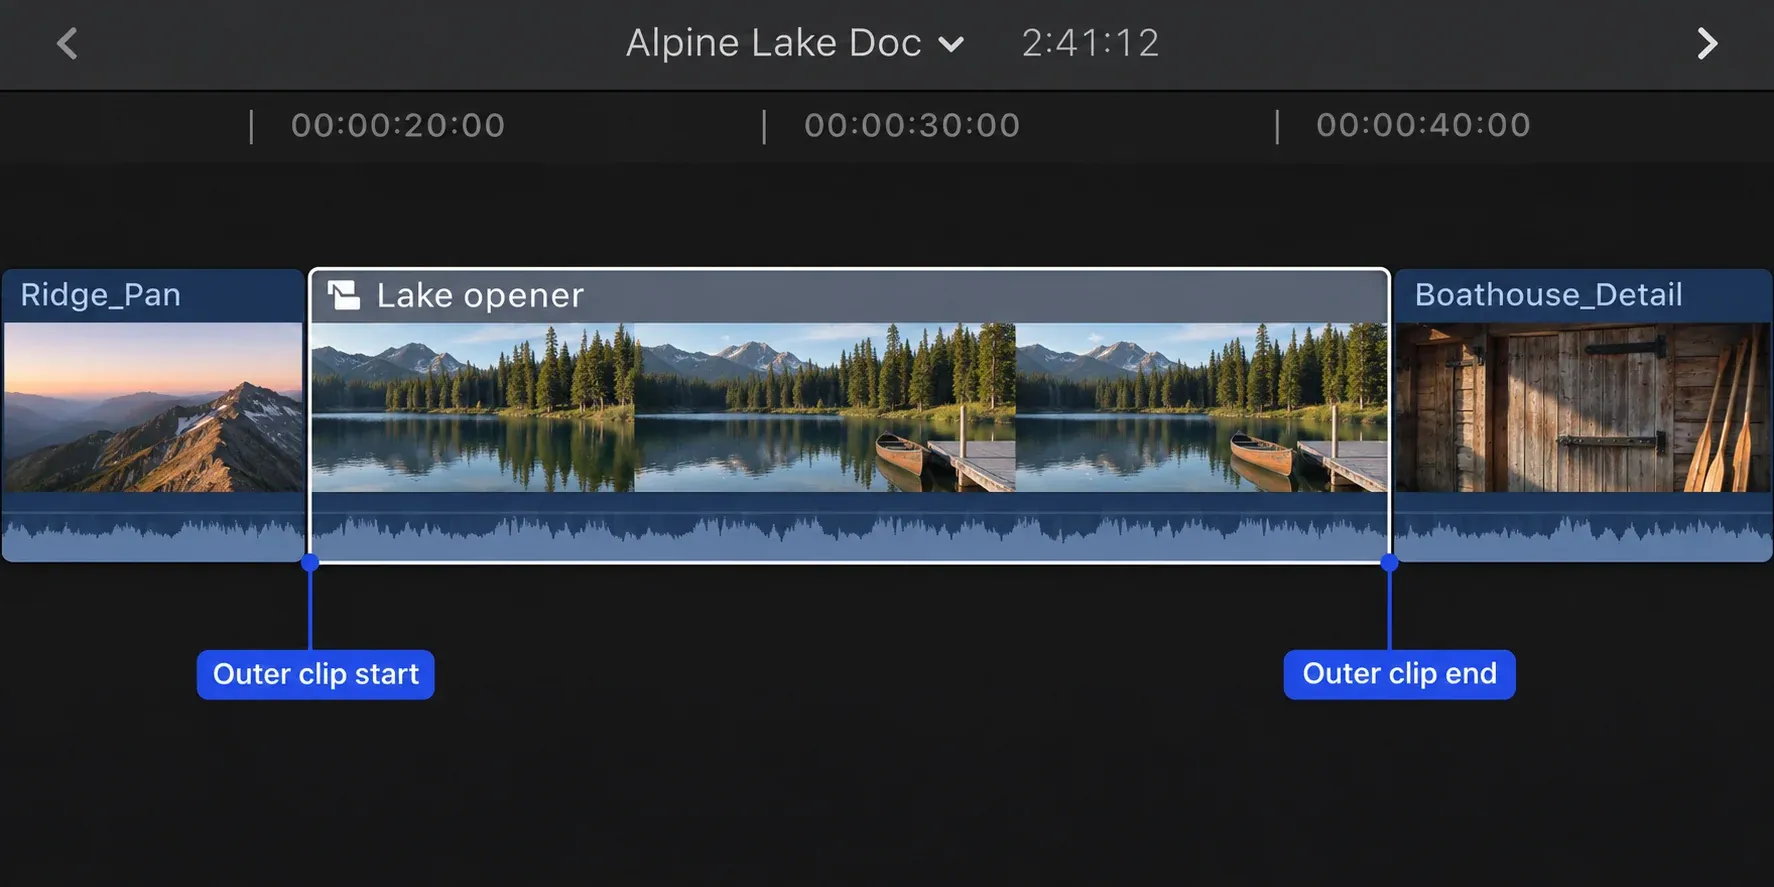
Before trimming inside the compound, decide whether the change should affect every linked use or only this occurrence. For a one-off correction, use the snapshot and new-parent steps below first. Extending the outer compound changes the visible duration in this project; changing its contents can affect other linked uses.
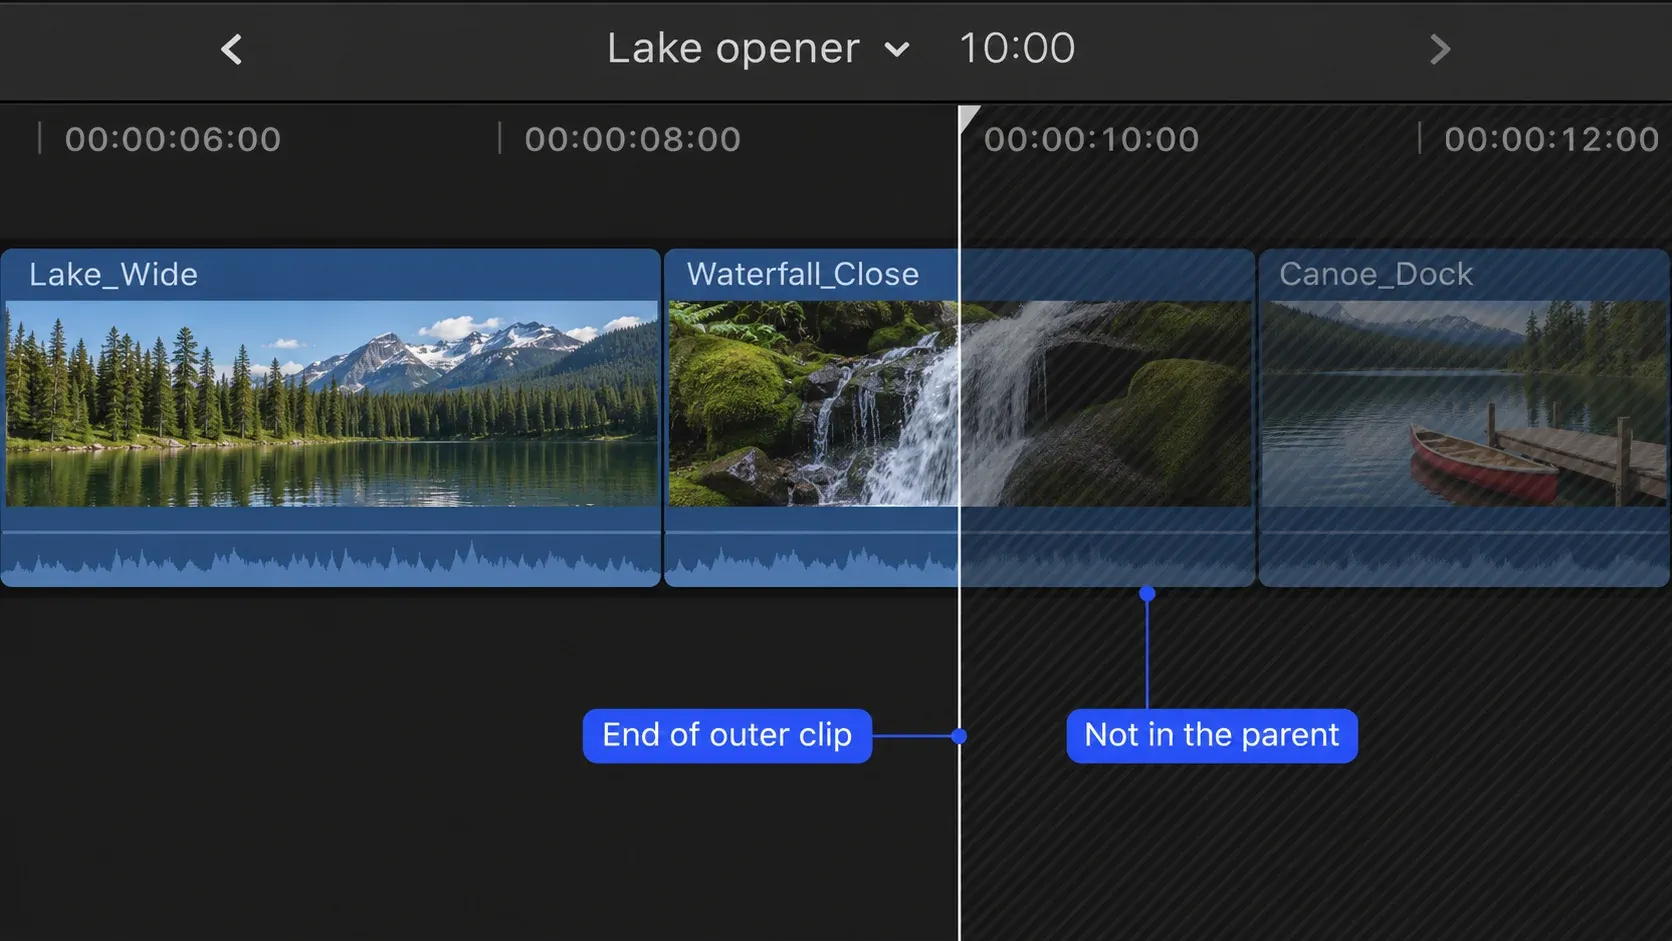
Inside the compound, the darker crosshatched area marks material outside the instance’s visible boundary. If your added material extends into that area and the project timing must stay fixed, trim other clips inside the compound so the wanted material fits within the used span. If the project can run longer, return to the parent and extend the outer compound instead. I'd play across that boundary and the next cut before accepting either change. The compound-clip editing guide separates internal content from the parent clip's visible duration.
With a compound inside another compound, repeat the boundary check at each enclosing level. A title can be visible inside the inner compound yet fall outside the portion used by the outer compound. Follow the history back to the actual project, checking each shell's start and end. Extending the inner clip alone doesn't establish that the outer project now includes the new material.
Check whether this instance has its own parent
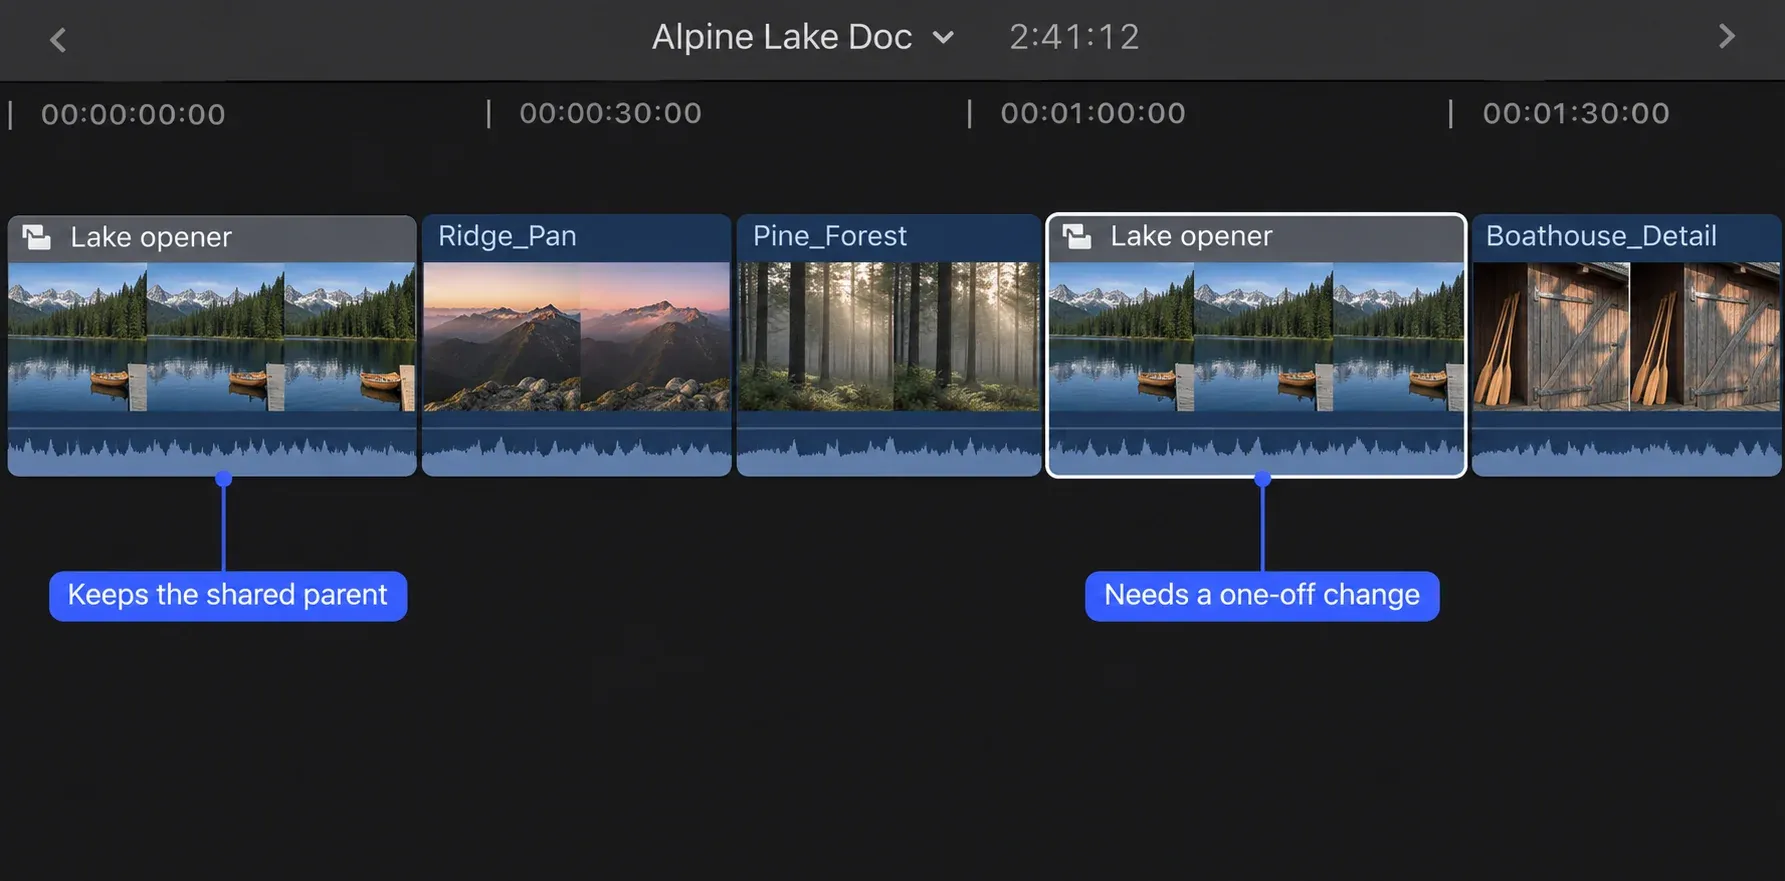
If one occurrence changed but another did not, they may no longer refer to the same parent. Clip > Reference New Parent Clip creates an independent parent for the selected timeline compound. Edits inside that independent version do not propagate to the original. Before you edit again, compare the version used at each timeline position. Identical-looking thumbnails or names do not prove a shared parent.
In the containing project, select the first compound occurrence and choose File > Reveal Source in Browser (Shift-F). The command selects its source event clip in the browser. In list view, note the event and the actual selected row. Select the second timeline occurrence and repeat. Compare the selected browser items with the same list sorting and filters: the same item is a shared parent; two separately selected items are separate parents, even if their names match. An orange used-media line only shows that a clip is used in the project; it does not establish a shared parent. Snapshot copies of compound and multicam parents can also appear in the browser when revealed this way, so compare the revealed objects rather than a remembered name. If the list changes or you cannot distinguish the selected items, resolve that identity before changing the contents.
When occurrences share a compound parent, internal edits are inherited by all its child clips. Seeing the same change in both places does not prove that relationship on its own. If two occurrences do share a parent, do not try to fix just one by repeatedly editing the shared internal timeline.
Also check where the adjustment was made. An effect or retime applied to the outer timeline occurrence is different from an edit to the shared clips inside it. Select the outside clip and compare its inspector settings with those of the clips inside. I'd correct the setting at the level where it belongs, because moving a correction inside the shared compound can change other linked uses. Two occurrences can share their contents while retaining different outer trims or effects.
To preserve a project snapshot with independent compound parents, select the project's event in the Libraries sidebar, select the project in the browser, then choose Edit > Snapshot Project (Shift-Command-D). In the working project, select only the compound occurrence that needs a one-off change and choose Clip > Reference New Parent Clip before editing its contents. Compare both occurrences after the edit. The broader compound clip guide covers creation, reuse, and breaking apart.
Edit > Duplicate (Command-D) is a different operation from Snapshot Project; don't rely on a plain project duplicate to isolate shared compound contents. Likewise, select only the intended occurrence for Reference New Parent Clip. The command creates a new parent for each referenced parent in the selection, so selecting several linked occurrences together is not a request for a separate parent for each one. Keep the original shared parent when the correction is meant to appear in every linked use.
Verify the correction in the containing project
If the exact parent and visible span are right but the project still shows an older image, I'd regenerate the affected renders before dismantling the compound. That checks the displayed result without changing its structure; it cannot repair an edit made to the wrong parent or reveal material outside the outer boundary. First confirm the required original media is online and keep a restorable backup of the library and its media. A project snapshot protects the edit's parent versions; it isn't a separate copy of the recordings.
Select the affected project in the browser, then choose File > Delete Generated Project Files. Select Delete Render Files, leave optimized and proxy media unchecked, and click OK. This is a render-only check for the selected project. Do not delete source media or manually clear folders inside the library package.
If the old image also persists inside the compound, reveal its actual parent in the browser and select that clip. Use File > Delete Generated Clip Files, select only Delete Render Files, then click OK. Keep optimized and proxy media. The clip and project commands apply to different selections; an event-wide or library-wide deletion isn't the next automatic step.
Back in the containing project, select the affected compound as a whole clip and choose Modify > Render Selection (Control-R). This command needs a clip selection, not a range. Wait for the render task to finish in Background Tasks, then compare the same altered frame and play across the cut. If nothing changes, keep the identified project, parent and timecode together for the next diagnosis rather than repeating broader deletions.
Return to the parent project and play from before the compound through the next cut. Confirm the intended frame is visible, the outer duration is right, and another use of the same compound was not changed unintentionally. If the visible clip is still wrong, repeat Reveal Source in Browser for the actual timeline occurrence and compare the selected parent before breaking it apart: breaking apart changes the timeline structure and is a separate decision. Clip > Break Apart Clip Items (Shift-Command-G) replaces the selected timeline compound with its individual items; the parent compound remains in the browser. For ordinary edit-point work outside a compound, use the trim and split guide.
For a delivery check, work in the containing project's timeline. Clear an old range with Option-X, press R, and drag a range from before the compound through the following cut. Sharing part of a project requires a range selection; selecting the compound alone isn't sufficient. With the required media online, choose Optimized/Original in the View menu above the viewer so sharing uses optimized media where available, otherwise originals.
Choose File > Share > Export File, open Settings, and check the format, displayed duration, frame size and frame rate. Click Next, choose a location, then click Save. When sharing finishes, open that file and compare the changed frame, title, sound and next cut with the project. A clean short export checks that interval, not the entire film. Clear the temporary range with Option-X before the full-project export.