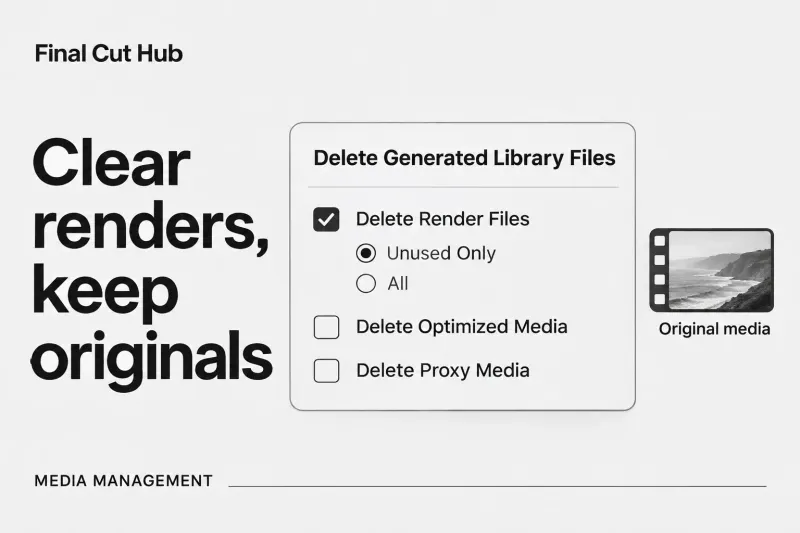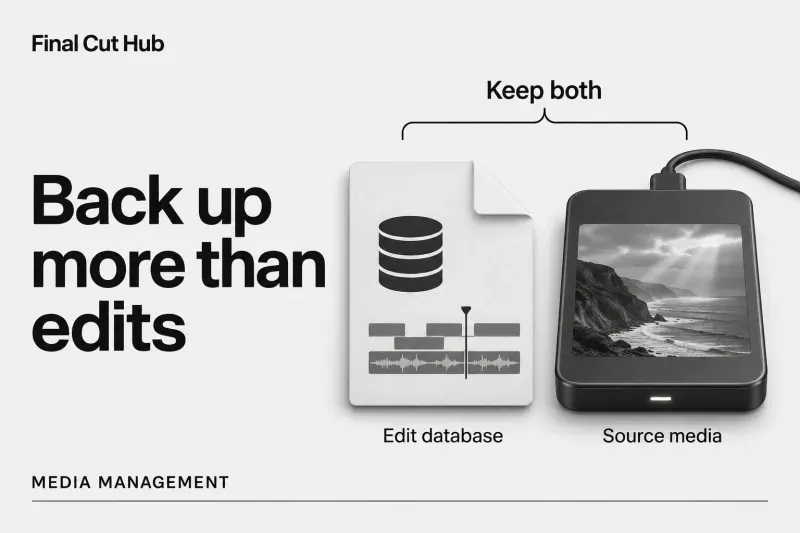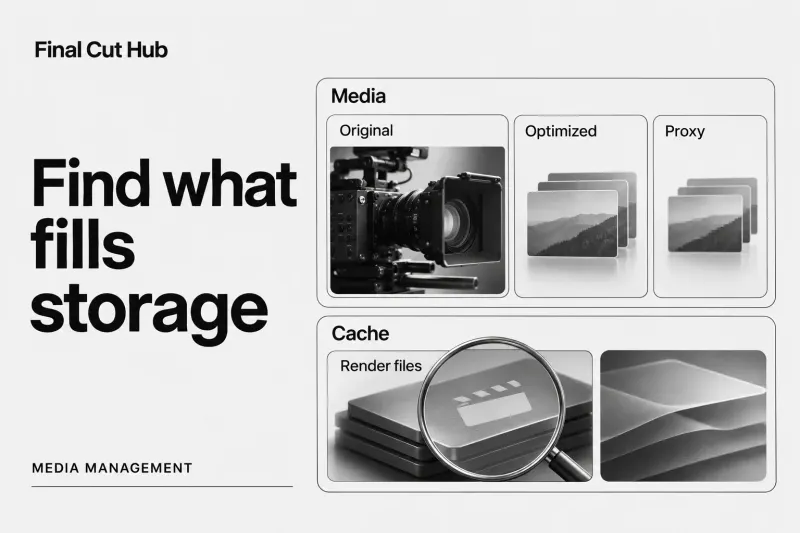
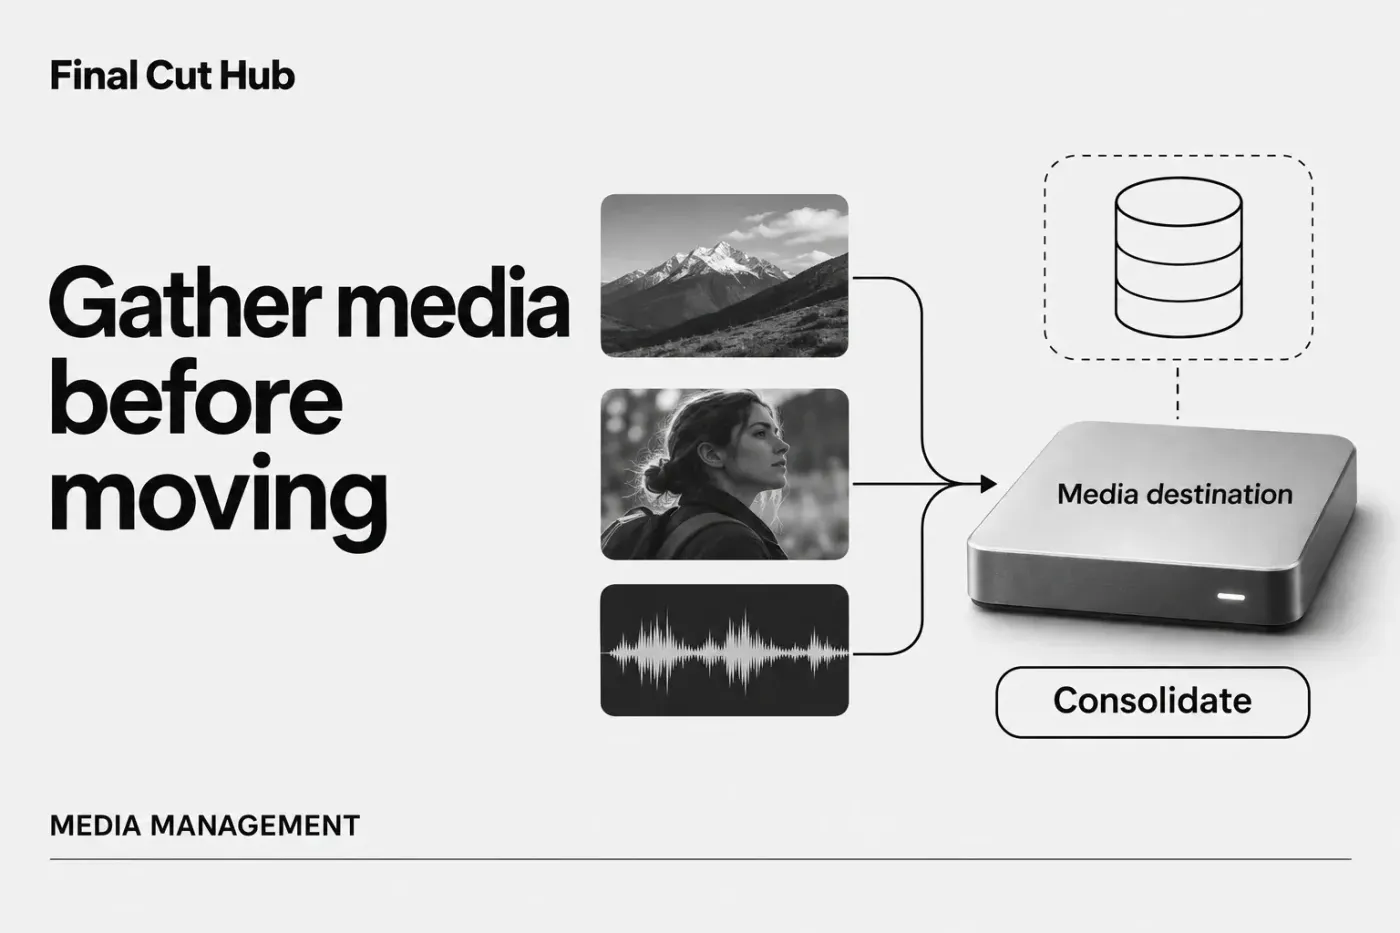
To gather a Final Cut Pro library into one package, select it and open File > Library Properties. Click Modify Settings, set Media to In Library, and click OK; then choose File > Consolidate Library Media, select the required media types, and click OK. Consolidation gathers selected media into that destination, while a library-file copy alone can leave external sources behind. I’d verify the destination library and its separate installed dependencies before removing any source.
The external-drive transfer guide covers the broader move. The consolidation choices below decide which files travel with the library and which stay behind.
Identify what needs to travel
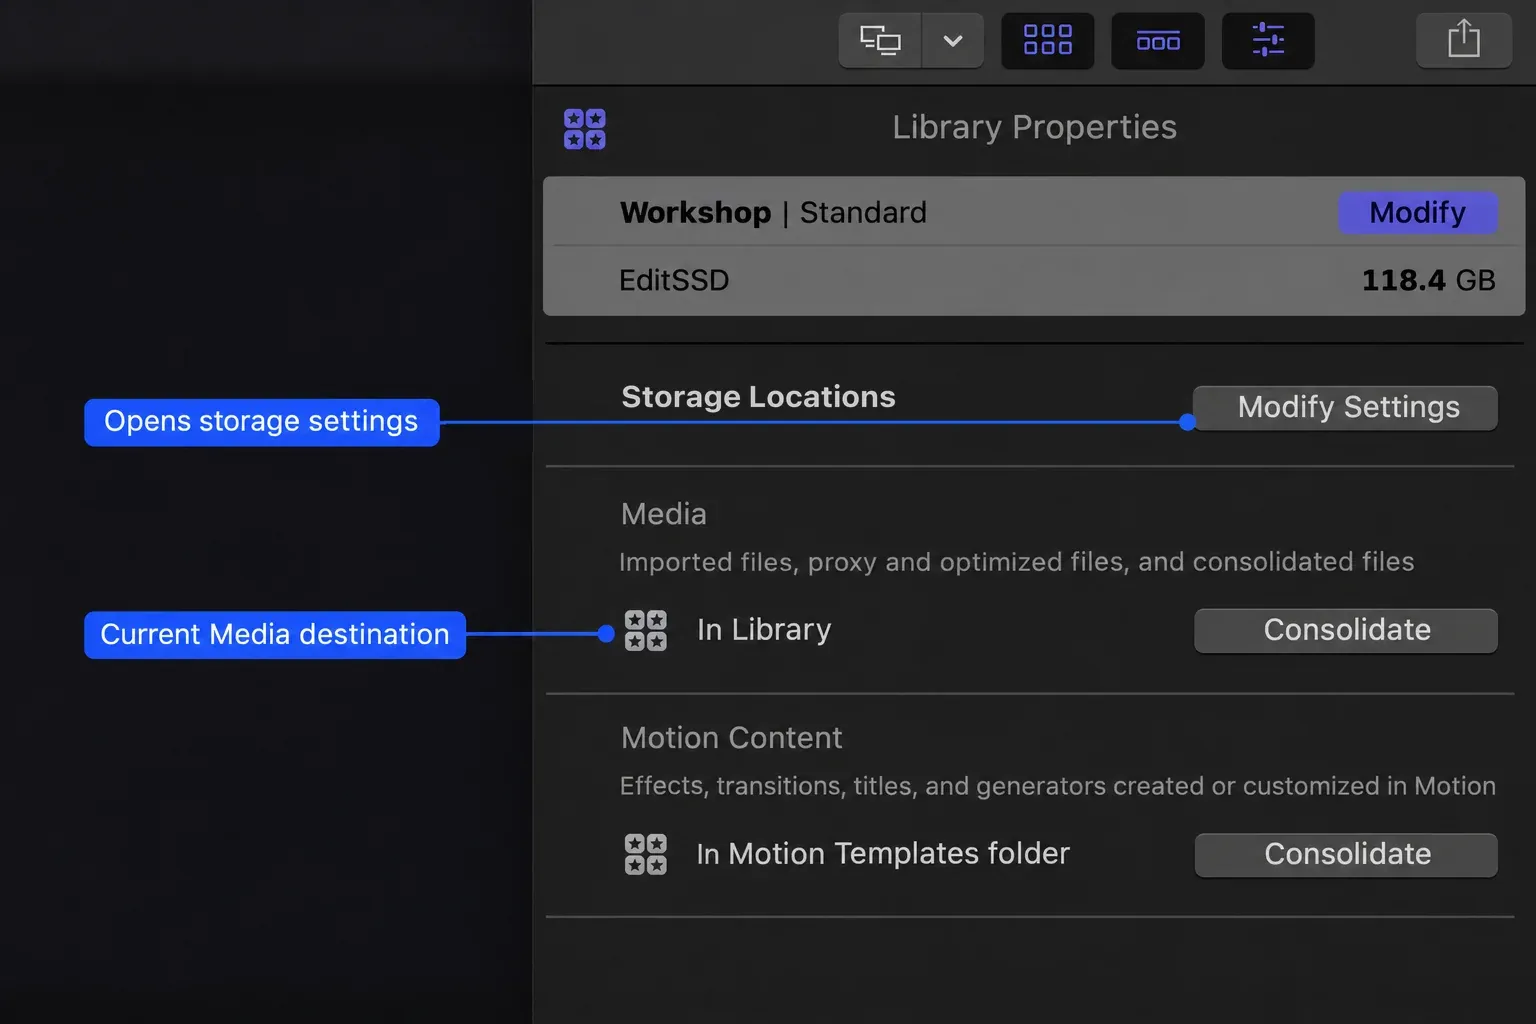
Before changing storage settings or consolidating, verify an independent backup of the source library and the external media it needs. Automatic library backups contain the database, not the media. Select the library and choose File > Library Properties. In the storage-location controls, click Modify Settings to check the Media destination: choose In Library for managed media, or choose the intended external folder, then click OK to save the storage settings. Consolidate uses this destination; it is not necessarily the drive holding the library file. Note where original media, generated media, Motion content, cache, and backups live. Decide whether the recipient needs originals, optimized files, proxies, or only a finished export. Keep enough free space at the destination for the chosen files.
Use Storage Used for Media and Motion Content near the bottom of Library Properties to check the existing files by storage device. It lists original, optimized, and proxy media separately. Compare that inventory with the destination you just chose: a Media setting on EditSSD doesn’t establish that files imported earlier are already there. Budget for the actual files you plan to collect, including any generation you request; a short timeline doesn’t tell you the size of its source recordings.
Choose the scope before running the command
The selection in the sidebar and browser determines which items the command covers:
- For the whole library, select its name in the Libraries sidebar.
- For particular events, select those events in the sidebar.
- For a project, select its event, then select the project in the browser.
- For scattered source clips, select their event, then select the intended clips in the browser.
I’d select only the scattered clips when the rest of the client’s media is deliberately staying in its shared folder. For a complete handoff, include every required item instead. A timeline clip or range selection is not the browser selection specified in Apple’s consolidation steps.
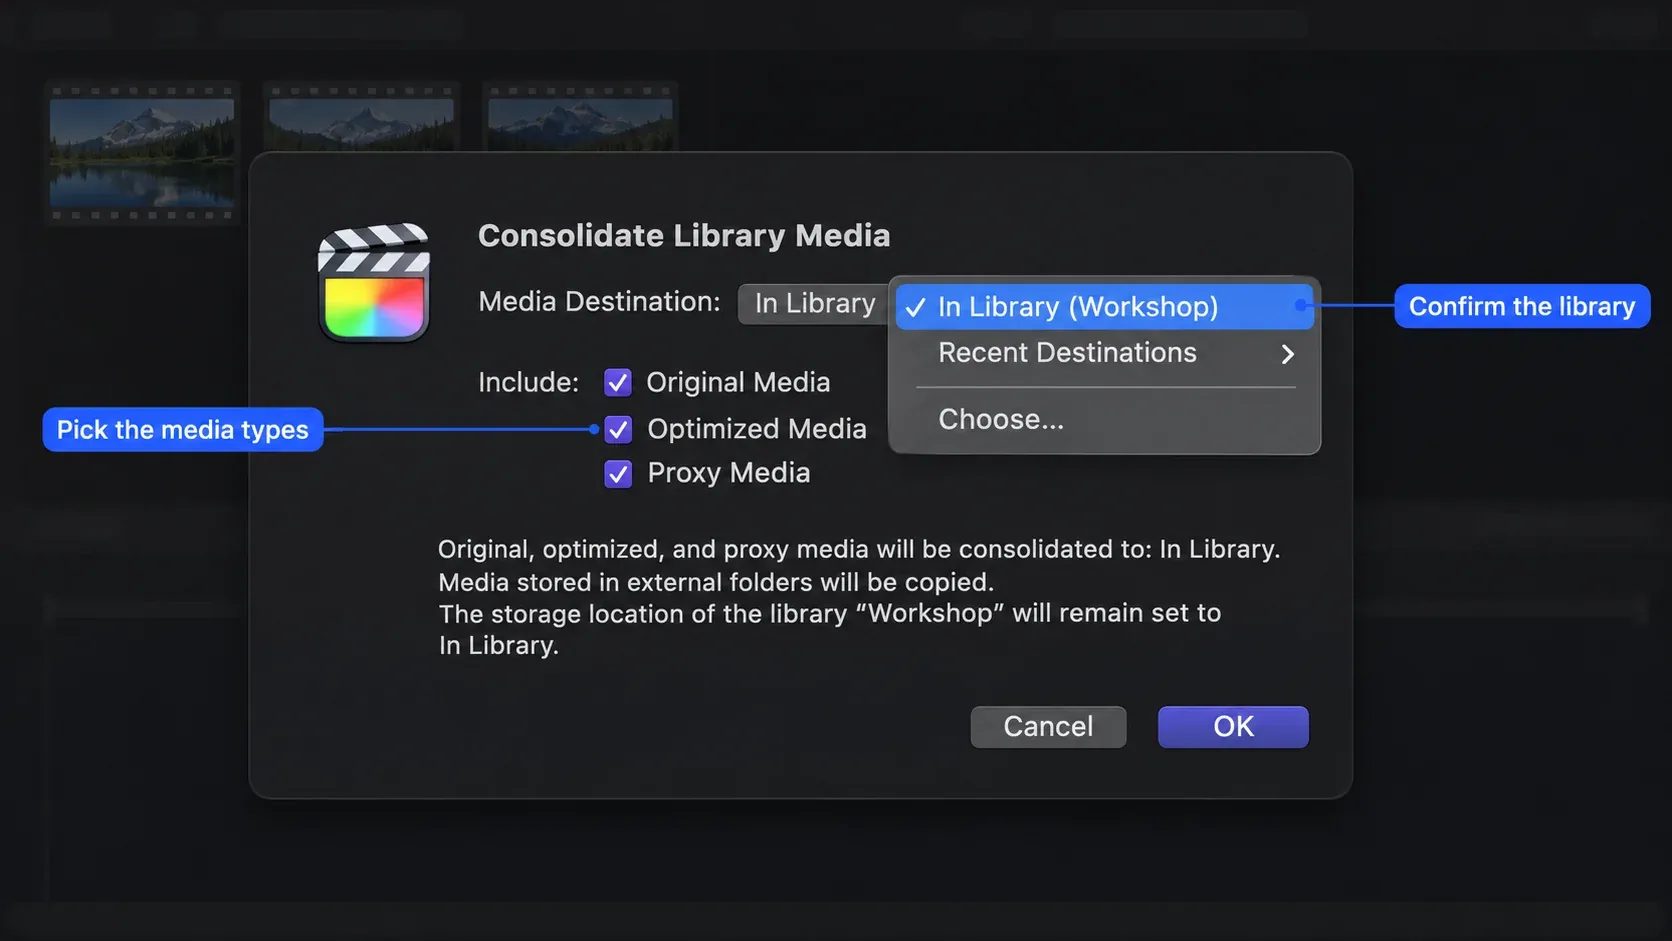
To consolidate, select a library, event, project, or clips, then choose File > Consolidate [item] Media. Choose the media types to include: original, optimized, or proxy, confirm the library, and click OK. Apple’s consolidation instructions say that selecting an unavailable optimized or proxy representation offers the option to generate it. If Final Cut Pro reports that there is nothing to consolidate, the files are already together at one location; that message does not prove that every asset the handoff needs is present.
For an editable handoff that must retain camera sources, include Original media and verify those paths afterward. Optimized and proxy files are additional representations; take them when the receiving edit needs them, or regenerate them later from available sources. A proxy-only handoff is a separate decision, with an agreed plan for returning to the originals before final delivery.
If there’s nothing to consolidate, reselect the intended library or browser items and recheck its Media destination. Then reveal the required original and proxy files and inspect their representations as described below. Files already together on the wrong drive, an omitted media type, or a missing installed component still need attention even when the command has no files to collect.
Know when files are copied or moved
The copy-versus-move rules depend on the direction of consolidation. Moving files out of a library into an external folder moves them; consolidating files into a library from an external folder, or between external folders, copies them. The distinction matters if another library still refers to the old location. Do not delete the source folder simply because the current library opens successfully. Confirm the destination and whether other libraries share the media first.
Three consolidation examples show the rule at work for a selected clip named Scene01.mov. If it starts inside Workshop.fcpbundle and the Media destination is /Volumes/EditSSD/Workshop Media, the selected file moves out of the library to that external folder. If it starts in /Volumes/CameraDrive/Workshop Originals and the Media destination is In Library, Final Cut Pro creates a copy inside the library and leaves the external source intact. Consolidating from that external source folder to /Volumes/EditSSD/Workshop Media also creates a copy and leaves the external source intact. Each one depends on the selected media and the current Media destination.
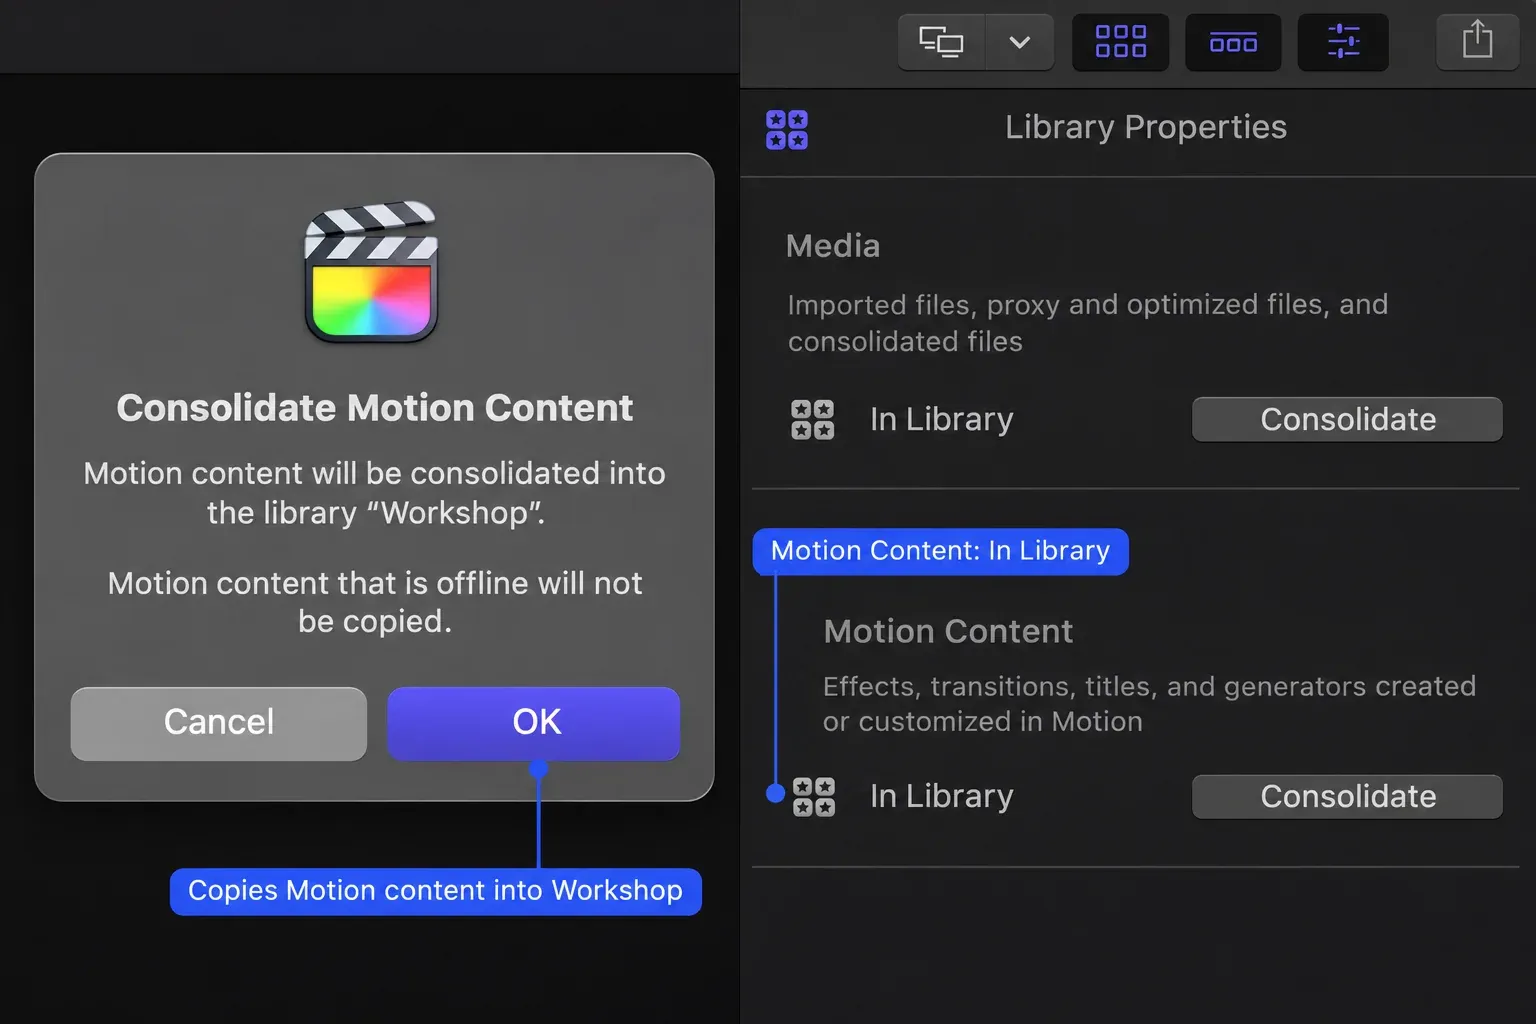
Motion templates need a separate decision. Before copying the library, set Motion Content to In Library in Library Properties, then use File > Consolidate Motion Content. Confirm In Library as the destination in the consolidation dialog and click OK. This gathers Motion effects, transitions, titles, and generators used in the selected library. It does not gather unused Motion content, and Apple says third-party FxPlug content must be tracked and moved manually. That limitation is easy to miss when a project plays correctly on the editing Mac but opens without an effect elsewhere.
On the receiving Mac, install the required third-party plug-ins and special fonts using their manufacturers’ installers. Apple’s library-transfer instructions explicitly separate those installations from moving the library. Check compatibility with the receiving versions of macOS and Final Cut Pro before sending the package. Inspect the rendered title as well as the media paths; its font is a separate dependency.
If only one project should travel
A library can contain several unrelated projects. I’d make a separate project copy when the recipient needs only one edit, keeping the working library intact. First consolidate its used custom Motion content as above. Apple’s project-isolation procedure then provides the smaller handoff:
- Select the project’s event in the Libraries sidebar, then select the project in the browser. Choose File > Copy Project to Library > New Library.
- Name the new library, choose its destination, and click Save. In the copy options, select Copy media stored in external locations when those sources need to travel.
- Click Modify Settings in the Media Destination section. Set Media, Motion Content, and Cache to In Library, confirm the required representations, then click OK.
Wait for the new library and any requested generation to finish before closing it. Check that new library’s actual media paths, not the original library’s. Existing automatic backups aren’t copied by this procedure. Apple specifies the same macOS and Final Cut Pro versions on both Macs for this transfer route.
When copying items into an already existing library, prepare that receiving library’s Motion Content destination before the copy. Apple’s Motion storage instructions distinguish receiving-library preparation from consolidating the source library’s used templates. Neither step installs FxPlug components or fonts.
Verify the handoff, not just the copy
Choose Window > Background Tasks and wait for consolidation and any required optimized or proxy generation to finish before disconnecting source storage. Keep the referenced originals available when generating those representations.
If progress has stopped, press Command-9, expand the relevant section, and check for a paused task. The Background Tasks controls let you resume it; active editing pauses background work automatically. Leaving Final Cut idle lets that work resume. Do not disconnect storage while a copy, import, or required transcode is unfinished.
For a manual transfer, locate the intended library in Finder, quit Final Cut Pro, and copy the library package. If you chose an external Media folder, copy that folder too and record its location for the recipient. Open the destination library explicitly from Finder afterward. Consolidation changes the library’s references; it doesn’t necessarily create a second independent copy of everything you started with.
After consolidation completes, open the destination library with the intended Media location available. Select the source event in the Libraries sidebar, then select its clip in the browser. Use File > Reveal in Finder (Shift-Command-R) to locate the original source reference, and File > Reveal Proxy Media in Finder to locate the proxy. Check the revealed paths against the intended destination and the media types you chose to consolidate. The current Media setting does not tell you where every existing file lives. Optimized/Original playback can use optimized media, so successful playback alone does not prove that the original traveled.
If the destination still shows missing media, reconnect the storage that should contain those files and check the exact source path before changing references. The missing-media recovery steps cover relinking after a moved external folder. Protect the library and media first: a relink can affect matched uses elsewhere in the library and cannot be undone.
For a particular timeline shot, use File > Reveal Source in Browser with Shift-F, then check that source’s file. A multicam or synced clip first reveals its parent browser clip; a second reveal can reach the active angle or synced video source. Inspect the other required angles and audio sources separately rather than accepting the visible angle as a complete inventory.
Keep startup and internal source volumes connected. To test independence from an old external source, finish all tasks and close Final Cut Pro before safely ejecting that source volume, then reopen the destination library with its intended storage connected. If the old source can’t be disconnected safely, verify on the receiving Mac while preserving the source files. Do not rename, delete, or rearrange them to force a missing-media test.
While keeping the source files and backup intact, check the destination with the old external source volume unavailable if it can be disconnected safely. That exposes references that still depend on the old drive. If the handoff must include optimized media, select each required clip, press Command-4, click the Info button, and scroll down to check Available Media Representations with that old source unavailable. Optimized/Original playback can fall back to originals, so successful playback alone does not prove the optimized files arrived. I’d inspect representative clips at the beginning, middle, and end of the project, including a shot using external media and a shot using a Motion or third-party effect. For a complete handoff, check every required item; representative playback is not a complete file inventory. An open library is a useful first check, but it does not prove that every dependency made the trip.
If proxies are part of the handoff, check supported video in View > Media Playback > Proxy Only. Proxy Preferred can fall back to optimized or original media, so a clean playback there doesn’t establish that the proxy arrived. Use the Info inspector and revealed paths for the required file set; audio and other dependencies need their own checks.
Before accepting the transfer, switch back to Optimized/Original and export a short section containing the files and effects you need to verify. Set its start and end with I and O in the project timeline, then choose File > Share > Export File. A clip selection alone doesn’t limit a project export to that clip. Confirm the duration, frame size, frame rate, and audio information in the Share window.
Open the exported file itself and compare the same timecodes for the correct picture and sound. Check the transferred title’s font, the effect’s result, and the cuts around externally stored clips. Then close and reopen the destination library once more. I’d retain the source and its independent backup until the complete required file set and the receiving edit pass these checks; a successful sample export alone doesn’t justify deleting shared media.