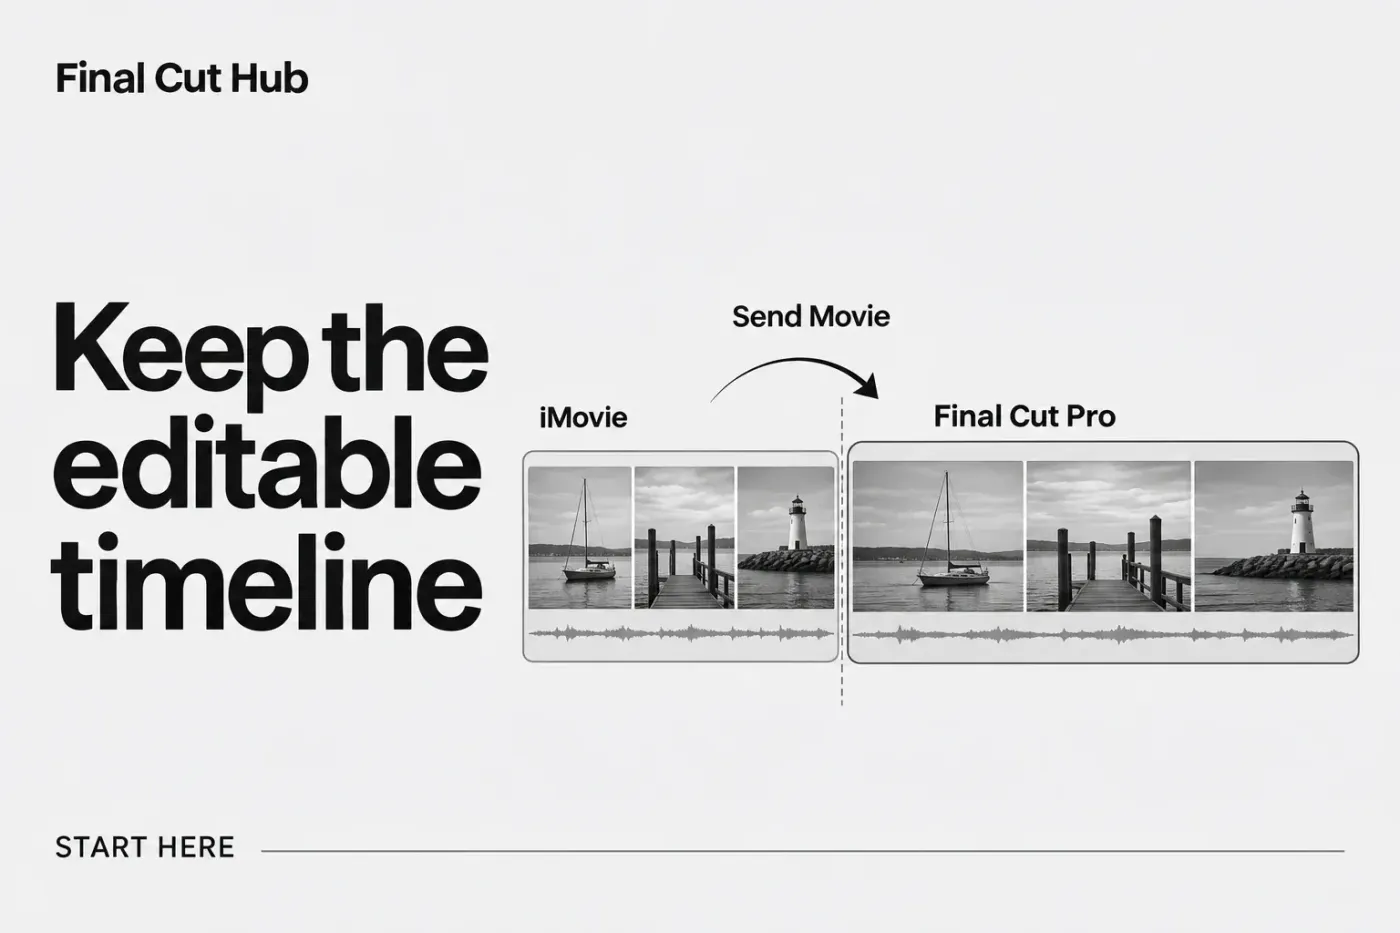
Start the transfer in iMovie, not by trying to open an iMovie project file directly in Final Cut Pro. Select a movie project in iMovie and choose File > Send Movie To Final Cut Pro. Apple's iMovie guide says the project and the media it uses are copied into a Final Cut Pro library.
Use Send Movie To Final Cut Pro when you want to continue editing the project’s timeline. If you instead export a movie as a file and import that file into Final Cut Pro, you bring in the finished video as a media clip; this doesn’t reconstruct the original iMovie timeline’s separate clips and edit structure. You can still cut and adjust that imported movie clip. So I’d send the project when the edit itself still needs work, and import an exported file when the finished video is all you need.
Check what kind of iMovie project you have
iMovie treats a movie project and a trailer project differently. Only a movie project can be sent directly to Final Cut Pro; a trailer must first be converted to a movie project in iMovie. When the send command seems unavailable, my first check is whether the selected item is still a trailer, before blaming the Final Cut Pro installation.
For a trailer, duplicate it first if you want to keep the trailer version: Apple says conversion cannot be reversed. Select the trailer in iMovie’s browser, or double-click it in Projects view to open it, then choose File > Convert Trailer to Movie. After conversion, unfilled placeholder clips appear as grayscale images in the timeline. Check those placeholders before sending the movie project.
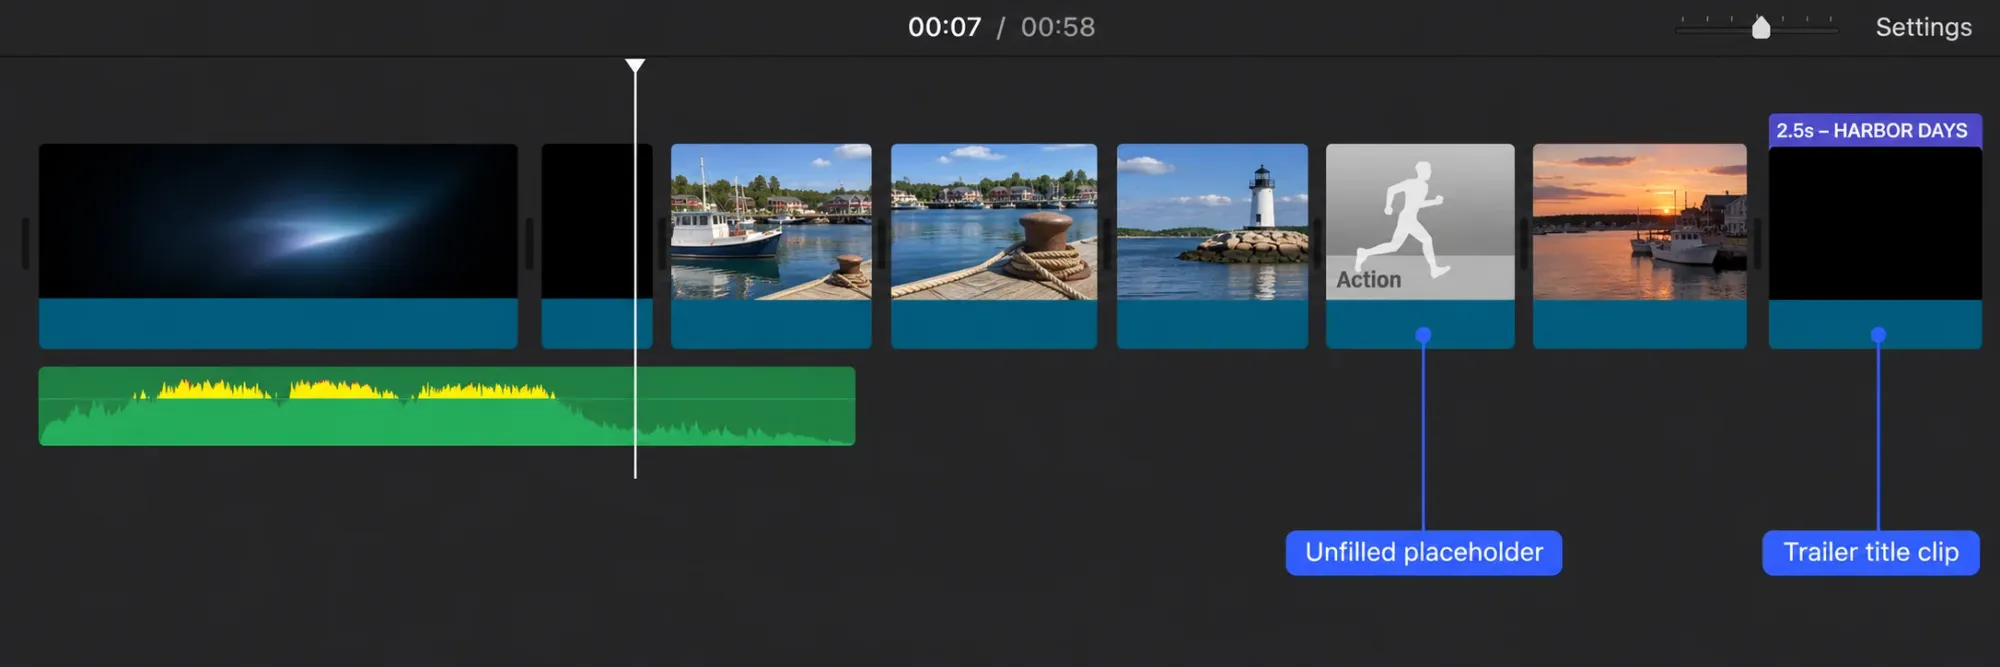
Open iMovie's Projects view and make sure the intended project is visible; if you can't find it, check that the correct iMovie library is selected. You can start the transfer with the project selected in Projects view, or with the project open and the timeline active. Note its name before sending so you can identify it in the destination library.
Send the movie to Final Cut Pro
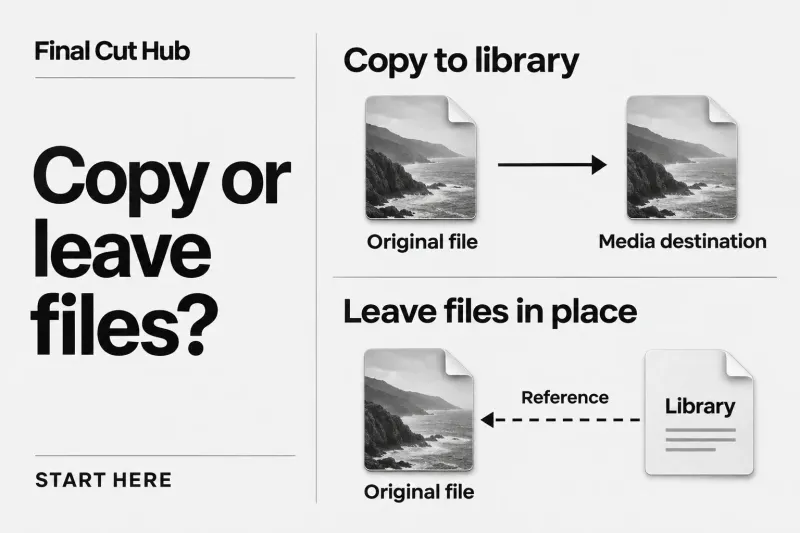
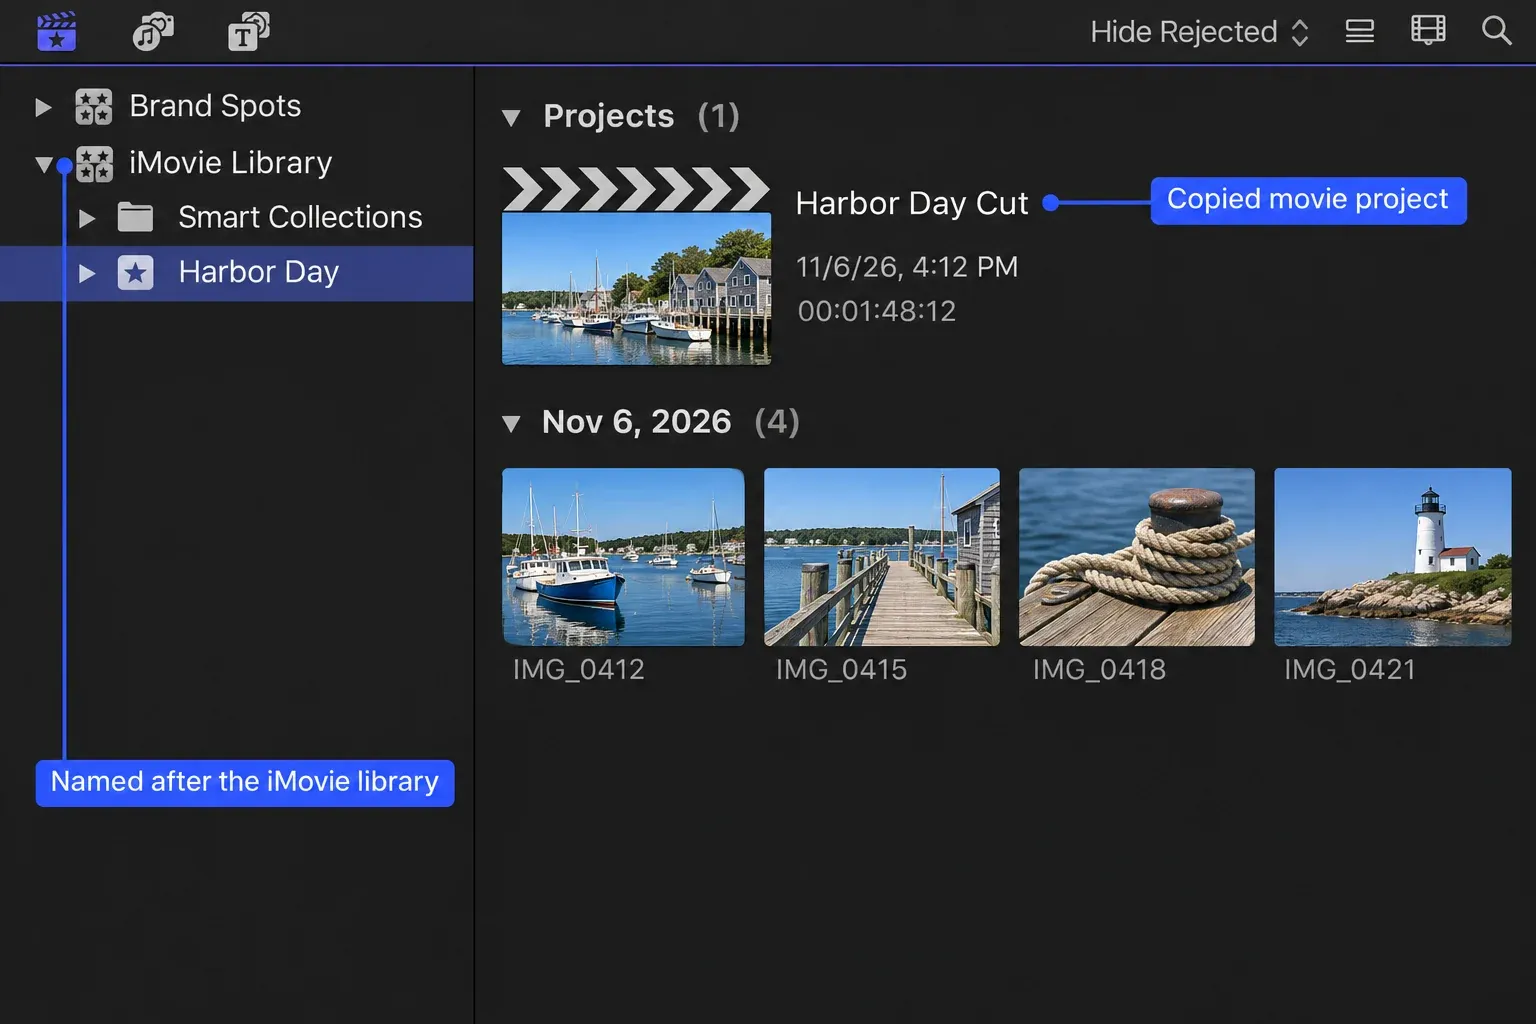
With the movie project selected, choose File > Send Movie To Final Cut Pro in iMovie. Final Cut Pro opens and creates a new library named after the iMovie library, with a new event inside that holds the movie project you sent. The result is a copy in a Final Cut Pro library with no live two-way link between the editors.
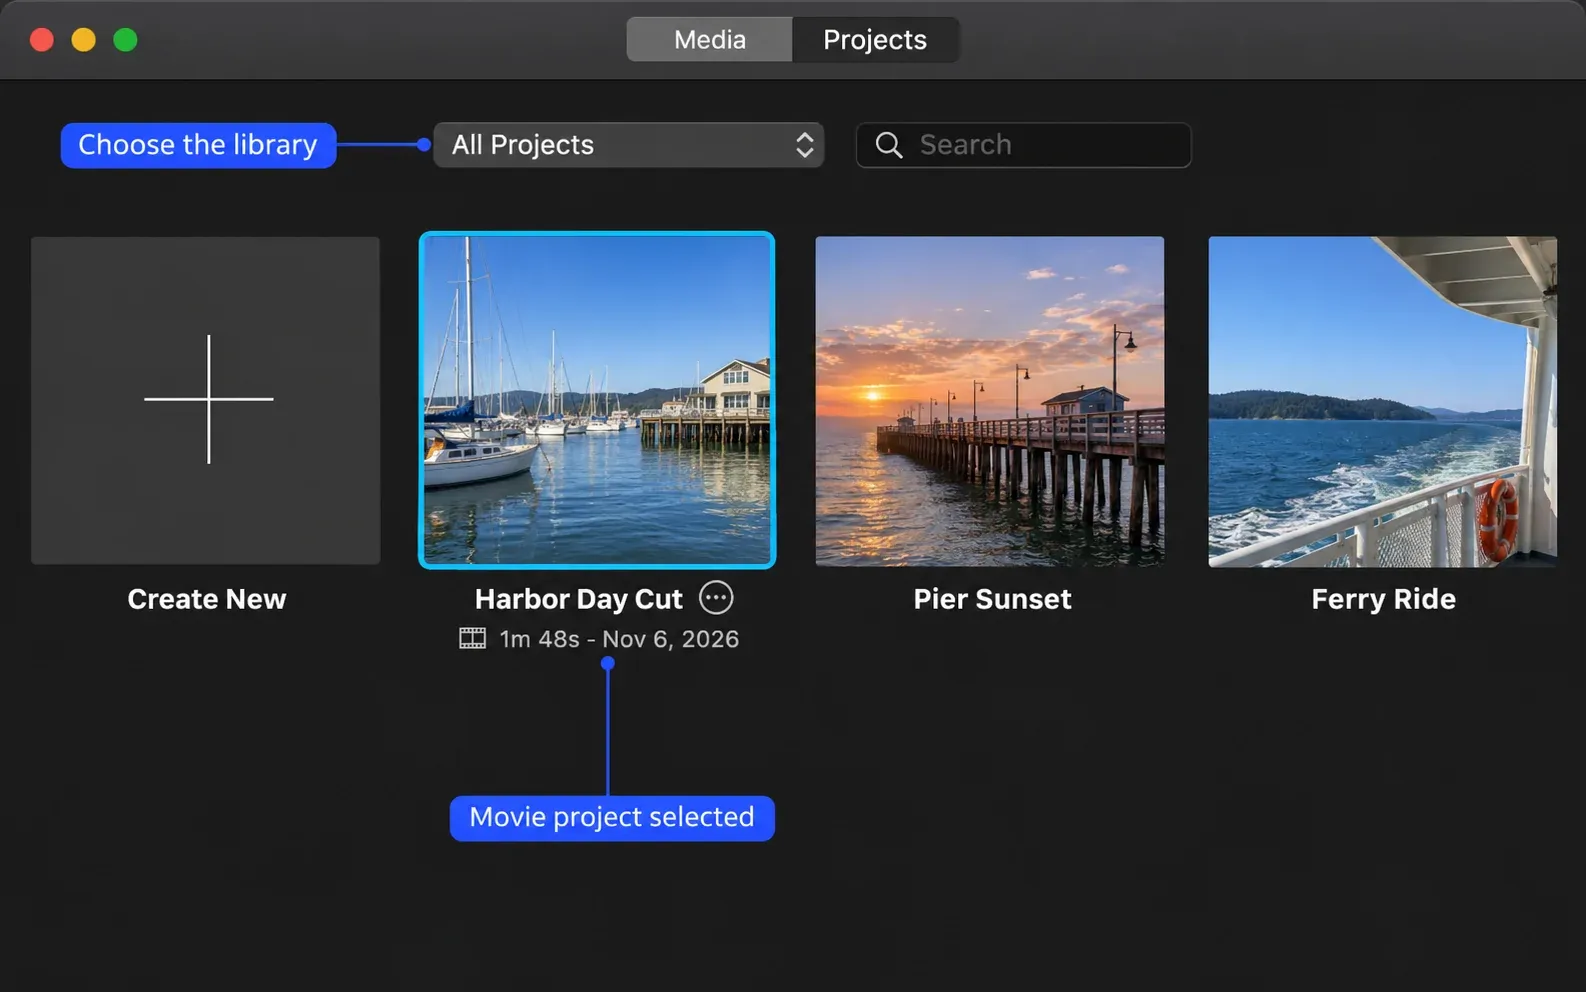
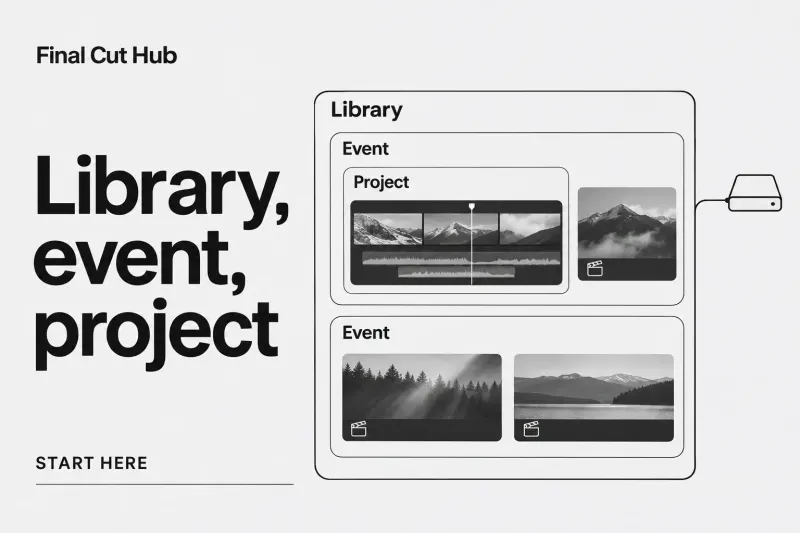
If you expected the movie in an existing Final Cut Pro library, look in the newly created library first. The libraries, events, and projects guide explains that hierarchy. Do not move or delete the original iMovie library merely because the destination project appears: confirm that the copied media and edit open as expected before changing storage.
Inspect the transferred edit before continuing
Open the copied Final Cut Pro project and check the first, middle, and final sections, including titles, fonts, transitions, and effects. Compare the title text and timing, play transitions across their cut points, and listen to dialogue and music. If media appears offline, follow the missing-media diagnosis instead of assuming the transfer failed.
One audio detail is documented explicitly: iMovie's Lower volume of other clips adjustment appears in Final Cut Pro as the Gain filter. Listen to those overlaps, because a renamed effect is no proof that the mix is identical.
Once the copied project has been inspected, make a small revision in Final Cut Pro and keep the original iMovie project available as a reference. For a first edit in the new application, the beginner tutorial covers the next workflow.