
Select the target clip in the Final Cut Pro timeline, park on a representative frame, choose Modify > Match Color, then skim to a reference frame whose look you want to match. Click that reference to preview and choose Apply Match only after inspecting the result. Apple's Final Cut Pro for Mac 12.4 guide documents this workflow. I'd use the result as a starting correction; it doesn't prove that two cameras now match under every lighting condition.
Pick a reference that answers the right question
When the goal is continuity, I'd choose frames from the same scene or lighting setup, since pairing a bright exterior with a dark interior can lead to a misleading adjustment. Ideally, both frames show a face, a neutral surface, and the background. You can skim a clip in the timeline or browser to find the frame with the look you want; a still image can also serve as the reference.
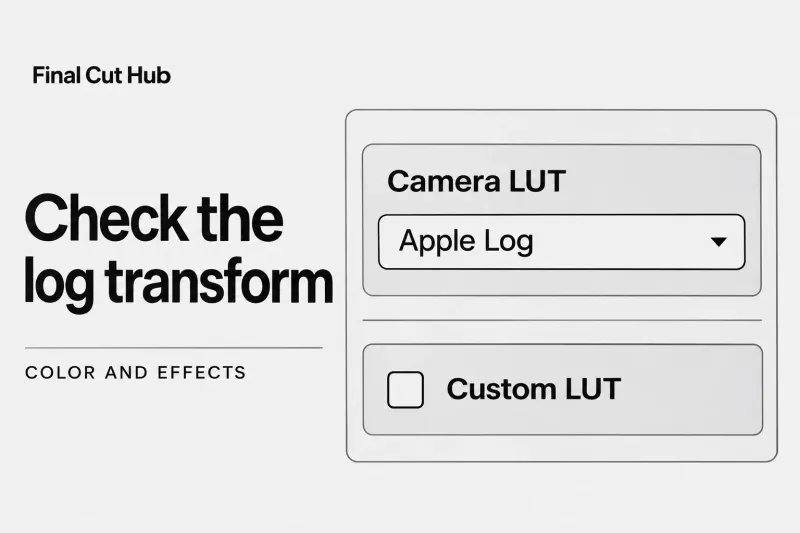
Before matching, check that the clips are being interpreted in the intended library color space. For log footage, the Camera LUT and Custom LUT guide explains why an existing log transform matters. Match Color should not be used to disguise a misinterpreted input. Keep a duplicate of an important edit or record the current color settings so you can compare the change and return to the previous state.
Apply one controlled match
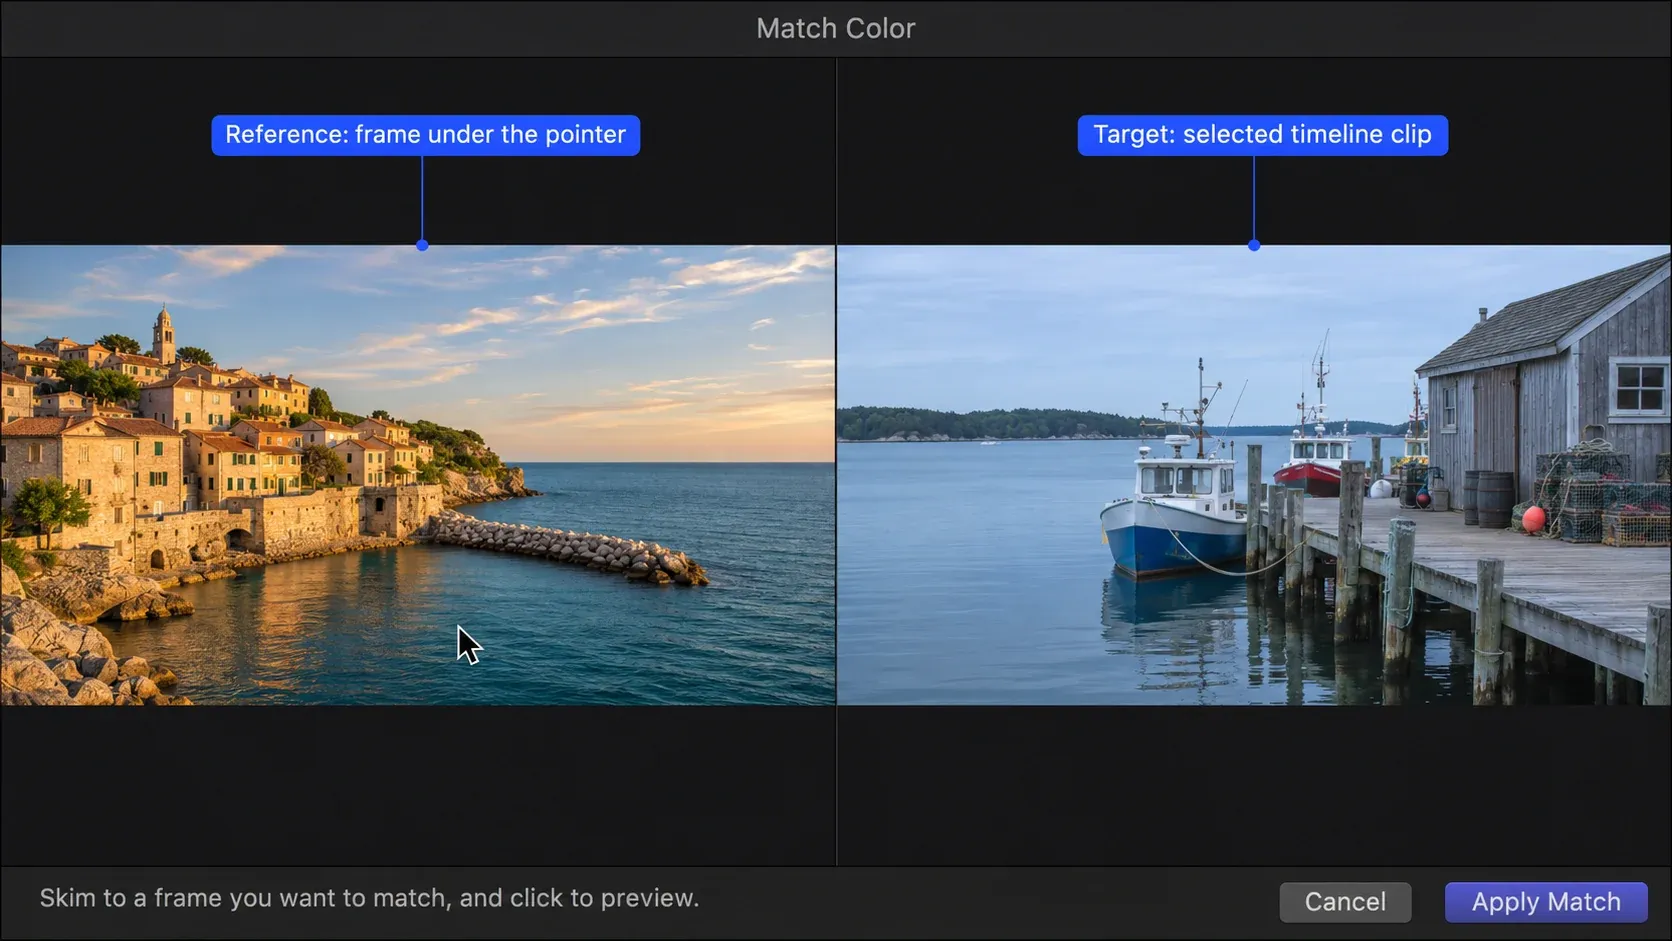
In the timeline, select the clip to change and position the playhead on its representative frame. Use Modify > Match Color or Option-Command-M. The Enhancements menu below the viewer and the Color inspector's Add Correction menu also work, or you can drag Match Color from the Effects browser. The viewer then shows the target frame on the right and the candidate reference under the pointer on the left. Skim to the reference, click to preview, and try more than one candidate if the first looks wrong. Choose Apply Match to commit the current look.
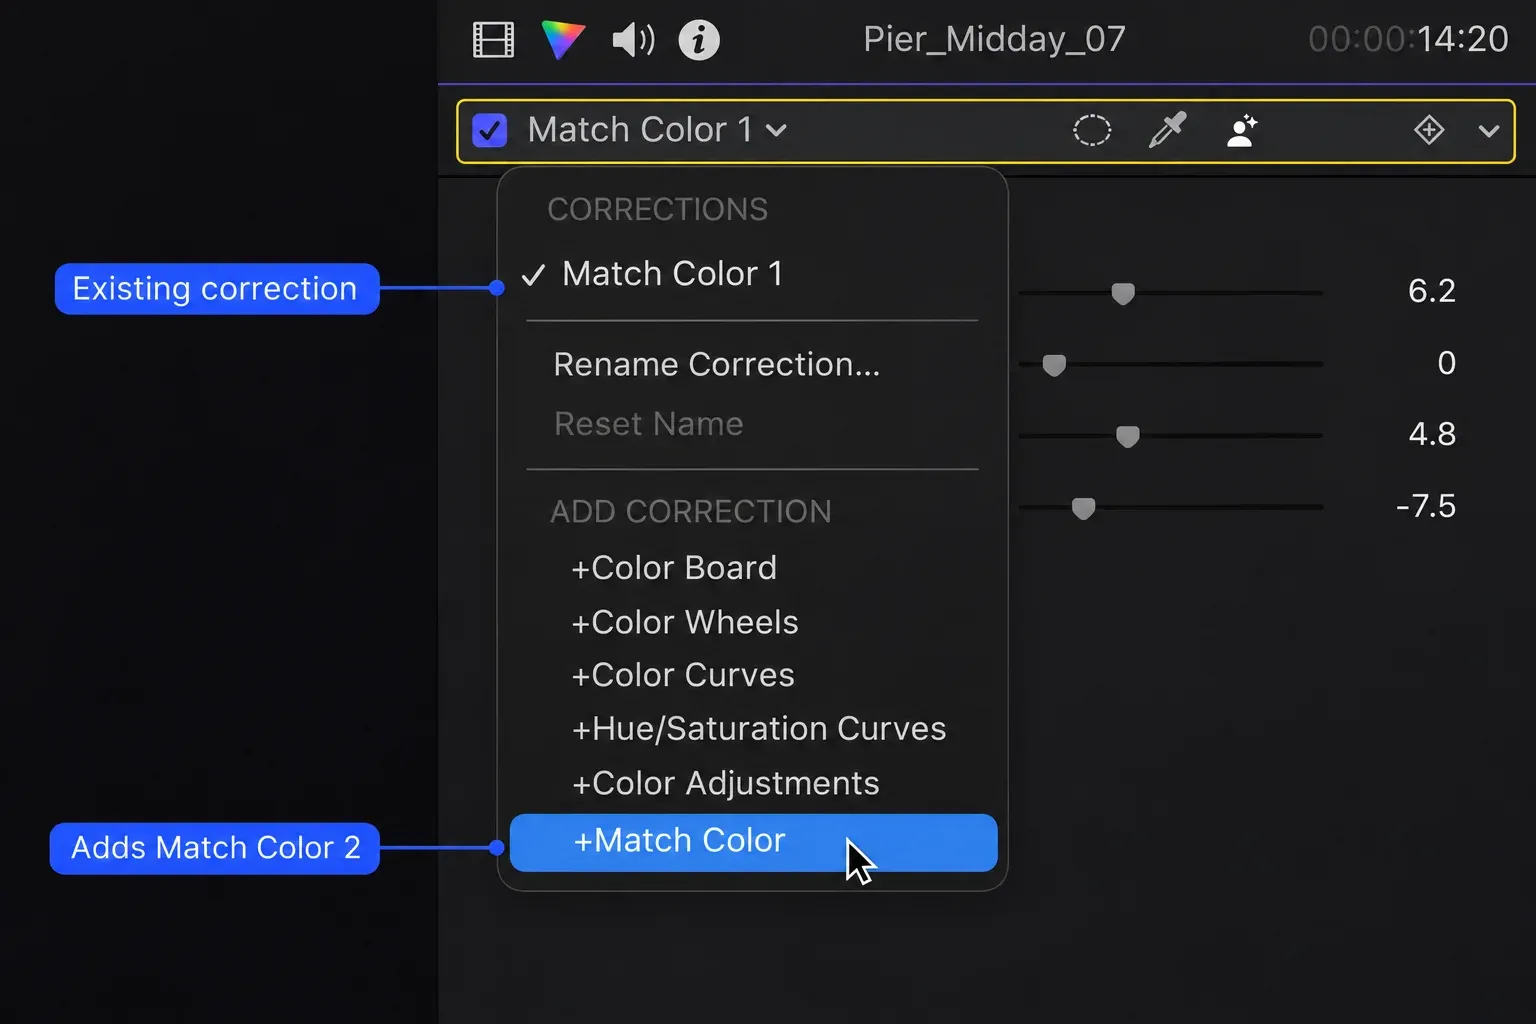
Don't stack corrections by accident. The entry point matters: using Modify or the Enhancements menu replaces existing Match Color effects on that clip, while adding a Match Color effect from the Effects browser or Color inspector can create an additional adjustment. If the result becomes unexpectedly strong, inspect the clip's effects list before adding another correction. To change only the reference, I'd use Choose Source in the Color inspector, which lets you select a different reference after applying a match.
Inspect more than the preview frame
Play the cut before and after the matched clip and check changes in skin, neutral objects, highlights, and shadows. Match Color offers Light controls such as exposure and contrast, Color controls for saturation and tonal warmth/tint, and a Mix control that blends original and adjusted images. Refine where needed, but don't let an arbitrary Mix value stand in for the real decision: which frame is the intended reference. Toggle the Match Color checkbox in the Color inspector or Video inspector to compare corrected and original states.
With the adjusted clip still selected in the timeline, open the Color inspector with Window > Go To > Color Inspector or Command-6. Apple's Match Color control descriptions distinguish these adjustments:
| Mismatch to examine | Control and effect |
|---|---|
| The whole image is too bright or too dark. | Brightness adjusts overall image brightness. |
| A brightness change needs more weight toward highlights. | Exposure lightens or darkens the image, with a bias toward highlights rather than the other tones. |
| Detail in the lightest areas needs adjustment. | Highlights adjusts detail in those areas while leaving pure white untouched. |
| The black end looks washed out. | Black Point sets where black areas become completely black, with no visible detail. Watch the dark detail you need to keep as you adjust it. |
| A warm or cool cast differs in one tonal region. | Use Highlights Warmth, Midtones Warmth, or Shadows Warmth for that region. Right adds warm orange tones; left adds cool blue tones. |
| A green or magenta cast differs in one tonal region. | Use Highlights Tint, Midtones Tint, or Shadows Tint for that region. Right adds magenta; left adds green. |
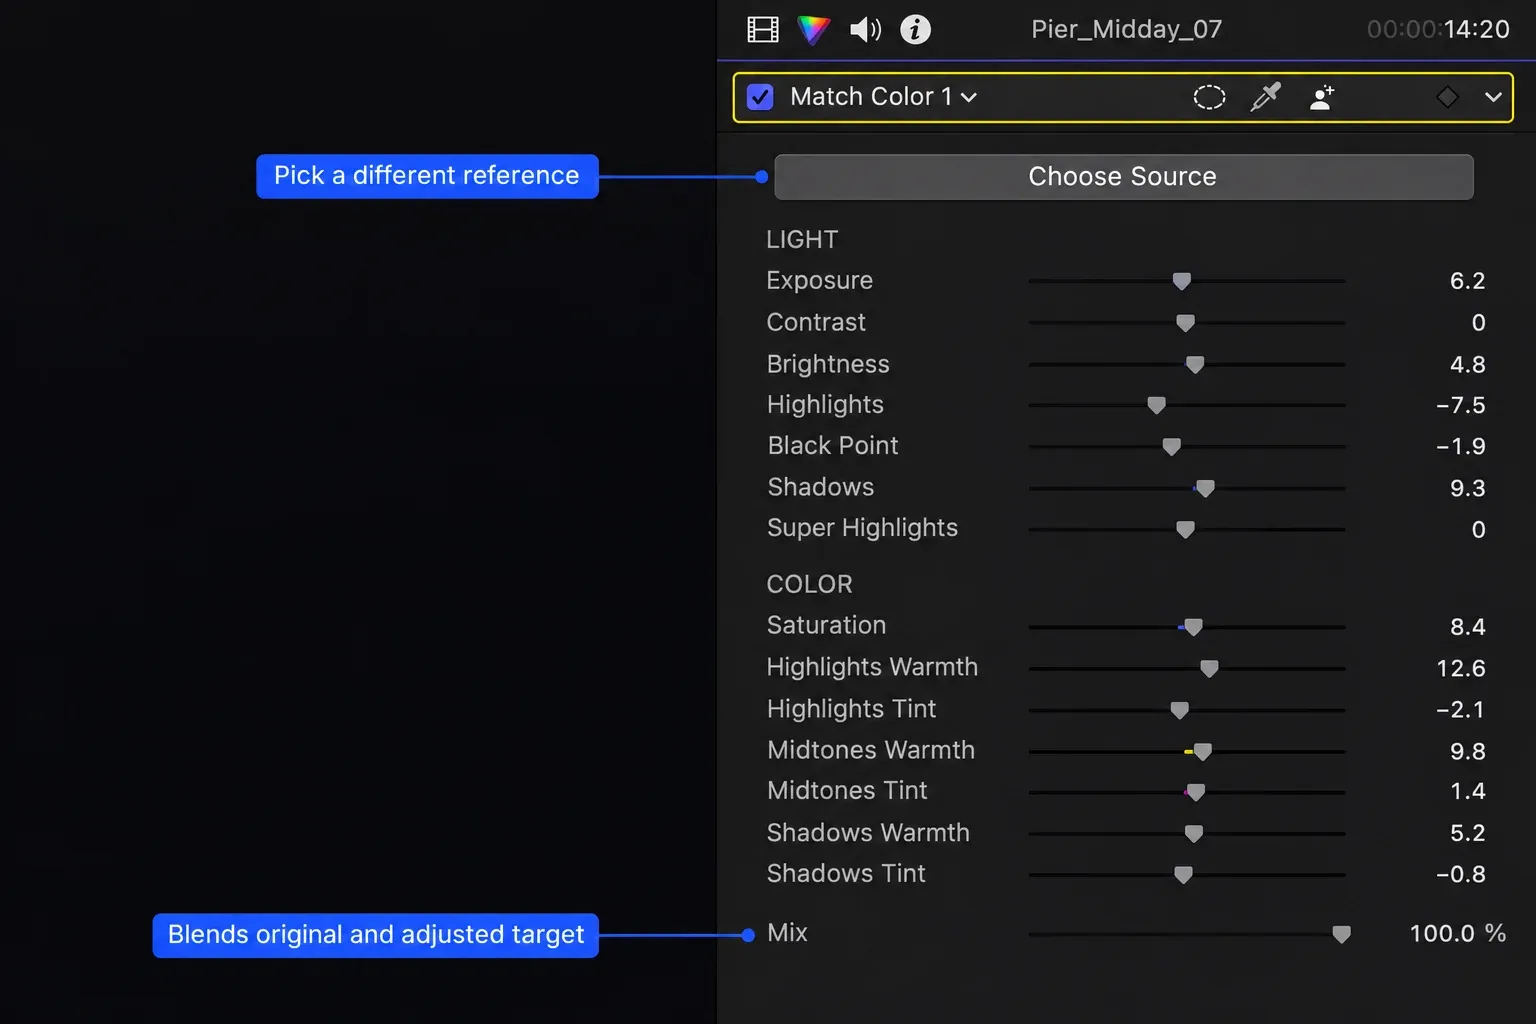
Choose values by comparing the intended reference with the shot, then check the cut again. The same slider values can be inappropriate when the camera or lighting changes.
If several clips from the same camera and setup need a similar adjustment, Apple suggests matching one first and then copying the effect to others. Still inspect each cut: a different exposure or white balance can make a copied correction inappropriate. Check the exported file in the intended viewing context before delivery; the viewer alone is not an export test.